
The Post-Graduation Phase: Outgrowing the Uno
For millions of makers and engineers, learning Arduino on an Uno R3 or R4 Minima is a rite of passage. You master digital I/O, analog readings, I2C OLED displays, and basic PWM motor control. However, as your projects evolve from blinking LEDs to edge-computing IoT nodes or precision industrial controllers, the 8-bit AVR or entry-level Renesas RA4M1 architectures begin to bottleneck your ambitions. Memory constraints, lack of native wireless connectivity, and 5V logic incompatibilities with modern sensors force a critical decision: it is time to migrate.
This comprehensive migration guide bridges the gap between beginner prototyping and professional embedded development in 2026. We will cover hardware migration to ESP32 and ARM Cortex-M platforms, software transitions to professional IDEs, and the leap from solderless breadboards to manufactured PCBs.
Hardware Migration: Choosing Your Next Microcontroller
When graduating from the Arduino ecosystem, your destination depends entirely on your application's core requirements. Below is a comparative matrix of the three most common migration paths for advanced makers and embedded engineers.
| Development Board | Core Architecture | Clock Speed | Flash / SRAM | Native Connectivity | Approx. Price (2026) |
|---|---|---|---|---|---|
| Arduino Uno R4 Minima | ARM Cortex-M4 (Renesas RA4M1) | 48 MHz | 256 KB / 32 KB | None | $20.00 |
| ESP32-S3-DevKitC-1 | Dual-Core Xtensa LX7 | 240 MHz | 8 MB / 512 KB (+8MB PSRAM) | Wi-Fi 4, BLE 5.0 | $6.50 - $9.00 |
| STM32 Nucleo-F401RE | ARM Cortex-M4F | 84 MHz | 512 KB / 96 KB | None | $16.00 |
Path A: The IoT and Edge AI Route (ESP32-S3)
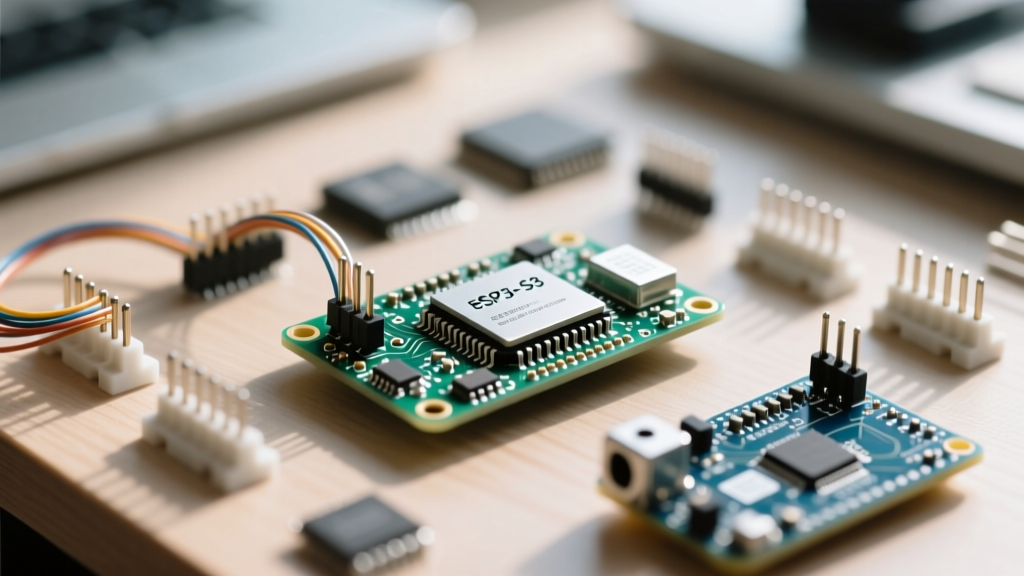
If your projects require cloud telemetry, local web servers, or TinyML inference, the Espressif ESP32-S3 is the undisputed champion of the post-Arduino world. Unlike the original ESP32, the S3 variant includes vector instructions specifically designed to accelerate neural network computing. With support for up to 8MB of octal PSRAM, you can run local wake-word detection models or buffer high-resolution camera frames from an OV5640 sensor without exhausting internal SRAM.
Migration Tip: The ESP32-S3 operates strictly at 3.3V logic. If you are porting a project that uses 5V legacy Arduino shields, you must implement logic level translation (detailed in the pitfalls section below).
Path B: The Industrial and Real-Time Route (STM32)
For applications demanding deterministic execution, hardware-level motor control (FOC), or complex DMA (Direct Memory Access) routing, migrating to an STMicroelectronics ARM Cortex-M4 or M7 is essential. The STM32 ecosystem utilizes the STM32CubeMX configurator, allowing you to visually route peripheral pins and generate bare-metal HAL (Hardware Abstraction Layer) C-code. While the learning curve is steeper than the Arduino IDE, the precision of hardware timers and sub-microsecond interrupt latency is unmatched for robotics and industrial automation.
Software Migration: Upgrading to PlatformIO
The Arduino IDE is fantastic for learning Arduino basics, but it lacks robust version control, unit testing, and advanced build configurations. Professional embedded engineers rely on PlatformIO, an open-source ecosystem for IoT development that integrates seamlessly with Visual Studio Code (VS Code).
Why PlatformIO is Essential for Advanced Projects
- Dependency Management: Instead of manually downloading ZIP libraries, PlatformIO uses a
platformio.inifile to declare dependencies vialib_deps, pulling exact versions from the PlatformIO registry. - Build Flags and Optimization: You can pass specific GCC compiler flags, such as
-O3for speed optimization or-D CORE_DEBUG_LEVEL=4to enable verbose ESP32 logging, directly in your configuration file. - Unified Debugger: PlatformIO supports on-chip debugging via JTAG/SWD probes (like the ST-Link V2 or ESP-Prog), allowing you to set breakpoints, inspect registers, and step through C++ code in real-time.
Pro-Tip for VS Code Migration: Install the 'PlatformIO IDE' extension. Create a new project, select your board (e.g.,esp32-s3-devkitc-1), and set the framework toarduino. This allows you to retain the familiar Arduino API (digitalWrite,Serial.print) while leveraging professional build tools and CMake integration.
Prototyping to Production: Breadboard to PCB
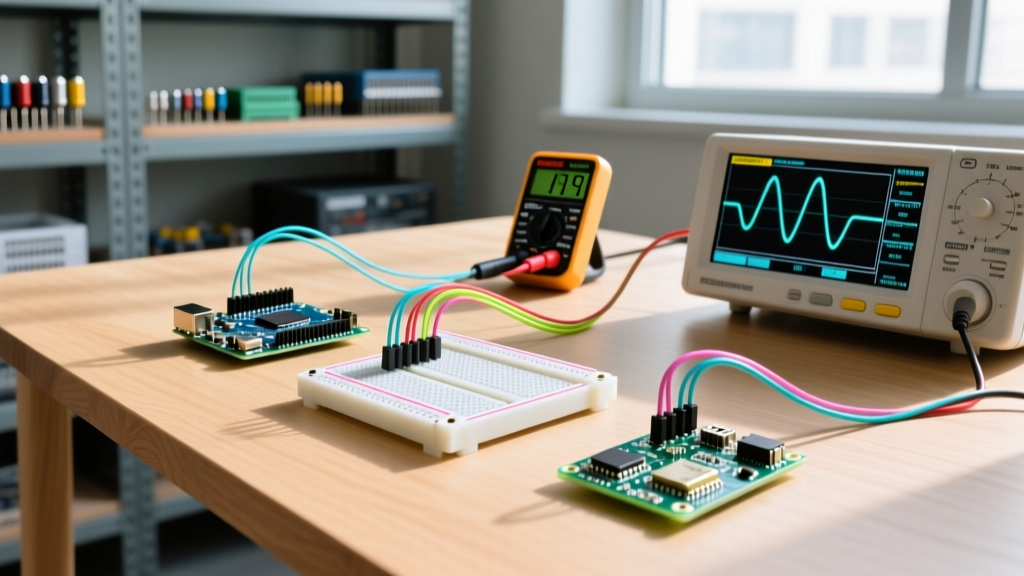
Solderless breadboards are notorious for parasitic capacitance, loose connections, and high-frequency signal degradation. Once your schematic is validated, migrating to a custom Printed Circuit Board (PCB) is mandatory for reliability. In 2026, the barrier to entry for PCB manufacturing is virtually zero, thanks to services like JLCPCB and PCBWay offering 2-layer boards for under $5.00.
The KiCad 9 Workflow
KiCad has become the industry standard for open-source hardware design. When migrating your Fritzing or Tinkercad schematics to KiCad 9, adhere to these professional design rules:
- Schematic Capture: Use standard 100-mil grid spacing. Always include decoupling capacitors (100nF X7R ceramic) placed physically adjacent to every VCC/GND pin on your microcontroller.
- Footprint Assignment: Prefer 0805 (2012 metric) SMD components over through-hole for compact designs. They are easy to hand-solder with a fine-tip iron and are the default for automated PCBA services.
- Design Rule Check (DRC): Set your track width to 0.25mm (10 mil) for standard signal lines and 0.5mm (20 mil) for power rails. Set clearance to 0.15mm (6 mil). This ensures compatibility with standard, low-cost manufacturing capabilities without paying premium HDI fees.
- Ground Planes: Always pour a solid ground plane on the back copper layer (F.Cu/B.Cu). This minimizes return path inductance and drastically reduces EMI (Electromagnetic Interference) from switching regulators or high-speed SPI buses.
Critical Edge Cases and Migration Pitfalls
Migrating architectures introduces electrical and logical edge cases that rarely appear when learning Arduino on a protected development board.
1. The 5V to 3.3V Logic Level Clash
Connecting a 5V sensor (like the classic HC-SR04 ultrasonic module) directly to a 3.3V ESP32 or STM32 GPIO pin will permanently degrade or destroy the silicon over time due to overvoltage stress on the internal ESD protection diodes.
The Fix: Use a bidirectional logic level translator like the Texas Instruments TXB0104 or build a simple MOSFET-based translator using BSS138 N-channel MOSFETs and 10k pull-up resistors. Avoid cheap resistor-divider modules for high-speed buses like SPI or I2C, as the RC time constant will corrupt data above 400kHz.
2. Brownout Detectors (BOD) and Power Sag
The ESP32 is notorious for random reboots when Wi-Fi transmission spikes current draw to 350mA, causing a momentary voltage sag on the 3.3V rail that triggers the internal Brownout Detector.
The Fix: Never power an ESP32 directly from the built-in USB-to-UART bridge's 3.3V LDO. Use a dedicated, high-current LDO like the AP2112K-3.3 (600mA, low noise) or a buck converter like the TPS54308. Place a 470µF low-ESR tantalum or polymer capacitor on the 3.3V output rail to handle transient RF current spikes.
3. Floating GPIO Pins on Boot
Both the ESP32 and STM32 families sample specific GPIO pins during the boot sequence to determine the boot mode (e.g., SPI flash vs. UART download). If you wire a relay or a pull-down sensor to GPIO 0, GPIO 2, or GPIO 12 on an ESP32, the board may fail to boot or enter an infinite reset loop.
The Fix: Consult the official datasheet's strapping pin table. Ensure boot-critical pins are either left unconnected, pulled to their default required state via a 10k resistor, or driven only after the microcontroller has passed the bootloader phase.
Conclusion: Embracing the Embedded Ecosystem
The transition from learning Arduino to mastering advanced microcontrollers is a shift from abstracted convenience to engineered precision. By migrating to the ESP32-S3 or STM32 families, adopting PlatformIO for robust firmware management, and designing custom PCBs in KiCad, you elevate your projects from fragile breadboard prototypes to deployable, production-grade hardware. The initial friction of learning new toolchains and electrical constraints pays exponential dividends in system reliability, performance, and professional capability.