
The Core Concept: UART Bootloaders vs. SPI ISP
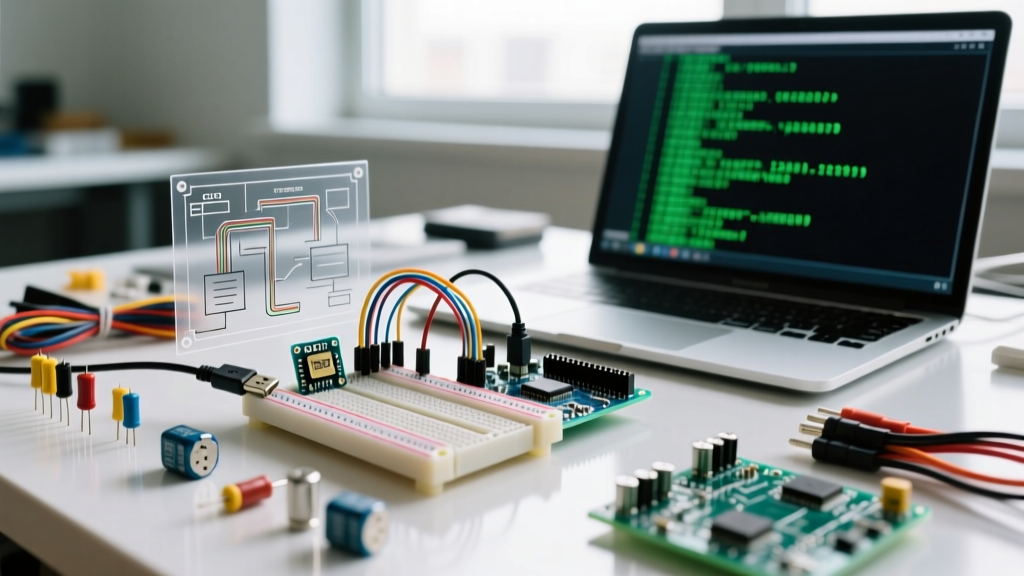
When you click 'Upload' in the Arduino IDE, you are rarely talking directly to the microcontroller's silicon. Instead, you are communicating with a small piece of pre-installed software called a bootloader (typically Optiboot on modern AVR boards) via a UART serial connection (TX/RX pins). While this is incredibly convenient for rapid prototyping, it introduces limitations: it consumes flash memory, adds a startup delay, and requires a functioning serial interface.
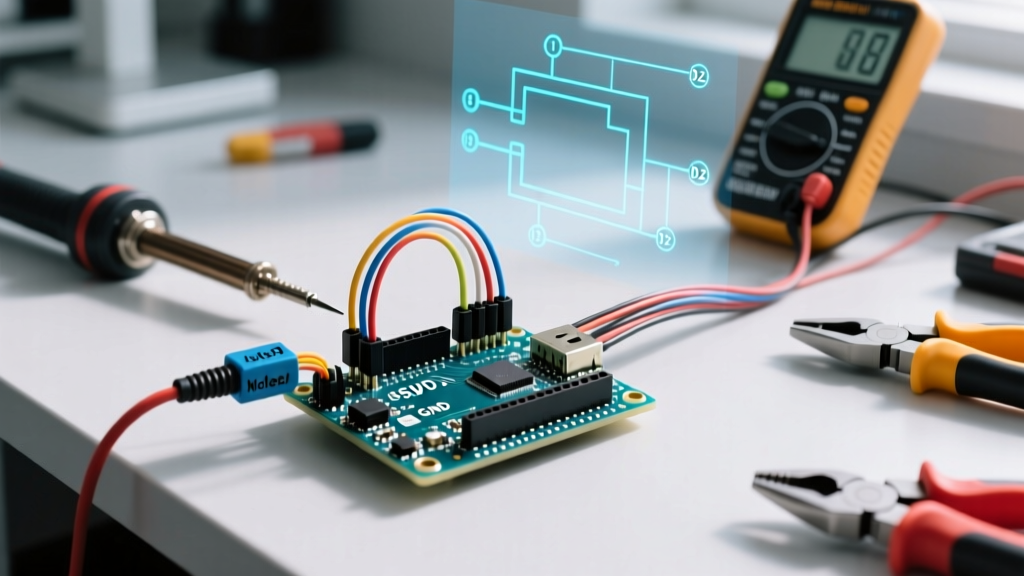
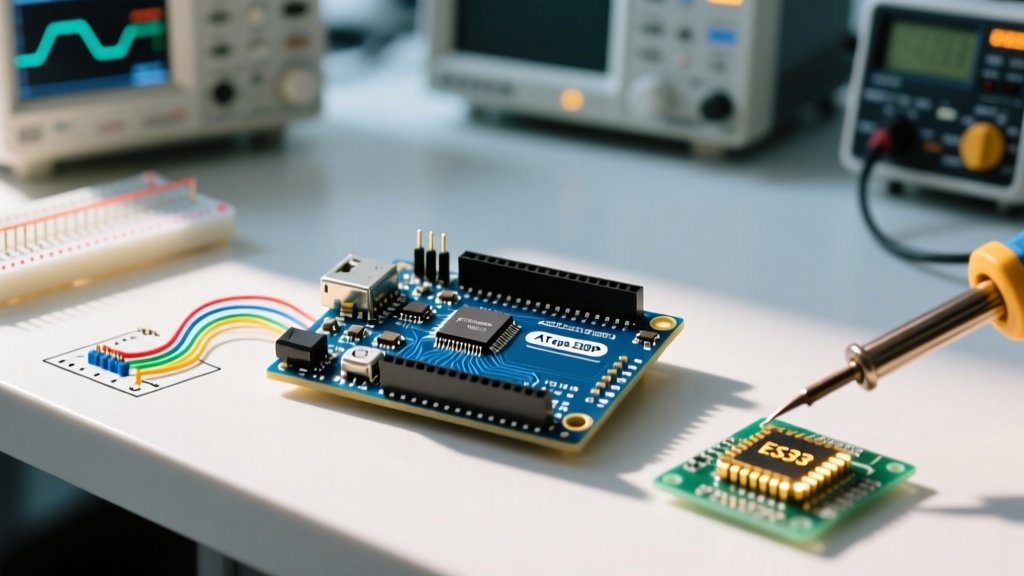
An Arduino ISP programmer (In-System Programmer) bypasses the bootloader entirely. It speaks directly to the microcontroller using the SPI (Serial Peripheral Interface) bus through a dedicated ICSP (In-Circuit Serial Programming) header. This method writes directly to the flash memory, allows you to modify low-level fuse bits, and is the only way to recover a 'bricked' chip that has lost its bootloader or clock configuration.
Expert Insight: If you are designing a custom PCB for mass production or deploying battery-powered sensor nodes in the field, relying on a UART bootloader is a liability. Using an Arduino ISP programmer to flash bare-metal hex files saves precious flash space and eliminates the 1-second bootloader delay on startup, which is critical for ultra-low-power sleep cycles.
Anatomy of the 6-Pin ICSP Header
To use an ISP programmer, you must connect to the microcontroller's ICSP header. The standard AVR ICSP footprint is a 2x3 pin matrix. Understanding this pinout is mandatory for preventing catastrophic reverse-polarity damage to your target board.
| Pin Number | Signal Name | Direction (Relative to Target) | Function |
|---|---|---|---|
| 1 | MISO | Output | Master In, Slave Out (Data from target) |
| 2 | VCC | Power | Target Voltage (3.3V or 5V) |
| 3 | SCK | Input | Serial Clock (Synchronizes data) |
| 4 | MOSI | Input | Master Out, Slave In (Data to target) |
| 5 | RST | Input | Reset (Pulled low to enter programming mode) |
| 6 | GND | Ground | Common Ground reference |
Always verify pin 1 using the silkscreen indicator (usually a small dot or a thick trace) on your custom PCB before applying power. Reversing VCC and GND will instantly destroy the ATmega silicon.
Bootloader vs. Bare-Metal ISP: A Technical Comparison
Why choose ISP over the standard USB cable? The decision hinges on memory constraints, hardware design, and deployment environments.
| Parameter | UART Bootloader (Standard USB) | ISP Programmer (Bare-Metal) |
|---|---|---|
| Flash Memory Overhead | 512 bytes to 2KB (Optiboot/Standard) | 0 bytes (100% available for user code) |
| Startup Delay | ~1000ms (Waiting for serial sync) | ~0ms (Immediate execution) |
| Hardware Required | USB-to-Serial chip (CH340, ATmega16U2) | Dedicated ISP tool or secondary Arduino |
| Recovery Capability | None (Fails if fuses/clock are corrupted) | Full (Can rewrite fuses and flash) |
| Custom PCB Integration | Requires USB routing and serial chips | Requires only a 6-pin header and SPI traces |
Hardware Tiers for 2026: Which Programmer Do You Need?
The market offers several tiers of ISP programmers, ranging from makeshift solutions to professional debugging tools. Here is a breakdown of the most reliable hardware options available today.
1. The 'Arduino as ISP' Method (Cost: $0 - $5)
If you already own an Arduino Uno or Nano, you can turn it into an ISP programmer. By uploading the official ArduinoISP sketch from the IDE's examples menu, the board acts as a bridge between your computer's USB port and the target's SPI bus. Caveat: You must disable the auto-reset capacitor on the programmer Uno (or add a 10µF capacitor between RST and GND) to prevent the programmer itself from resetting when the IDE opens the serial port.
2. USBasp Clone (Cost: $5 - $9)
The ubiquitous blue USBasp dongles found on marketplaces are based on an ATmega8 running custom firmware. They are incredibly cheap and work well for basic 5V ATmega328P flashing. However, they lack voltage translation, making them risky for 3.3V microcontrollers like the ATmega328P-AU running at 8MHz or ATtiny85 chips powered by coin cells.
3. Pololu USB AVR Programmer v2.1 (Cost: ~$22.00)
For serious hobbyists and small-batch manufacturing, the Pololu USB AVR Programmer v2.1 is the gold standard. It features software-selectable voltage levels (3.3V or 5V), adjustable SPI clock speeds, and an integrated logic-level shifter. It safely powers low-voltage targets without risking silicon damage.
4. Microchip Atmel-ICE (Cost: ~$125.00+)
Professional engineers use the Atmel-ICE. It supports not only ISP, but also PDI, UPDI, JTAG, and debugWIRE. This allows for real-time hardware debugging (setting breakpoints, inspecting registers) on modern AVR and AVR Dx architectures, which is impossible with standard ISP flashing.
Step-by-Step: Recovering a Bricked ATmega328P
A 'bricked' ATmega328P usually means the fuse bits have been set to expect an external crystal oscillator, but none is present, or the SPIEN fuse has been accidentally disabled. Here is how to recover a chip configured for a standard 16MHz external crystal using an Arduino as ISP and the command-line tool avrdude.
- Wire the ICSP Header: Connect MISO, MOSI, SCK, RST, 5V, and GND from your programmer to the target ATmega328P.
- Provide a Clock Source: If the chip expects a crystal but lacks one, you must temporarily connect a 16MHz crystal and two 22pF capacitors to pins PB6 and PB7, or inject a 50% duty cycle 8MHz square wave into the XTAL1 pin using a secondary function generator.
- Execute the Avrdude Command: Open your terminal and run the following command to reset the fuses and flash a bare-metal blink hex file:
avrdude -c avrisp -p m328p -P COM3 -b 19200 -U lfuse:w:0xFF:m -U hfuse:w:0xDE:m -U efuse:w:0x05:m -U flash:w:blink.hex:i
Fuse Bit Breakdown:
- Low Fuse (0xFF): Disables CKDIV8, sets full-swing crystal oscillator, sets startup time to 16K CK.
- High Fuse (0xDE): Enables SPI programming (SPIEN), sets bootloader size to 1024 words (though we are bypassing it, this matches standard Uno configs).
- Extended Fuse (0x05): Sets Brown-out Detection (BOD) to 2.7V, preventing erratic behavior during power sag.
Edge Cases and Common Failure Modes
When working with an Arduino ISP programmer, you will inevitably encounter the dreaded avrdude: Device signature = 0x000000 error. This is rarely a dead chip; it is almost always a clock or timing mismatch.
The SPI Clock Speed Trap
The ISP protocol requires the programmer's SPI clock (SCK) to be strictly less than 1/4 of the target microcontroller's CPU clock frequency. If your target ATmega328P is running on its factory-default internal 8MHz oscillator (which is divided by 8, resulting in a 1MHz CPU clock), the maximum allowable ISP clock is 250kHz. If your programmer defaults to a 1MHz SPI clock, the target silicon cannot parse the incoming bits, resulting in a 0x000000 signature read failure. Always configure your programmer software to use a slow initial clock (e.g., 125kHz) for handshake, then scale up.
Missing Decoupling Capacitors
Custom PCBs often omit the mandatory 100nF (0.1µF) ceramic decoupling capacitor placed as close to the VCC/GND pins of the ATmega as physically possible. During ISP programming, the charge pump inside the silicon draws rapid current spikes. Without localized capacitance, the VCC rail dips, causing the internal state machine to reset mid-byte. If you are programming a bare ATmega on a breadboard, place a 100nF capacitor directly across pins 7 and 8, and another across pins 20 and 22.
The 100nF Auto-Reset Interference
Standard Arduino boards feature a 100nF capacitor between the DTR line of the USB-serial chip and the RST pin. When using the board as a target for an external ISP programmer, the toggling of the RTS/DTR lines by the IDE can inadvertently pulse the reset pin, pulling the chip out of programming mode right as the flash verification begins. To solve this, physically sever the auto-reset trace on the PCB or use a programmer that holds the RST line firmly low via a strong pull-down resistor during the entire flashing sequence.