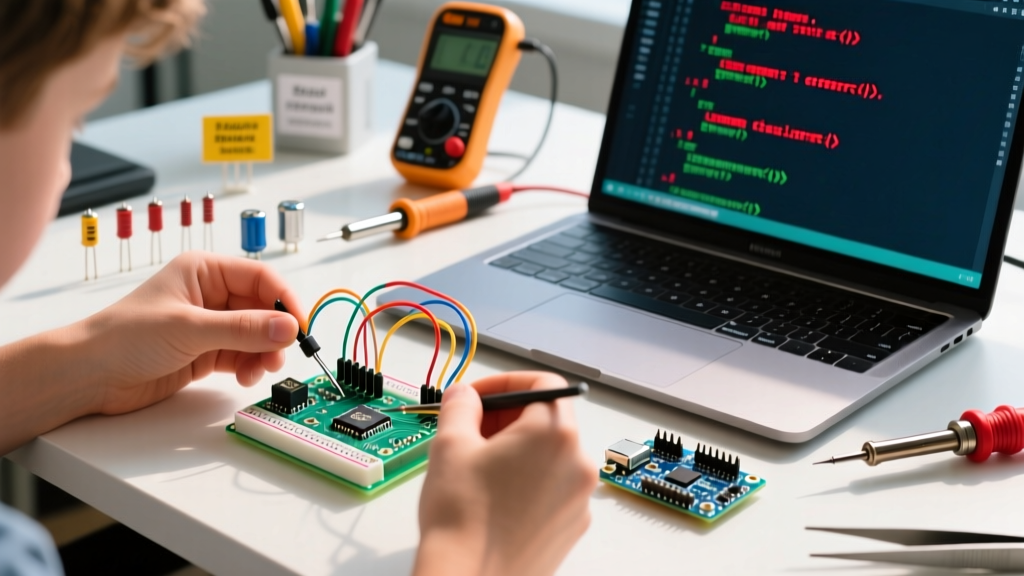

The Reality of Day-One Arduino Troubleshooting
When you first set out to learn how to program Arduino, the C++ syntax is rarely what stops you. Instead, it is the invisible wall of toolchain errors, driver conflicts, and hardware quirks that turn a highly anticipated weekend project into a frustrating debugging marathon. Whether you are unboxing a genuine Arduino Uno R4 Minima (typically priced around $27.50) or a bulk-pack ATmega328P clone (often under $8.00), the path from blinking an LED to reading sensor data is paved with cryptic IDE error messages.
This guide bypasses the generic advice found in basic tutorials and dives straight into the exact failure modes, hardware edge cases, and software conflicts that stall beginners. By mastering these five common roadblocks, you will spend less time fighting your development environment and more time actually building.
Error 1: The Grayed-Out Port and CH340 Driver Failures
The most immediate roadblock when trying to upload your first sketch is a grayed-out 'Port' menu in the Arduino IDE. This means your operating system detects a USB device but lacks the correct driver to establish a serial handshake.
Official Boards vs. Clone Boards
Genuine boards like the Uno R3 use an ATmega16U2 chip programmed as a USB-to-serial converter, which Windows and macOS natively recognize. However, the vast majority of budget starter kits use clone boards equipped with the CH340G or CH341A USB-to-serial chip to cut costs.
Expert Diagnostic Tip: Plug your board in and open your OS device manager. If you see 'USB2.0-Serial' with a yellow warning triangle, or if macOSls /dev/tty.*shows no newwchusbserialdevices, you have a CH340 driver issue.
The Fix: Manual Driver Binding
Do not rely on third-party driver executables from random blogs. According to the SparkFun CH340 Driver Installation Guide, the safest method for Windows 11 users is to force the generic USB serial driver or install the official WCH signed package.
- Open Windows Device Manager and locate the unrecognized 'USB2.0-Serial' device.
- Right-click and select 'Update driver', then 'Browse my computer for drivers'.
- Select 'Let me pick from a list of available drivers on my computer'.
- Choose 'Ports (COM & LPT)', then select 'WCH' or 'USB Serial Device' from the list.
- Click Next to force the binding. Your COM port will immediately appear in Arduino IDE 2.3.x.
Error 2: Avrdude stk500_recv() Programmer is Not Responding
You hit 'Upload', the IDE compiles successfully, and then the console spits out a wall of red text ending in avrdude: stk500_recv(): programmer is not responding. This is the most notorious error in the AVR ecosystem.
Understanding the Auto-Reset Circuit
Unlike modern microcontrollers, the ATmega328P requires a physical reset to enter its bootloader and accept new firmware. Genuine Arduino boards use a clever hardware trick: a 100nF capacitor wired between the USB-to-serial chip's DTR (Data Terminal Ready) line and the ATmega's RESET pin. When the IDE opens the serial port, the DTR line pulses low, pulling the reset pin low via the capacitor, and triggering the bootloader.
On cheap clone boards, this 100nF capacitor is sometimes missing, misaligned, or damaged by a static discharge. Consequently, the IDE sends the upload command, but the microcontroller never resets to listen for it.
The Fix: The Manual Reset Timing Trick
You can bypass the broken auto-reset circuit using precise manual timing:
- Connect your board and verify the correct COM port and board model are selected.
- Press and hold the physical 'RESET' button on the Arduino board.
- Click the 'Upload' button in the Arduino IDE.
- Watch the IDE console at the bottom. The moment the text changes from 'Compiling sketch...' to 'Done compiling.', release the RESET button.
- The IDE will immediately catch the bootloader window, and the upload will succeed.
Error 3: SRAM Depletion via String Objects
Beginners learning how to program Arduino often carry over habits from desktop programming, heavily utilizing the String object for text manipulation and serial logging. On a desktop, this is fine. On an ATmega328P with only 2KB of SRAM, it is a recipe for catastrophic memory leaks and random reboots.
The Hidden Cost of Concatenation
Every time you use the + operator to concatenate Strings, the microcontroller allocates a new block of memory, copies the data, and marks the old block as free. Because the AVR architecture lacks a sophisticated garbage collector, this leads to severe SRAM fragmentation. Eventually, the stack collides with the heap, and your board locks up or behaves erratically.
The Fix: Flash Strings and Character Arrays
According to the Microchip ATmega328P specifications, the chip features 32KB of Flash memory but only 2KB of SRAM. You must store static text in Flash using the F() macro.
// BAD: Consumes precious SRAM at runtime
Serial.println("System initialized, waiting for sensor data...");

// GOOD: Stores text in Flash (PROGMEM), leaving SRAM free
Serial.println(F("System initialized, waiting for sensor data..."));
For dynamic text, abandon the String class entirely and use fixed-size char arrays with snprintf() to format your outputs safely without triggering memory allocation routines.
Error 4: Arduino IDE 2.x Library Path Conflicts
The transition from Arduino IDE 1.8.x to the modern Arduino IDE 2.x architecture brought massive improvements in code completion and debugging, but it also changed how libraries are resolved. A common compilation error involves the IDE throwing 'multiple definition' or 'redefinition' errors for standard libraries like Wire.h or Servo.h.
The Root Cause: Ghost Libraries
This happens when you have old, manually extracted ZIP folders sitting in your Documents/Arduino/libraries directory that conflict with the board manager's built-in core libraries. IDE 2.x scans all subdirectories recursively. If it finds a legacy 'Servo' folder from 2018 alongside the modern AVR core Servo library, the compiler attempts to link both, resulting in a fatal halt.
The Fix: The Verbose Compilation Audit
- Go to File > Preferences and check 'Show verbose output during: compilation'.
- Compile your sketch and scroll to the very top of the console output.
- Look for the line starting with
Multiple libraries were found for "Servo.h". - The IDE will explicitly list the paths it found and state which one it 'Used' and which ones it 'Not Used'.
- Navigate to the 'Not Used' paths in your file explorer and delete or archive the conflicting legacy folders.
Error 5: Hardware-Level Diagnostics (When Software Fixes Fail)
If you have verified your drivers, nailed the manual reset timing, and optimized your code, but the board still refuses to accept an upload, you must pivot to hardware diagnostics. Learning how to program Arduino also means learning how to verify the physical layer.
Multimeter Triage
Grab a digital multimeter and perform these three critical checks:
- The 5V LDO Check: Set your multimeter to DC Voltage. Measure between the '5V' pin and 'GND'. You should read exactly 4.95V to 5.05V. If you read 3.3V or 0V, the onboard NCP1117 voltage regulator is blown, likely due to a short circuit on a breadboard.
- The USB Fuse Check: Genuine boards feature a 500mA resettable PTC fuse near the USB port. Measure resistance across the fuse. It should read under 1 ohm. If it reads open (OL), the fuse is tripped or dead.
- The I/O Pin Short Check: Set the multimeter to Continuity mode. Place the black probe on GND and touch the red probe to your digital I/O pins. You should not hear a continuous beep (except on pins tied to ground via internal pull-ups or LEDs). A dead short indicates a fried ATmega328P chip.
Troubleshooting Diagnostic Matrix
Use this quick-reference table to diagnose your specific failure mode and apply the correct solution.
| Symptom in IDE Console | Probable Root Cause | Exact Fix / Action Required |
|---|---|---|
| Port menu is entirely grayed out | Missing CH340 driver or dead USB cable | Install WCH driver; swap to a known data-capable USB cable |
| stk500_recv() programmer not responding | Auto-reset capacitor failure or wrong board selected | Use manual reset timing; verify 'AVR ISP' is not selected as programmer |
| Sketch uses 105% of program storage space | Unoptimized assets or massive local libraries | Move strings to PROGMEM; reduce buffer sizes in audio/display libraries |
| avrdude: verification error, first mismatch | Corrupted bootloader or failing external flash | Re-burn bootloader using a secondary Arduino as an ISP programmer |
| Upload succeeds but code runs at wrong speed | Wrong clock speed selected in Tools menu | Change Board setting to match hardware (e.g., 16MHz vs 8MHz internal) |
Final Thoughts on Mastering the Toolchain
The journey to learn how to program Arduino is as much about understanding the embedded systems environment as it is about writing C++. By treating errors not as roadblocks, but as diagnostic clues pointing toward a specific hardware or software mismatch, you transition from a passive kit-assembler to a capable embedded engineer. Keep your multimeter handy, maintain a clean library directory, and always verify your physical connections before blaming the code.