
The "Arduino 9V" Myth and the Onboard Regulator Reality
Search for "arduino 9v" in any maker forum, and you will inevitably find threads about melted barrel jacks, sudden board resets, and batteries that die in under an hour. For years, the classic Arduino starter kit included a 9V alkaline battery and a barrel jack adapter, cementing the idea that 9V is the ideal voltage for powering an Arduino Uno. From an electrical engineering perspective, however, feeding 9V into the Arduino's onboard linear regulator is one of the most inefficient and thermally taxing ways to power a microcontroller.
In 2026, with the widespread availability of high-efficiency switching regulators and the release of newer boards like the Arduino Uno R4, it is time to dismantle the 9V myth. While the Arduino's barrel jack technically accepts 7V to 12V (and up to 24V on the R4), the physical limitations of linear voltage regulation dictate that higher input voltages result in severe energy waste. This guide explores the thermodynamics of the Arduino 9V setup, real-world battery failure modes, and the modern buck converter solutions that professional engineers use to bypass these limitations.
Linear Regulator Thermodynamics: Why 9V Causes Overheating
The classic Arduino Uno R3 utilizes an NCP1117ST50T3G (or similar AMS1117-5.0) linear regulator to step the barrel jack voltage down to a stable 5V for the ATmega328P microcontroller. Linear regulators operate by burning off excess voltage as heat. The power dissipated as heat is calculated using a simple formula:
Power (Heat) = (Input Voltage - Output Voltage) × Current Draw
If you power your Arduino with a 9V battery and your circuit draws 100mA (a typical Uno with a basic sensor and an I2C OLED display), the regulator must drop 4V (9V - 5V).
Heat = 4V × 0.1A = 0.4 Watts.
While 0.4W sounds small, the SOT-223 surface-mount package used for this regulator has a thermal resistance ($\theta_{JA}$) of roughly 50°C/W to 100°C/W, depending on the copper pour of the PCB. A 0.4W dissipation raises the junction temperature by 20°C to 40°C above ambient. If you add a servo motor or an LCD backlight, pushing the current draw to 300mA, the heat dissipation jumps to 1.2W, raising the temperature by over 60°C. This triggers the regulator's internal thermal shutdown, causing your Arduino to randomly reboot.
Power Dissipation Matrix: 9V vs. 7V vs. 5V
To visualize why 9V is thermally punishing compared to lower voltages, review the dissipation matrix below, assuming a constant circuit draw of 200mA (a moderately loaded Uno).
| Input Source | Actual Input Voltage | Voltage Drop | Heat Dissipated | Regulator Temp Rise (Approx) |
|---|---|---|---|---|
| USB Power | 5.0V | 0V (Bypassed) | 0.0W | 0°C |
| 5V Pin Direct | 5.0V | 0V (Bypassed) | 0.0W | 0°C |
| 4x AA NiMH | 4.8V - 5.2V | ~0V | ~0.0W | 0°C |
| 7V Li-ion Pack | 7.4V (Nominal) | 2.4V | 0.48W | +24°C |
| 9V Alkaline | 9.0V (Fresh) | 4.0V | 0.80W | +40°C |
| 12V Adapter | 12.0V | 7.0V | 1.40W | +70°C (Danger Zone) |
As documented in the Arduino Uno Rev3 Documentation, the recommended input voltage is 7V to 12V, but the *optimal* thermal efficiency is achieved at the lowest possible voltage above the dropout threshold (which is ~1.1V for the NCP1117, meaning 6.1V is the absolute floor for a stable 5V output).
Real-World Failure Modes: The 9V Alkaline Sag
Beyond thermal issues, the physical chemistry of the standard PP3 9V alkaline battery makes it a poor choice for microcontrollers. A fresh Duracell 9V alkaline battery costs around $3.50 and offers a capacity of roughly 400mAh to 550mAh. However, its internal resistance is notoriously high—often exceeding 1.5 ohms.
The Voltage Sag Problem
When an Arduino boots up, or when a peripheral like a Wi-Fi module (e.g., ESP8266) attempts to transmit data, it creates a transient current spike of 200mA to 300mA. According to Ohm's Law (V = I × R), a 300mA spike across a 1.5-ohm internal resistance causes a voltage sag of 0.45V. If your battery has depleted slightly to 7.5V, this sag drops the terminal voltage to 7.05V. Factoring in the 1.1V dropout voltage of the linear regulator, the 5V rail collapses, resulting in a brownout reset. This is why makers frequently report that their Arduino 9V battery setup "keeps restarting" even when the battery tests at 8V on a multimeter with no load.
The USB-Rechargeable 9V Li-ion Alternative
To combat alkaline limitations, many makers have switched to USB-C rechargeable 9V Li-ion batteries (typically priced around $8.00 to $12.00 for a 650mAh cell). These batteries feature a much lower internal resistance and include a built-in boost converter to maintain a steady 9.0V output until they are completely depleted. While they solve the voltage sag problem, they do not solve the thermal inefficiency of the Arduino's onboard linear regulator. You are still paying to burn off 4V as heat.
The Modern Maker's Solution: Step-Down (Buck) Converters
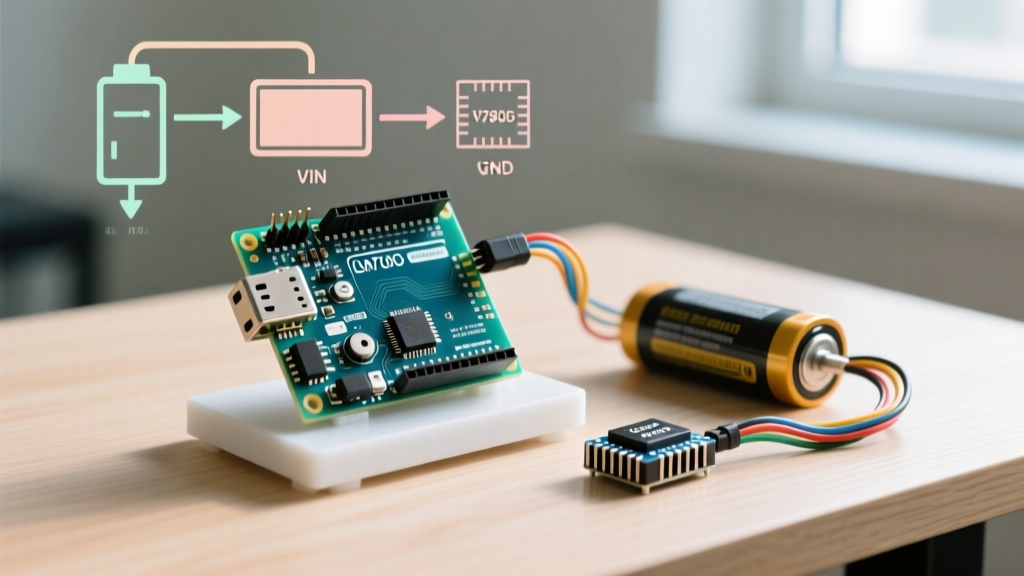
The professional approach to utilizing a 9V power source (whether a battery pack or a wall adapter) is to bypass the Arduino's linear regulator entirely using a switching step-down (buck) converter. Buck converters use inductors and high-frequency switching to step down voltage with 85% to 95% efficiency, generating almost zero heat.
The most popular and cost-effective module in 2026 is the MP1584EN buck converter, widely available for $1.50 to $2.50. It accepts an input of 4.5V to 28V and can output up to 3A of continuous current. For a deeper understanding of switching vs. linear topologies, the SparkFun Voltage Regulator Tutorial provides an excellent breakdown of the underlying electronics.
Step-by-Step: Wiring a Buck Converter to the 5V Pin
Warning: Feeding voltage directly into the Arduino's "5V" pin bypasses all onboard reverse-polarity and over-voltage protection. Precision is mandatory.
- Prepare the MP1584EN: Connect your 9V source to the IN+ and IN- terminals of the buck converter.
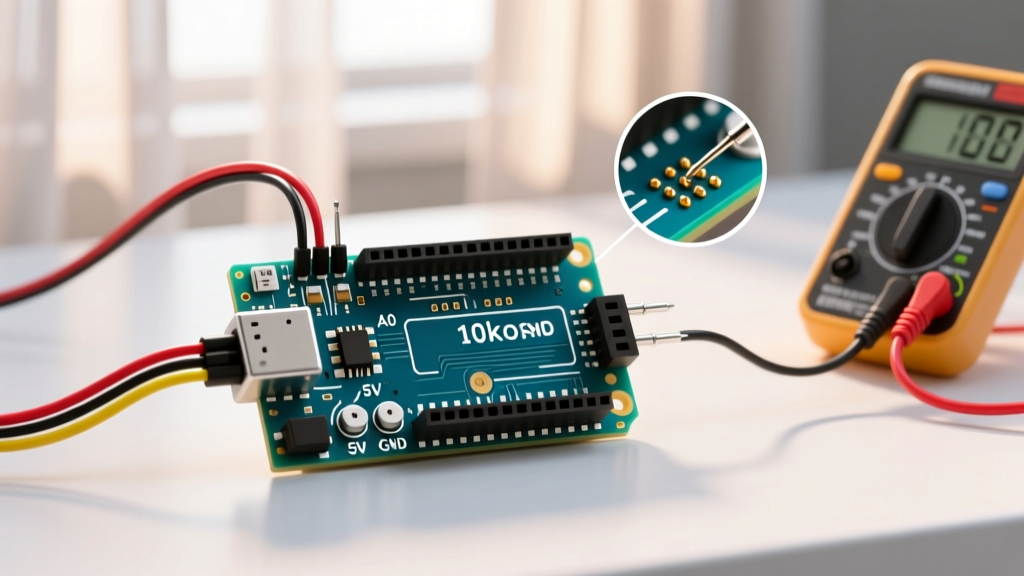
- Calibrate the Output: Using a digital multimeter, probe the OUT+ and OUT- terminals. Use a small flathead screwdriver to turn the blue potentiometer until the multimeter reads exactly 5.00V to 5.10V. Do not exceed 5.1V, or you risk destroying the ATmega328P and the USB-to-Serial IC.
- Secure the Potentiometer: Once calibrated, apply a tiny drop of hot glue or nail polish over the potentiometer screw to prevent it from vibrating out of calibration during operation.
- Wire to the Arduino: Connect the OUT+ of the buck converter to the 5V pin on the Arduino header. Connect OUT- to any GND pin.
- Disconnect USB: Never connect the USB cable while powering the Arduino via the 5V pin, as back-feeding 5V into your computer's USB port can damage your motherboard.
By using this method, a 9V battery will run significantly cooler, and your project will extract nearly double the usable runtime from the same chemical cell.
When is 9V Actually the Right Choice?
Despite the inefficiencies of the linear regulator, there are specific edge cases where feeding 9V into the Arduino barrel jack (or VIN pin) is the correct engineering decision:
- Legacy Motor Shields: Older shields, like the original Arduino Motor Shield R3, draw power directly from the VIN pin to drive high-current DC motors. If your motors require 9V, you must supply 9V to the board, accepting the thermal penalty on the logic-side regulator.
- High-Voltage Sensors: Certain industrial analog sensors require a 9V or 12V excitation voltage. In these setups, the 9V source is split: one path goes through a buck converter for the Arduino's 5V logic, and the raw 9V path goes directly to the sensor.
- Arduino Uno R4 Minima/WiFi: The R4 series utilizes a RAA21440150 LDO that is rated for up to 24V input. While it still dissipates heat linearly, the board's thermal vias and ground planes are vastly improved over the R3, making a 9V input much safer for moderate loads, though a buck converter is still preferred for battery-operated R4 projects.
Frequently Asked Questions
Can I power an Arduino Uno R4 with a 9V battery?
Yes. The Arduino Uno R4 architecture is designed to accept up to 24V via the barrel jack or VIN pin. However, the same laws of thermodynamics apply. If your R4 circuit draws 300mA at 9V, the onboard LDO will still dissipate over 1.2W of heat. For portable, battery-powered R4 projects, stepping the 9V down to 5V externally remains the most efficient choice.
Will a 9V battery damage my Arduino?
A 9V battery will not instantly damage your Arduino, as it falls within the official 7V-12V recommended range. The danger lies in prolonged thermal stress. Continuously running the onboard regulator at 100°C+ degrades the silicon over time and can cause adjacent components, like the 3.3V secondary regulator, to fail prematurely due to ambient heat soak on the PCB.
Why does my 9V battery drain in just two hours?
A standard alkaline 9V battery has a capacity of roughly 500mAh. If your Arduino and attached peripherals draw 150mA, the theoretical runtime is 3.3 hours. However, because the linear regulator wastes nearly 50% of the battery's energy as heat (dropping 9V to 5V), your effective usable capacity is drastically reduced. Switching to a 5V USB power bank or using a buck converter will easily triple your battery life.
For further reading on optimizing microcontroller power trees, refer to the comprehensive Arduino Powering Guide, which details the intricate differences between the USB, barrel jack, and VIN power paths across various board revisions.