
The Architecture of the ESP8266 Arduino Core
Transitioning from standard 8-bit AVR microcontrollers to 32-bit Wi-Fi-enabled IoT devices requires a fundamental shift in your toolchain. The ESP8266, originally designed by Espressif as a simple UART-to-Wi-Fi bridge, has evolved into a standalone powerhouse. However, the native Arduino IDE does not ship with the Xtensa LX106 compiler or the necessary esptool Python binaries out of the box. This is where the ESP8266 board manager becomes the critical bridge between your development environment and the silicon.
When you invoke the board manager, you are not merely downloading a few definition files. You are pulling down a complete cross-compilation toolchain, including the GCC compiler for the Tensilica architecture, the mkspiffs utility for filesystem generation, and the esptool bootloader flasher. Understanding this architecture is vital for troubleshooting the inevitable compilation and upload errors that plague IoT makers.
Pre-Flight: USB-to-UART Driver Dependencies
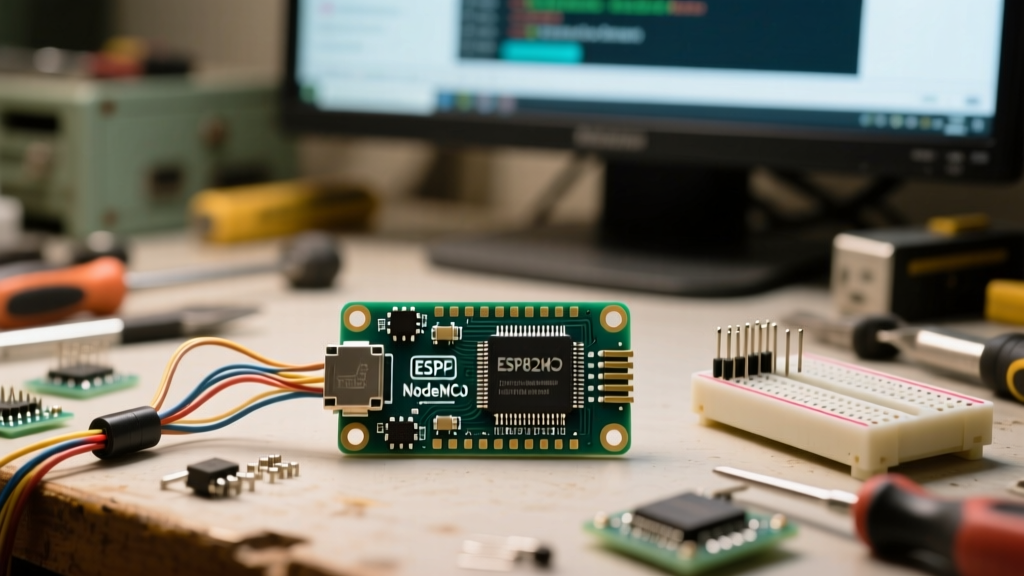
Before touching the Arduino IDE software, you must verify your hardware's USB-to-UART bridge. The ESP8266 board manager can compile code perfectly, but if your operating system cannot handshake with the development board's serial chip, your upload will fail. Maker boards typically utilize one of two serial bridge chips:
- CH340/CH340G: Found on 90% of clone Wemos D1 Mini and generic NodeMCU boards. Windows and macOS often require manual driver installation. If your device manager shows an unrecognized USB device with a VID/PID of
1A86:7523, you need the CH340 driver. - CP2102/CP2104: Common on official NodeMCU v2/v3 and premium Amica boards. These generally have better native OS support but still require Silicon Labs drivers on older Windows machines.
Pro-Tip: If you are using macOS Catalina or newer, the legacy CH340 drivers will cause kernel panics or silent failures. Ensure you download the latest macOS-signed CH340 driver directly from the manufacturer or use a verified open-source alternative to bypass the security blocks.
Injecting the Package Index JSON
The Arduino IDE relies on a centralized JSON index to locate third-party cores. To point the IDE to the official ESP8266 community repository, you must inject the specific package URL into your preferences.
- Open the Arduino IDE and navigate to File > Preferences (or Arduino IDE > Settings on macOS).
- Locate the field labeled Additional boards manager URLs.
- Paste the following secure HTTPS URL:
https://arduino.esp8266.com/stable/package_esp8266com_index.json
Note: While older tutorials suggest the HTTP version of this URL, modern versions of Arduino IDE (especially 2.x) enforce strict TLS/SSL security policies. Using the HTTPS endpoint prevents the Error downloading package index SSL handshake timeout.
For comprehensive documentation on how the IDE parses these JSON files, refer to the official Arduino Core Documentation.
Executing the ESP8266 Board Manager Download
Once the JSON URL is saved, the IDE fetches the index in the background. To initiate the installation:
- Navigate to Tools > Board > Boards Manager.
- In the search bar, type
esp8266. - You will see the package titled esp8266 by ESP8266 Community. As of 2026, version
3.1.2is the recommended stable release for most generic NodeMCU and Wemos boards, offering the best balance of LWIP (Lightweight IP) stack stability and Arduino 2.x compatibility. - Click Install. Expect a download of approximately 150MB to 200MB, depending on the cached toolchain components.
You can track the ongoing development and report edge-case compiler bugs directly on the ESP8266 Community GitHub Repository.
Board Variant Matrix: NodeMCU vs. D1 Mini vs. ESP-01
After installation, the Tools > Board menu will populate with dozens of ESP8266 variants. Selecting the wrong board profile is the leading cause of runtime crashes, specifically regarding SPIFFS (SPI Flash File System) memory allocation and OTA (Over-The-Air) update failures. Use the matrix below to select the correct profile based on your physical hardware.
| Physical Board | IDE Board Selection | Typical Flash Size | Recommended FS Configuration | Reset Method |
|---|---|---|---|---|
| NodeMCU 1.0 (ESP-12E/F) | NodeMCU 1.0 (ESP-12E Module) | 4MB (32Mbit) | FS:2MB OTA:~1019KB | ck / nodemcu |
| Wemos D1 Mini (Clone) | LOLIN(WEMOS) D1 R2 & mini | 4MB (32Mbit) | FS:2MB OTA:~1019KB | dtr (aka nodemcu) |
| Generic ESP-01 (Black/Blue) | Generic ESP8266 Module | 1MB (8Mbit) or 512KB | FS:64KB OTA:~470KB | ck (Manual GPIO0 pull-down) |
| ESP-12F (Adafruit Feather) | Adafruit Feather HUZZAH ESP8266 | 4MB (32Mbit) | FS:2MB OTA:~1019KB | nodemcu |
Deep Dive: Flash Mode and CPU Frequency Settings
Once your board is selected, the Tools menu reveals advanced hardware toggles that dictate how the ESP8266 interacts with its onboard SPI flash memory.
Flash Mode: DIO vs. QIO
The ESP8266 supports Quad I/O (QIO) and Dual I/O (DIO) flash modes. QIO is faster because it utilizes four data lines to read from the flash chip simultaneously. However, many budget clone boards (especially those using certain Winbond or XMC flash chips) lack the physical trace routing for QIO. If you upload a sketch using QIO to a DIO-only board, the ESP8266 will enter a bootloop, outputting garbage characters at 74880 baud. Rule of thumb: If your board crashes immediately after uploading, switch the Flash Mode to DIO.
CPU Frequency
The default clock speed is 80 MHz. You can safely push the ESP8266 to 160 MHz via the Tools menu to handle intensive cryptographic operations (like TLS handshakes for MQTT or HTTPS requests) without triggering the hardware watchdog timer (WDT). Be aware that running at 160 MHz increases thermal output and current draw by roughly 15-20%, which is a critical consideration for battery-powered deep-sleep applications.
Resolving Compilation and Download Timeout Errors
Even with the ESP8266 board manager correctly installed, the upload phase is notoriously fragile. Here is how to diagnose the most common failure modes:
1. The 'Timed out waiting for packet header' Error
This error occurs when esptool.py fails to force the ESP8266 into UART bootloader mode. The chip requires GPIO0 to be pulled LOW while the EN (CH_PD) pin is pulsed. If your board's auto-reset circuit (usually a pair of NPN transistors or a CP2102 DTR/RTS handshake) is failing, you must manually hold the FLASH or BOOT button on the board while pressing the **RESET** button, then release the FLASH button before the IDE begins the upload sequence.
2. java.lang.NullPointerException in IDE 1.8.x
If the board manager throws a Java Null Pointer Exception during installation, it is almost always caused by a corrupted local cache. Navigate to your local Arduino15 directory (~/.arduino15 on Linux/macOS or %LOCALAPPDATA%\Arduino15 on Windows), delete the package_esp8266com_index.json file, and clear the packages/esp8266 folder. Restart the IDE and re-trigger the download.
3. 'Fatal Error: ESP8266 Not Responding' at 921600 Baud
The board manager defaults to an upload speed of 921600 baud to save time. On longer USB cables, or when routing through unpowered USB hubs, signal degradation causes packet loss. Drop the Upload Speed in the Tools menu to 115200 or 460800 to restore upload stability.
Verifying the Toolchain: The Blink Test
Do not attempt to connect to Wi-Fi or initialize I2C sensors until you have verified the core toolchain. Open File > Examples > ESP8266 > Blink. Note that on many NodeMCU boards, the builtin LED is wired to GPIO2 (D4) and is active LOW. The board manager's example accounts for this via the LED_BUILTIN macro. Compile and upload. If the blue LED near the ESP-12E metal shield pulses at 1Hz, your ESP8266 board manager installation, driver stack, and flash memory interface are fully operational and ready for complex IoT firmware development.