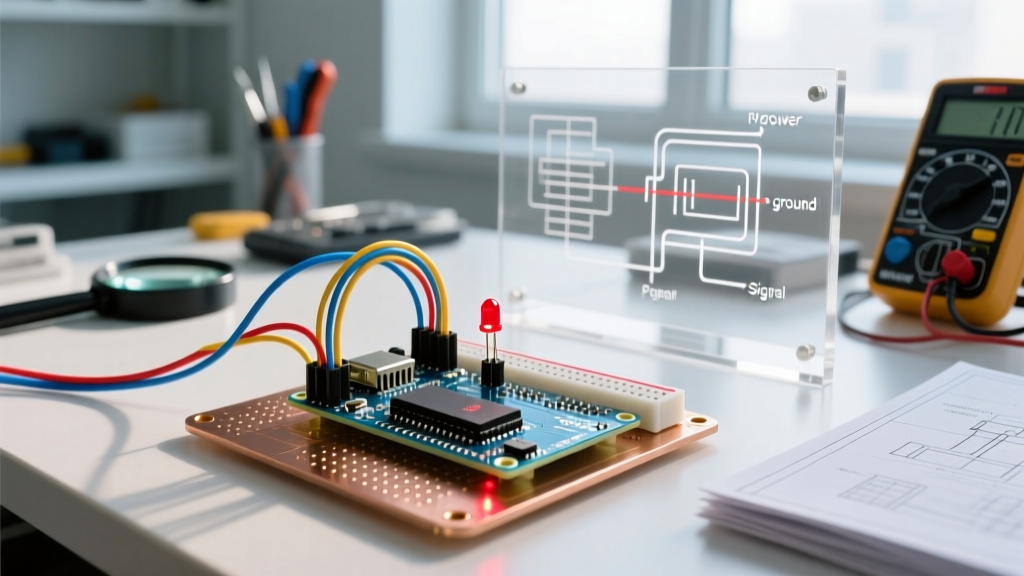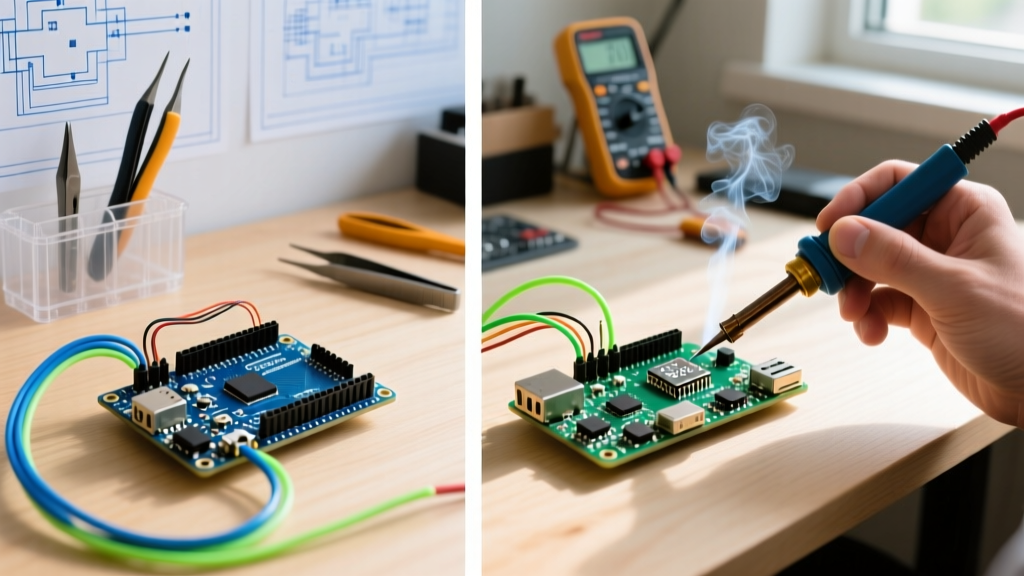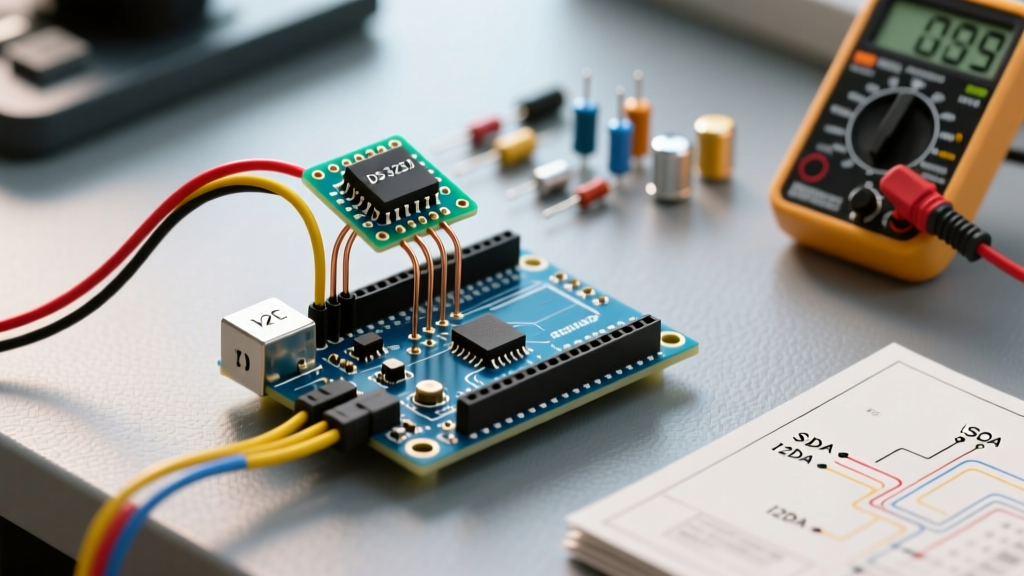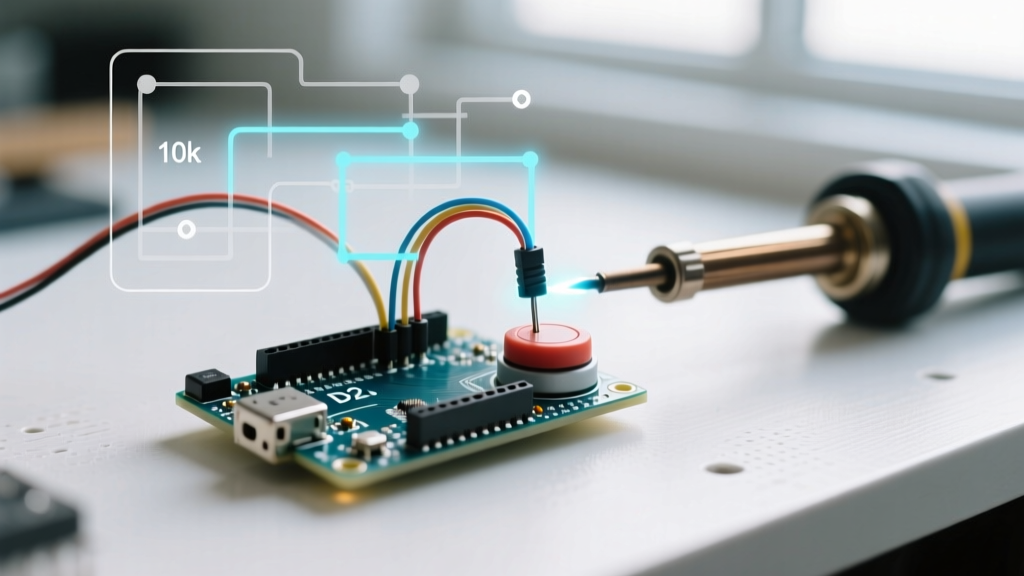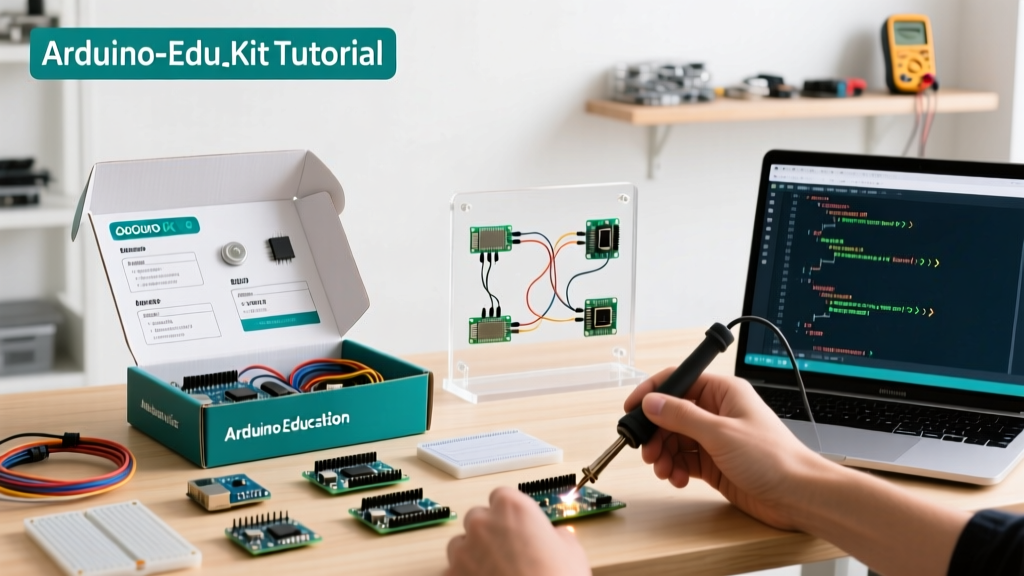

Deploying an Arduino education kit in a classroom or makerspace requires more than just handing out breadboards. With the recent hardware refreshes shifting standard kits toward the UNO R4 architecture, educators must adapt their lesson plans, software deployment strategies, and troubleshooting workflows. This comprehensive guide details exactly how to unbox, configure, and teach foundational electronics using the modern Arduino education kit ecosystem, ensuring your STEM lab runs efficiently from day one.
Inventory Management and Hardware Preparation
Before students touch a single jumper wire, the educator must establish a rigorous inventory system. The modern Arduino Education Starter Kit (typically priced around $115 USD per student, or $950 for a 10-seat classroom pack) includes a curated selection of through-hole components. Missing a single 10kΩ pull-down resistor can stall an entire lesson on voltage dividers.
Core Component Checklist
| Component | Quantity | Specification / Value | Pedagogical Purpose |
|---|---|---|---|
| Microcontroller | 1 | UNO R4 Minima (Renesas RA4M1) | Core logic, ARM Cortex-M4 introduction |
| Breadboard | 1 | Half-size, 400 tie-points | Prototyping without soldering |
| Resistors | Assorted | 220Ω, 1kΩ, 10kΩ (1/4W) | Current limiting, voltage dividers |
| Sensors | 3 | TMP36 (Temp), Photoresistor (LDR) | Analog-to-Digital Conversion (ADC) |
| Actuators | 4 | 5mm LEDs (Red, Green, Blue, Yellow) | Digital output, GPIO logic |
Pro-Tip: Use compartmentalized plastic storage boxes (like the Stenshult or similar 24-grid cases) and assign a 'Hardware Manager' role to a student in each group to audit components at the end of every 50-minute period.
Software Deployment: Local IDE vs. Arduino Cloud
Your software strategy depends entirely on your school's IT infrastructure and device fleet.
Scenario A: The Chromebook Cart (Arduino Cloud)
If your school relies on ChromeOS devices, local IDE installation is impossible due to OS restrictions. You must use the Arduino Cloud for Education. Create a free educator account, set up your 'Classroom' organization, and generate student enrollment links. The web-based editor compiles code on Arduino's servers and pushes the binary to the UNO R4 via the WebUSB API. Ensure your IT department whitelists *.arduino.cc and allows WebUSB device passthrough in the Chrome admin console.
Scenario B: Windows/Mac Lab (Arduino IDE 2.3+)
For traditional computer labs, download the Arduino IDE 2.x. To prevent students from cluttering the host machine's AppData folders or altering global preferences, launch the IDE in 'Portable Mode'. Simply create an empty folder named portable inside the IDE's installation directory. All libraries, board packages, and sketches will now save locally to that folder, making it easy to deploy via a network image or USB drive.
Critical Hardware Shift: Understanding the UNO R4 Architecture
The most common point of failure for veteran educators is treating the new UNO R4 Minima (included in recent kit refreshes) exactly like the legacy UNO R3. The R3 utilized the ATmega328P, a native 5V microcontroller. The UNO R4 is powered by the Renesas RA4M1, an ARM Cortex-M4 processor that natively operates at 3.3V logic.
WARNING: While the UNO R4 features 5V-tolerant GPIO pins on the standard digital headers, specific pins (like the I2C SDA/SCL lines and certain analog reference pins) are strictly 3.3V. Connecting a 5V sensor directly to the I2C bus without a logic level shifter will permanently damage the Renesas chip. Always verify the pinout diagram for 5V tolerance indicators before wiring external modules.
Step-by-Step Tutorial: Analog Sensor Calibration
Let us walk through the foundational 'Voltage Divider' lesson, a mandatory prerequisite for understanding Analog-to-Digital Conversion (ADC). We will use the photoresistor (Light Dependent Resistor, or LDR) included in the kit.
Step 1: Wiring the Circuit
- Insert the LDR into the breadboard, straddling the center trench.
- Connect one leg of the LDR to the 5V rail.
- Connect a 10kΩ resistor from the same LDR leg to the Ground (GND) rail. This creates the voltage divider.
- Run a jumper wire from the junction of the LDR and the 10kΩ resistor to Analog Pin A0 on the UNO R4.
Step 2: The Calibration Sketch
Upload the following code to establish a baseline mapping of ambient light to the 10-bit ADC range (0-1023 for standard analogRead, though the R4 supports 14-bit resolution via advanced API, we will stick to 10-bit for backward compatibility with legacy lesson plans).
const int sensorPin = A0;
int sensorValue = 0;

void setup() {
  Serial.begin(9600);
  // Configure the ADC resolution (Optional on R4, defaults to 10-bit in standard API)
  analogReadResolution(10);
}

void loop() {
  sensorValue = analogRead(sensorPin);
  // Map the raw ADC value to a voltage (0.0 to 5.0V)
  float voltage = sensorValue * (5.0 / 1023.0);

  Serial.print("Raw ADC: ");
  Serial.print(sensorValue);
  Serial.print(" | Voltage: ");
  Serial.println(voltage);

  delay(250); // 4Hz sampling rate
}
Step 3: Data Analysis
Have students open the Serial Plotter (Tools > Serial Plotter). Ask them to cover the LDR with their hands and observe the voltage drop. This visual feedback bridges the gap between abstract code and physical phenomena.
Troubleshooting Matrix for the Classroom
When 30 students are compiling simultaneously, errors will compound. Keep this diagnostic matrix printed at the front of the lab.
| Symptom | Root Cause | Educator Fix |
|---|---|---|
| 'Port' menu is greyed out | Missing Renesas UNO R4 board package or WebUSB block. | Install 'Arduino UNO R4 Boards' via Board Manager. Check Chrome WebUSB policies. |
| avrdude: stk500_recv() timeout | Bootloader crash or incorrect board selected (e.g., R3 instead of R4). | Verify board selection. Double-tap the reset button to force the RA4M1 into ROM bootloader mode. |
| Serial Monitor shows garbled text | Baud rate mismatch between Serial.begin() and monitor. | Ensure the Serial Monitor dropdown is set exactly to 9600 baud. |
| ADC readings fluctuate wildly | Floating pin or missing pull-down resistor. | Verify the 10kΩ resistor is firmly seated in the GND rail. |
Aligning Projects with ISTE Standards
To justify the procurement of an Arduino education kit to school administrators, map your curriculum to recognized frameworks. The ISTE Standards for Students emphasize the 'Innovative Designer' and 'Computational Thinker' profiles. By requiring students to iterate on their voltage divider circuits (e.g., swapping the 10kΩ resistor for a 4.7kΩ to change the sensitivity curve), you directly satisfy ISTE Standard 4 (Innovative Designer), which mandates that students select and use digital tools to plan and manage a design process, including iterative prototyping and testing.
Mastering the deployment of an Arduino education kit is an ongoing process of refining both your technical infrastructure and your pedagogical approach. By respecting the hardware's architecture, managing your software environment rigorously, and anchoring projects in real-world data analysis, you transform a simple box of components into a powerful engine for STEM literacy.