
The Breadboard Trap: Why Basic Arduino to DMX Builds Fail
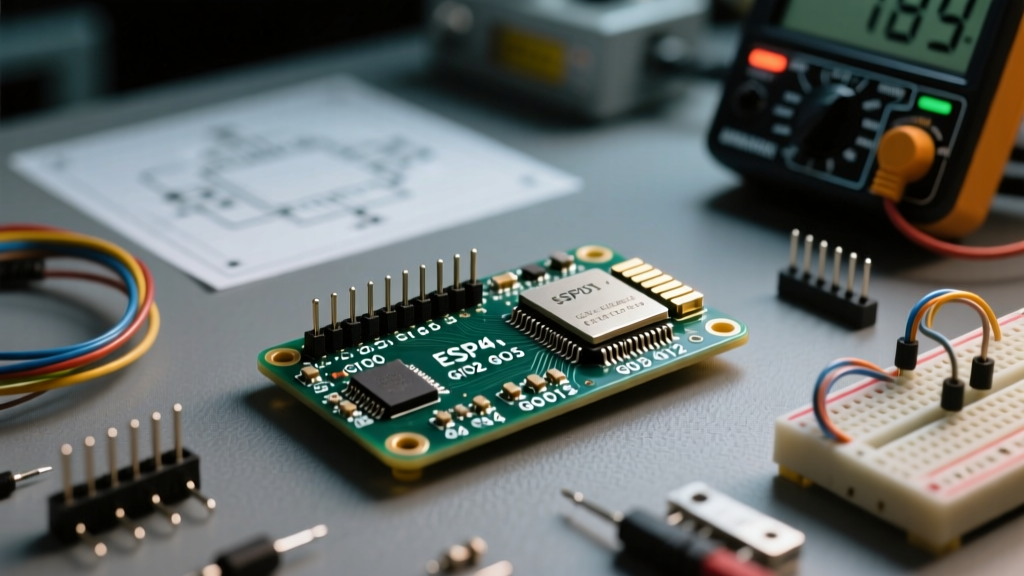
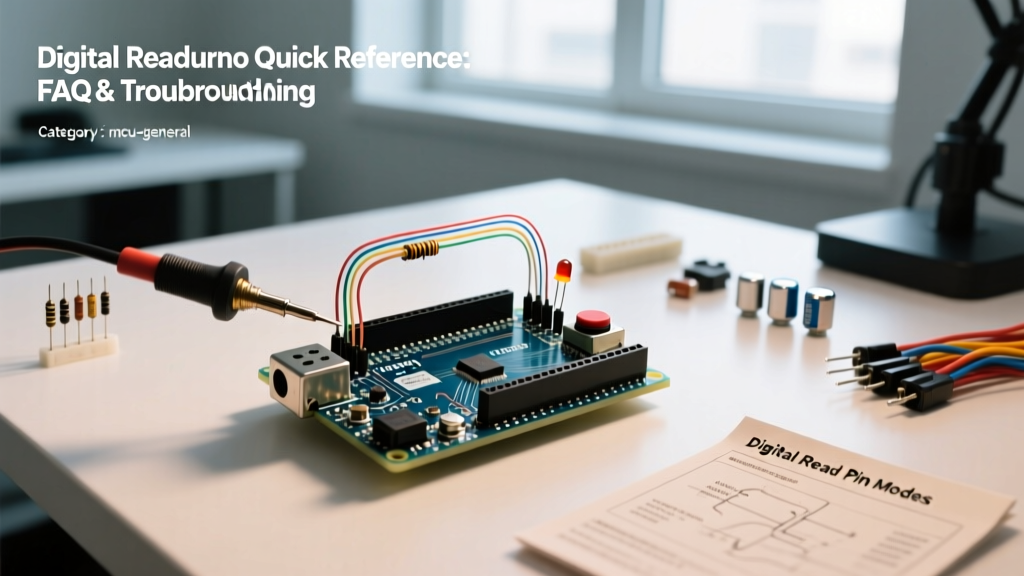
Every lighting hacker starts in the same place: an Arduino UNO, a cheap MAX485 breakout board, a breadboard, and a tangled mess of jumper wires. While this rudimentary arduino to dmx setup is perfect for learning the basics of serial communication and toggling a single PAR can on your desk, it is fundamentally unsuited for real-world stage, architectural, or installation environments. As your fixture count grows and cable runs extend beyond a few meters, basic setups inevitably succumb to signal degradation, timing jitter, and catastrophic ground loops.
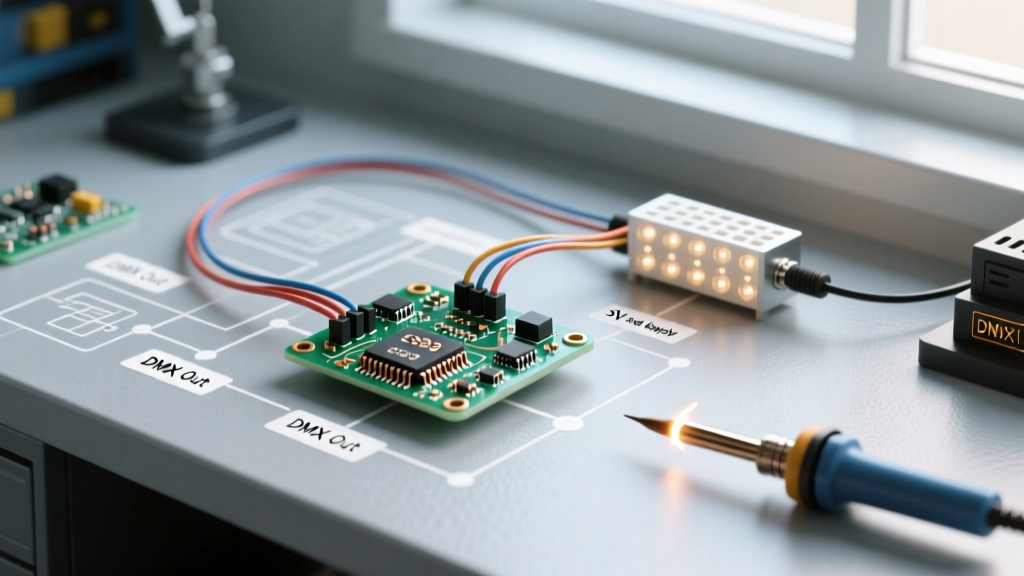
In 2026, the maker ecosystem offers robust, professional-grade alternatives that bridge the gap between DIY microcontrollers and commercial lighting consoles. Migrating from a barebones RS-485 breadboard build to an isolated, hardware-UART-driven DMX node requires a strategic upgrade in hardware topology, microcontroller selection, and software libraries. This guide provides a comprehensive migration path to transform your fragile prototype into a reliable, tour-ready DMX controller.
Hardware Migration Matrix: Moving Beyond the MAX485
The MAX485 is a 5V RS-485 transceiver designed for short-distance, low-speed industrial networks. It lacks the slew-rate limiting required for pristine DMX512-A signal edges and offers zero galvanic isolation. Upgrading your physical layer is the most critical step in your migration.
| Hardware Setup | Est. Cost (2026) | Galvanic Isolation | RDM Capable | Migration Verdict |
|---|---|---|---|---|
| Breadboard MAX485 | $2 - $4 | No | No | Retire immediately for live events. |
| Conceptinetics DMX Shield | $55 - $65 | Yes (Opto-isolated RX) | Limited | Excellent drop-in upgrade for legacy AVR Arduinos. |
| ESP32 + ISO3082 / SN75176 | $12 - $18 | Yes (Full Isolation) | Yes (Bidirectional) | Best overall value for modern, networked lighting nodes. |
| DMXking leDMX4 Pro | $299+ | Yes (Port isolated) | Yes | Commercial grade; use if Arduino is acting as a bridge. |
The Case for the ESP32-S3 and Isolated Transceivers
If you are migrating a permanent installation or a live-event rig, abandon the ATmega328P (Arduino UNO/Nano). The AVR architecture relies heavily on software interrupts to generate the strict DMX break and mark-after-break (MAB) timings, which can cause jitter if your sketch includes Wi-Fi, display updates, or complex sensor polling. The ESP32-S3, paired with a dedicated isolated RS-485 transceiver like the Texas Instruments ISO3082 or a standard SN75176 paired with a 6N137 optocoupler, offloads DMX timing to dedicated hardware UART peripherals. This ensures microsecond-perfect packet transmission regardless of your main loop's workload.
Software Upgrades: Ditching Legacy Libraries
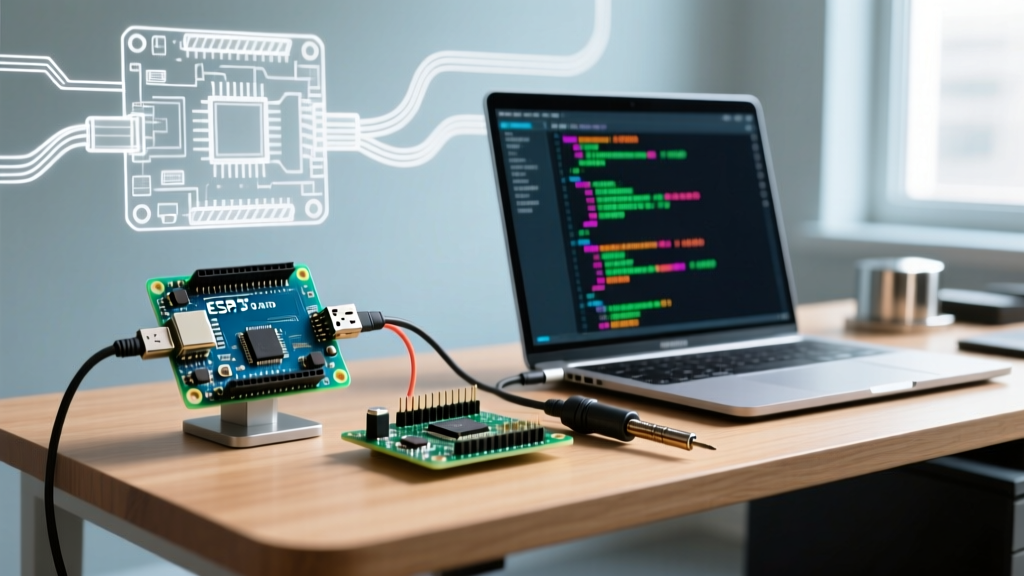
The classic Conceptinetics library served the AVR community well, but it is largely unmaintained and lacks support for modern protocols like RDM (Remote Device Management) or sACN/Art-Net bridging. When migrating to an ESP32-based arduino to dmx node, you must adopt libraries that leverage the ESP-IDF hardware UART drivers.
Recommended Library: esp_dmx
The esp_dmx library by Mitch Weisberg is currently the gold standard for ESP32 DMX migration. Unlike older libraries that block the main thread or rely on fragile timer interrupts, esp_dmx utilizes the ESP32's native UART hardware and DMA (Direct Memory Access) buffers. This allows your sketch to read and write DMX data asynchronously while simultaneously hosting a web server, processing OSC messages over Wi-Fi, or driving NeoPixel strips.
Pro-Tip for RDM Migration: If your new lighting fixtures support RDM,
esp_dmxallows your ESP32 to send discovery requests and patch fixtures automatically, a feature entirely impossible on standard AVR Arduinos due to RAM and half-duplex RS-485 limitations.
Rewire Your Topology: The ANSI E1.11 Standard
Software and shields are useless if your physical cabling violates the Open Lighting Project's DMX512 guidelines. During migration, audit your physical topology against these non-negotiable rules:
- Abandon 3-Pin XLR for Critical Runs: While many budget fixtures use 3-pin XLR, the official ANSI E1.11 standard dictates 5-pin XLR. Pins 4 and 5 are reserved for secondary data pairs (or future use). On some legacy audio equipment, pins 4 and 5 carry phantom power or audio signals. Plugging a 3-pin to 5-pin adapter into the wrong console can fry your microcontroller's transceiver instantly.
- Implement Signal Termination: DMX is a high-frequency (250 kbaud) digital signal. When the signal reaches the end of the cable chain, it reflects back, causing data collisions and flickering fixtures. You must install a 120-ohm, 0.25W carbon film resistor between Data+ (Pin 3) and Data- (Pin 2) on the final fixture in your daisy chain.
- Respect the 32-Device Limit: A single RS-485 transceiver can only drive 32 unit loads. If you are upgrading to a 60-fixture rig, you must introduce an active DMX splitter (like the Enttec Open DMX Splitter or a generic 4-port opto-splitter) rather than simply daisy-chaining everything together.
- Never Use Y-Cables: DMX requires a strict daisy-chain (bus) topology. Star or tree wiring configurations created by splitting cables will cause signal reflections that corrupt the data stream.
Troubleshooting Common Migration Failures
Even after upgrading to isolated shields and proper libraries, makers frequently encounter edge cases during the commissioning phase. Here is how to diagnose the most common post-migration failures:
Fixture Flickering and Random Strobe Resets
The Cause: Missing termination resistor or excessive cable capacitance. The Fix: Verify the 120-ohm resistor on the last fixture. If using cheap, unshielded microphone cables instead of proper 110-ohm impedance DMX cable, the capacitance will round off the square-wave signal edges at lengths over 15 meters. Swap to proper AES/EBU or DMX-rated cable.
ESP32 Randomly Rebooting or UART Panics
The Cause: Ground loops destroying the transceiver. If you are using a non-isolated setup and a lighting fixture experiences a power fault, the voltage differential between the fixture's chassis ground and your laptop's USB ground can exceed 50V, instantly vaporizing the MAX485 IC and sending a lethal spike into the ESP32's GPIO pins. The Fix: Ensure your transceiver circuit includes high-speed optocouplers (like the 6N137) on the RX/TX lines, and an isolated DC-DC converter (like the B0505S) to power the fixture-side of the RS-485 chip. Galvanic isolation is not optional for live events.
sACN / Art-Net Bridging Latency
The Cause: Wi-Fi power saving modes on the ESP32.
The Fix: When migrating to a wireless arduino to dmx bridge, the ESP32's default Wi-Fi modem sleep will introduce 100ms+ latency spikes, causing lighting chases to stutter. In your setup code, explicitly disable Wi-Fi power saving using esp_wifi_set_ps(WIFI_PS_NONE) before initializing your network stack.
Summary: Is the Migration Worth It?
Migrating from a basic breadboard build to a professional arduino to dmx node requires an investment of roughly $25 to $60 in hardware and a weekend of rewiring and code refactoring. However, the dividends paid in reliability, safety, and capability are immense. By adopting hardware-UART-driven ESP32 boards, implementing proper galvanic isolation, and adhering strictly to RS-485 topology rules, you elevate your project from a fragile hobbyist experiment to a robust tool capable of handling professional stage and architectural lighting demands.
For further reading on commercial control protocols and networked lighting standards, refer to the ESTA Technical Standards Program to ensure your custom nodes remain compliant with industry-wide interoperability requirements.