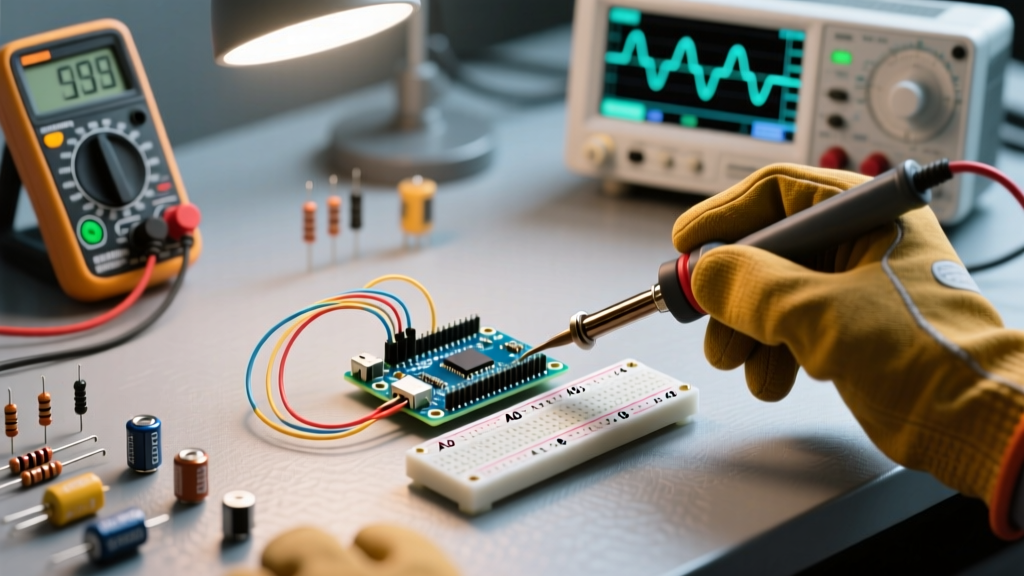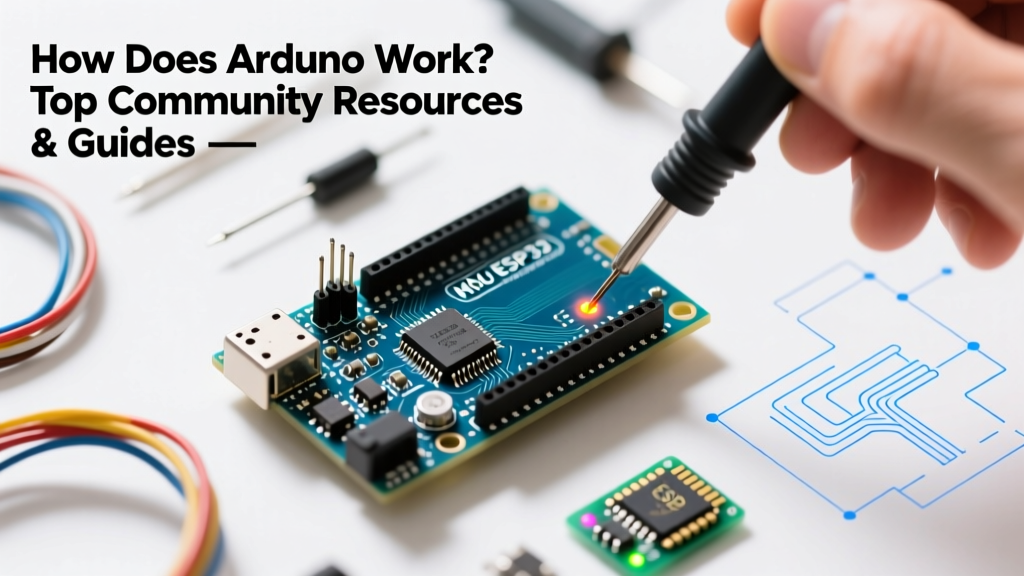

Demystifying the Magic: How Does Arduino Work Under the Hood?
When beginners first ask how does Arduino work, they are usually mesmerized by the simplicity of uploading a sketch and watching an LED blink. But beneath the user-friendly IDE and the iconic blue PCB lies a complex interplay of silicon architecture, bootloaders, C++ abstraction, and serial communication protocols. While the official documentation provides a great starting point, the true depth of Arduino knowledge lives within the global maker community. In this 2026 community resource roundup, we bypass the superficial tutorials and dive deep into the hardware, firmware, and software layers that make these microcontrollers tick, curating the best community-driven tools and forums along the way.
The Silicon Layer: From ATmega328P to Renesas RA4M1
To understand the platform, you must first understand the silicon. The classic Arduino Uno R3 is built around the Microchip ATmega328P-PU, an 8-bit AVR microcontroller clocked at 16 MHz via an external quartz crystal. It operates at 5V logic and features 32 KB of ISP flash memory, 2 KB of SRAM, and 1 KB of EEPROM. According to the official Arduino Uno Rev3 hardware documentation, the board routes the ATmega's hardware UART (pins 0 and 1) through a USB-to-Serial bridge (historically the ATmega16U2) to communicate with your PC.
However, the landscape has evolved. If you are studying modern boards like the Arduino Uno R4 Minima or WiFi, the architecture shifts dramatically to the Renesas RA4M1, a 32-bit ARM Cortex-M4 running at 48 MHz. Understanding how these distinct architectures handle interrupts, memory mapping, and peripheral registers is crucial. Community resources like AVR Freaks remain the gold standard for deep-dive discussions on 8-bit AVR register manipulation, while ARM-specific forums handle the complexities of the newer 32-bit Cortex-M ecosystem.
Memory Architecture and Failure Modes
A common failure mode for beginners is misunderstanding the Harvard architecture of the ATmega328P, which separates program memory (Flash) from data memory (SRAM). When you declare large global arrays, you consume the limited 2 KB of SRAM. If the heap and stack collide due to SRAM exhaustion, the microcontroller will exhibit erratic behavior, random reboots, or silent failures. Community-developed tools like the MemoryFree library are essential for monitoring SRAM usage in real-time during development.
The Bootloader: Optiboot and the STK500 Protocol
How does your compiled code actually get onto the chip without an external hardware programmer? The answer is the bootloader. The Uno uses Optiboot, a highly optimized piece of firmware that occupies just 512 bytes of the 32 KB flash memory, leaving 32,256 bytes for your user sketches.
Expert Insight: When you press the reset button, the ATmega328P restarts and the Optiboot bootloader takes over. It listens on the UART for a specific sync byte defined by the STK500 protocol at 115200 baud. If it detects a valid programming handshake from the IDE (via
avrdude), it enters programming mode and writes the incoming hex data to the flash memory. If no handshake is detected within a timeout window (usually around 500ms), it jumps to the start of the user application.
If you accidentally corrupt the bootloader—often caused by uploading raw C code via an ICSP programmer without the -U flash:w:sketch.hex:i flag properly preserving the boot section—the board will appear 'bricked.' The community standard for recovery is using a USBasp ICSP programmer (typically costing around $4 to $8 online) to re-flash the Optiboot hex file directly via the SPI headers (pins 11, 12, 13, and Reset).
The Abstraction Layer: Wiring and AVR-GCC
The core reason for the platform's massive adoption is its hardware abstraction layer (HAL). When you write digitalWrite(13, HIGH);, you are using the Wiring API. Under the hood, the Arduino Core translates this into highly optimized AVR-GCC assembly instructions.
For pin 13 (which maps to Port B, Bit 5 on the ATmega328P), the compiler optimizes the function call down to a single assembly instruction: sbi(PORTB, 5) (Set Bit in I/O Register). This instruction executes in exactly 2 clock cycles. At 16 MHz, that means the pin transitions in just 125 nanoseconds. Understanding this translation from high-level C++ to low-level assembly is what separates hobbyists from embedded engineers. Community-maintained repositories on GitHub, such as the ArduinoCore-avr source code, allow you to trace exactly how functions like analogRead() configure the ADC multiplexer and trigger conversions.
Community Simulation and Debugging Tools
You do not always need physical hardware to understand how the microcontroller executes code. The community has built incredible simulation environments that model the silicon behavior, peripheral registers, and external circuitry. Below is a comparison of the top community-recommended simulation platforms available today.
| Tool / Platform | Architecture Support | Best Use Case | Pricing (2026) |
|---|---|---|---|
| Wokwi | AVR, ESP32, RP2040, STM32 | Real-time code execution, WiFi simulation, CI/CD integration | Free (Hobbyist) / $9/mo (Pro) |
| SimulIDE | AVR, PIC, Arduino | Deep electronic circuit simulation, analog component modeling | Free (Open Source) |
| Tinkercad Circuits | AVR (Uno/Micro only) | Beginner visual wiring, block-to-text coding transitions | Free (Autodesk Account) |
| Proteus VSM | Extensive MCU library | Professional PCB design integration, advanced debugging | ~$300+ (Commercial License) |
According to the Wokwi project documentation, their simulator actually compiles your code using the real GCC toolchain and executes it on a virtual CPU, meaning timing-dependent code (like bit-banging WS2812B NeoPixels) behaves exactly as it would on physical silicon. This makes it an indispensable resource for understanding peripheral timing constraints without risking hardware damage.
Essential Community Hubs for Deep Troubleshooting
When you move beyond basic sketches and start dealing with I2C bus capacitance issues, SPI clock divider mismatches, or DMA (Direct Memory Access) configurations, standard search engines often fall short. Here are the community hubs where the real embedded engineering discussions happen:
- The Arduino Forum (Hardware & Avrdude sections): While the general sections are filled with beginner questions, the 'Microcontrollers' and 'Avrdude, STK500, Bootloader' sub-forums are treasure troves of legacy knowledge maintained by veteran users like 'CrossRoads' and 'pert'.
- EEVblog Forum (Microcontrollers & FPGA): Hosted by Dave Jones, this forum is populated by professional electrical engineers. If you want to know how the Arduino's switching voltage regulator handles transient loads or how to properly decouple the ATmega's VCC pins with 100nF ceramic capacitors, this is the place to ask.
- Nick Gammon’s Arduino/AVR Pages: Though older, Nick Gammon’s personal site remains one of the most authoritative community resources on the internet. His deep-dive articles on ATmega sleep modes, interrupt service routines (ISRs), and I2C bus arbitration are required reading for anyone wanting to master low-power Arduino design.
Mastering the Toolchain
Ultimately, understanding how the platform works means understanding the toolchain. The IDE is just a graphical wrapper around avr-gcc (the compiler), avr-g++ (the C++ compiler), and avr-objcopy (which extracts the raw binary from the ELF file into an Intel HEX format). By enabling 'Show Verbose Output during Compilation' in the IDE preferences, you can watch the exact command-line arguments passed to the toolchain, demystifying the build process and allowing you to integrate Arduino libraries into professional environments like Visual Studio Code with PlatformIO.
Conclusion
Answering the question of how this ecosystem works requires looking past the simplified setup() and loop() paradigm. It requires an appreciation for the 8-bit and 32-bit silicon architectures, the UART bootloading protocols, and the C++ abstraction layers that bridge human logic to machine code. By leveraging community simulators like Wokwi, studying the AVR-GCC compilation process, and engaging with veteran engineers on dedicated forums, you transition from merely copying code to engineering robust, production-ready embedded systems.