
Quick Reference: Choosing Your Capacitive Touch Method
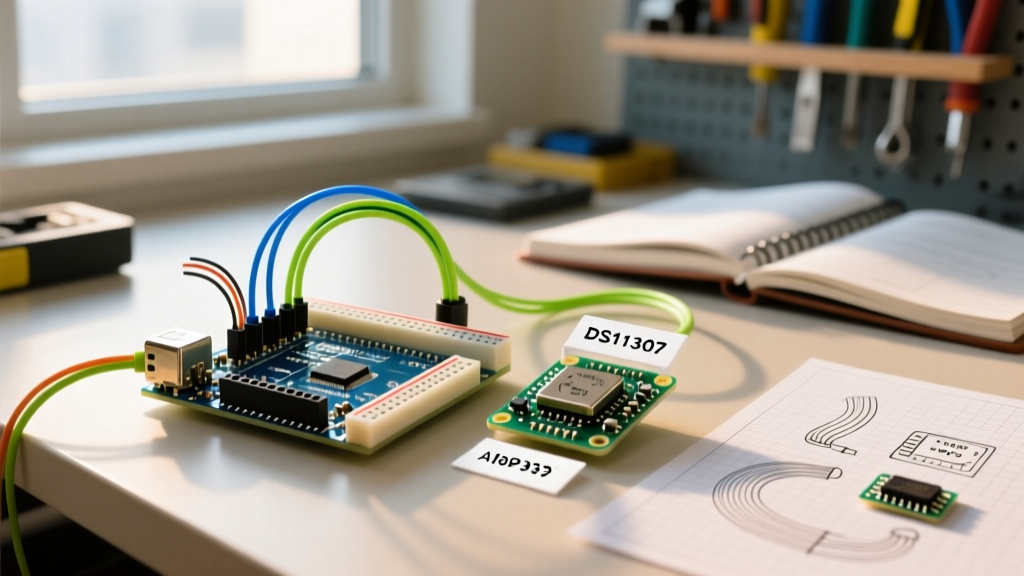
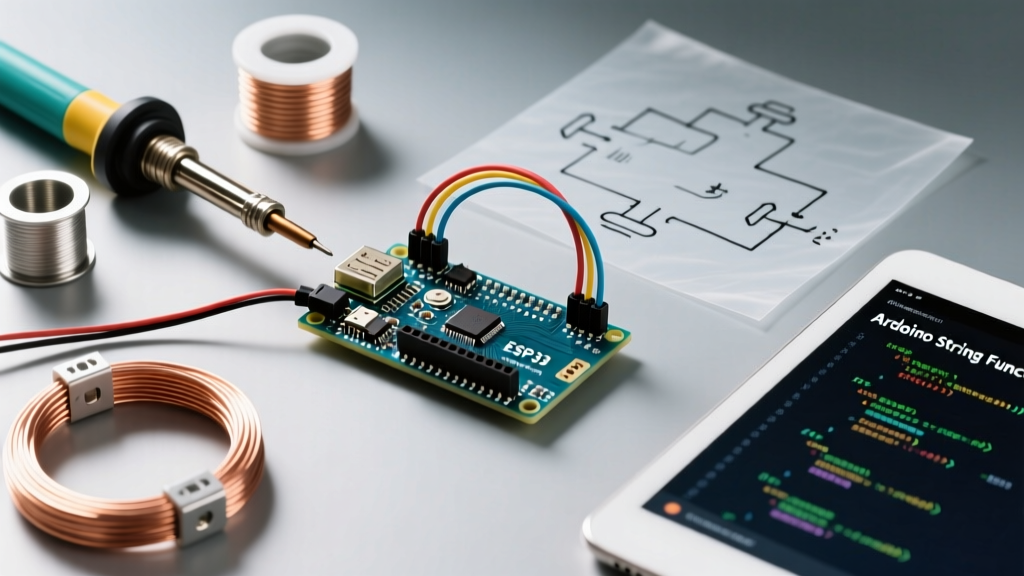
Integrating a capacitive touch switch Arduino project eliminates mechanical wear and allows for sealed, waterproof enclosures. However, the underlying physics of measuring picofarad-level capacitance changes requires specific hardware and software approaches. Below is a 2026 quick-reference matrix comparing the three most common methods for makers and industrial prototypers.
| Method | Primary IC / Tech | Interface | Est. Cost (2026) | Max Pads | Best Use Case |
|---|---|---|---|---|---|
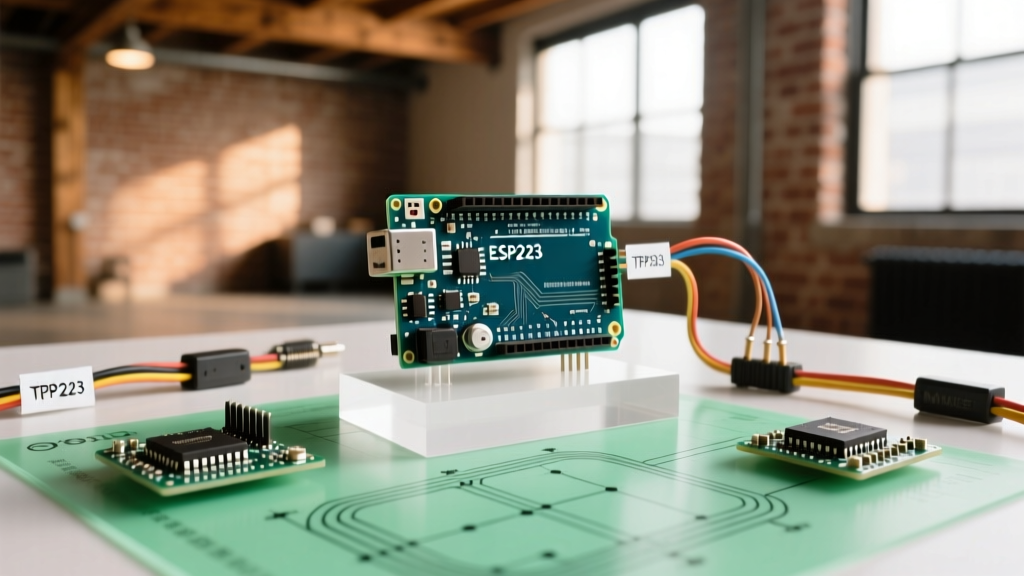
| Standalone Module | TTP223 / TTP223B | Digital GPIO | $0.15 - $0.40 | 1 per module | Simple on/off buttons, DIY lamps |
| I2C Breakout | MPR121 | I2C (SCL/SDA) | $4.50 - $7.00 | 12 per chip | Keyboards, sliders, multi-touch panels |
| Bare-Metal Sensing | AVR ADC / GPIO | Direct Pin | $0.02 (Resistor) | ~6 (Memory limited) | Custom PCBs, through-wall sensing |
Hardware & Wiring FAQ
How do I configure the TTP223 jumper pads for toggle vs. momentary?
Most cheap TTP223 modules feature two unpopulated solder pads labeled A (TOG) and B (AHLB). By default (unsoldered), the chip operates in Momentary, Active-High mode. To change this behavior, you must bridge the pads with solder:
- TOG (Pad A): Controls the output state. Unsoldered (0) = Momentary. Soldered (1) = Toggle (flip-flop).
- AHLB (Pad B): Controls the active logic level. Unsoldered (0) = Active-High (outputs 3.3V/5V on touch). Soldered (1) = Active-Low (outputs GND on touch).
Warning: The TTP223 requires a 300ms calibration period on power-up. If you bridge the pads and power the circuit while your finger is already on the pad, the chip will calibrate your finger as the "baseline" and become unresponsive.
What resistor value do I need for bare-metal capacitive sensing?
When using the Arduino CapacitiveSensor Library Reference without a dedicated IC, you are measuring the RC time constant of your body's capacitance. You must place a high-value resistor between the Arduino's Send Pin and Receive Pin.
- 1 MΩ: Low sensitivity. Requires direct skin contact. Best for exposed copper tape pads.
- 10 MΩ: Medium sensitivity. Can sense through 1-2mm of thin plastic or paper.
- 40 MΩ (or multiple 10MΩ in series): High sensitivity. Required for sensing through thick glass or wood. Highly susceptible to environmental noise.
Code, Calibration & Libraries FAQ
How do I handle debounce for capacitive touch in Arduino?
Mechanical switches suffer from contact bounce, which is solved with a simple delay(50). Capacitive sensors do not bounce; instead, they drift and fluctuate due to environmental noise and varying finger pressure. Using a time-based delay will result in missed inputs or double-triggers.
The Solution: Threshold Hysteresis & Rolling Averages.
Instead of a single threshold, implement an upper and lower threshold (hysteresis) combined with a sample count. According to expert implementations detailed in Paul Stoffregen's CapacitiveSensor GitHub Repository, you should sample the sensor 10 to 30 times per loop. Only register a "touch" if 80% of the samples in that window exceed the upper threshold, and only register a "release" if 80% drop below the lower threshold.
Why is the CapacitiveSensor library returning -1 or -2?
If your Serial Monitor outputs negative numbers instead of capacitance values, the library is throwing specific error codes:
- Return -1 (Timeout): The RC circuit is not charging within the library's default timeout window. This usually means your resistor value is too high (e.g., >50 MΩ), the wiring is broken, or the sensor pad is shorted to ground.
- Return -2 (Invalid Pin): You have assigned a pin that does not support standard digital I/O operations on your specific microcontroller, or the send/receive pins are configured identically.
Troubleshooting Edge Cases & Environmental Drift
Why does my sensor trigger when I walk into the room?
This is the most common issue with high-impedance capacitive touch circuits. It is caused by parasitic capacitance coupling and floating grounds. The human body acts as a massive antenna for 50/60Hz mains hum. If your Arduino is powered by an ungrounded switching power supply (like a cheap USB wall wart), the entire ground plane of your circuit floats at a high AC voltage relative to earth ground. When you approach, the AC field couples into the high-impedance sensor pad, crossing the trigger threshold.
Fixes:
- Add a 100nF ceramic decoupling capacitor directly across the VCC and GND pins of the TTP223 or MPR121.
- Switch to a linear regulator (LDO) like the AMS1117-3.3, which lacks the high-frequency switching ripple of buck converters.
- If designing a custom PCB, pour a grounded copper mesh on the layer directly beneath the touch pad to shield it from rear-field interference.
Can I mount the sensor behind glass, wood, or acrylic?
Yes, but the maximum thickness is dictated by the dielectric constant of the material and the surface area of your sensor pad. Larger pads increase the baseline capacitance, allowing the electric field to penetrate deeper. Based on testing data from the Adafruit MPR121 Capacitive Touch Sensor Tutorial, here are the practical limits for a standard 10mm x 10mm copper pad:
| Material | Dielectric Constant (k) | Max Thickness (10mm pad) | Max Thickness (30mm pad) |
|---|---|---|---|
| Glass | ~4.7 | 4.0 mm | 10.0 mm |
| Acrylic (PMMA) | ~3.4 | 3.0 mm | 8.0 mm |
| Wood (Oak) | ~2.0 | 2.0 mm | 6.0 mm |
| ABS Plastic | ~2.8 | 2.5 mm | 7.0 mm |
Pro-Tip: Auto-Calibration on Boot
When mounting sensors behind thick dielectrics, the baseline capacitance can shift with ambient humidity and temperature changes. Always write your Arduino sketch to read the baseline capacitance for 500ms during thesetup()function, and dynamically set your trigger threshold tobaseline + (baseline * 0.15). This prevents false triggers on cold winter mornings when the dielectric properties of wood and acrylic shift.
Does water or condensation ruin capacitive touch?
Water has a very high dielectric constant (k ≈ 80). A single drop of water on your enclosure will register as a massive finger touch, permanently triggering the switch. If your project is for a bathroom or outdoor environment, you must use a dedicated IC like the MPR121 or a specialized waterproof TTP223 variant that features "water rejection" firmware. Alternatively, implement a software algorithm that ignores touch events where the capacitance delta exceeds 300% of the normal human finger baseline, treating it instead as an environmental flooding event.