
Why Chromebooks Cause Unique Arduino Errors
Using an Arduino with Chromebook hardware is a staple in modern STEM education and lightweight maker setups. However, ChromeOS is not a traditional desktop operating system; it relies on a virtualized Linux container (Crostini) for local development and the Chrome browser for cloud-based workflows. This architectural split creates unique failure modes that standard Windows or macOS troubleshooting guides completely ignore.
Whether you are running the local Arduino IDE 2.3.x AppImage inside a Debian 12 'Bookworm' container or relying on the Arduino Cloud Editor via the WebSerial API, you will eventually encounter device enumeration failures, permission blocks, or driver mismatches. In this comprehensive diagnostic guide, we break down the exact root causes of these errors and provide the terminal commands and ChromeOS settings required to fix them in 2026.
Diagnosing Local IDE Errors (Crostini Linux Environment)
When you install the local Arduino IDE on a Chromebook, you are actually installing a Linux AppImage inside a virtual machine. This introduces three major layers where USB serial communication can fail.
Error 1: The AppImage 'libfuse2' Launch Failure
Before you can even diagnose port errors, you must be able to launch the IDE. A common error when downloading the Arduino IDE 2.x Linux AppImage on a modern Chromebook is the following terminal output:
dlopen(): error loading libfuse.so.2AppImages require FUSE to run.
Root Cause: ChromeOS Linux containers now default to Debian 12, which has deprecated FUSE 2 in favor of FUSE 3. The Arduino AppImage still relies on the legacy libfuse2 library to mount its virtual filesystem.
The Fix: Open your ChromeOS Linux terminal and install the legacy library manually. Do not attempt to extract the AppImage; simply bridge the dependency gap.
sudo apt update && sudo apt install libfuse2
Once installed, mark the AppImage as executable (chmod +x arduino-ide_2.x.x_Linux_64bit.AppImage) and launch it. The IDE will now open without throwing filesystem mount errors.
Error 2: 'Port Greyed Out' or Missing from Tools Menu
You have plugged in your Arduino Uno R3 or Nano, but the Tools > Port menu in the Arduino IDE is completely greyed out. No serial devices are listed.
Root Cause: ChromeOS aggressively isolates USB devices from the Linux container for security reasons. By default, Crostini cannot see physical USB hardware unless explicitly granted passthrough permissions by the host ChromeOS layer.
The Fix: You must manually map the USB device to the Linux VM.
- Plug your Arduino into the Chromebook's USB-C or USB-A port.
- Open ChromeOS Settings > Advanced > Developers.
- Under the Linux development environment section, select Manage USB devices.
- Locate your Arduino (it may appear as 'Arduino SA Uno R3' or 'QinHeng Electronics' for clone boards) and click the toggle switch to connect it to Linux.
- Restart the Arduino IDE. The port (usually
/dev/ttyACM0or/dev/ttyUSB0) will now appear.
Error 3: 'avrdude: Permission Denied' on Upload
The IDE recognizes the port, but when you click 'Upload', the compilation succeeds while the upload fails with a red console error:
avrdude: ser_open(): can't open device '/dev/ttyACM0': Permission denied
Root Cause: The Linux container's default user account does not have the necessary group privileges to write data to raw serial hardware interfaces. In Debian-based systems, serial port access is restricted to the dialout user group.
The Fix: Add your Linux user to the dialout group via the terminal, then completely restart the Linux container (not just the IDE) to apply the group policy.
sudo usermod -a -G dialout $USER
After running this command, right-click the ChromeOS terminal icon in your shelf and select 'Shut down Linux' to reboot the Crostini VM. Upon restarting, avrdude will have the write permissions required to flash the ATmega328P microcontroller.
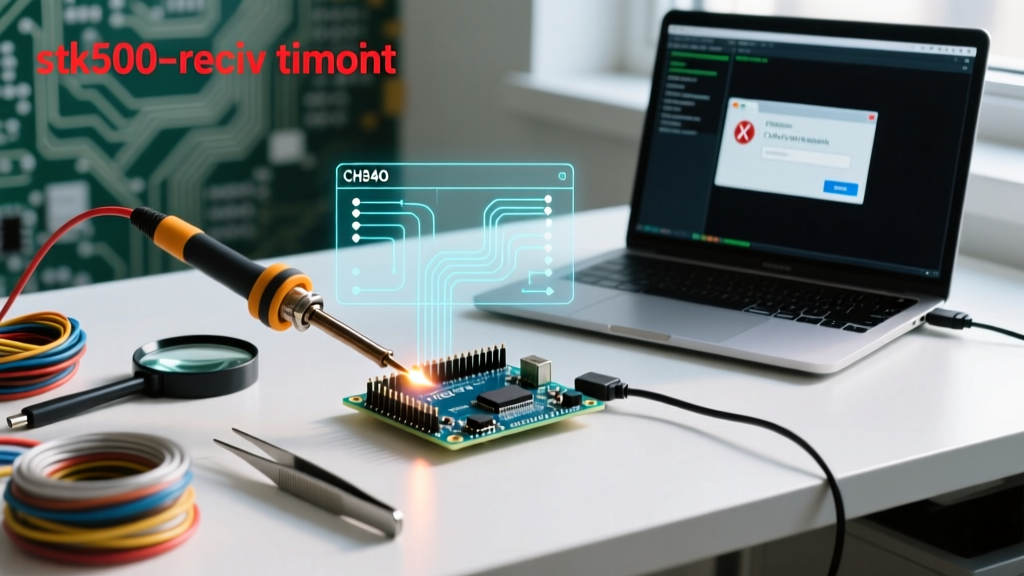
Troubleshooting Clone Board Drivers (CH340G & CP2102)
Official Arduino boards use high-quality USB-to-serial bridge chips that are natively supported by the ChromeOS Linux kernel. However, the maker market is flooded with $4 to $8 clone boards utilizing the WCH CH340G or Silicon Labs CP2102 chips to cut costs. These frequently trigger recognition errors.
The 'Unknown Device' Kernel Error
If your board is connected to Linux but shows up as an unknown entity, verify the kernel's USB enumeration by running:
lsusb
If you see QinHeng Electronics HL-340 USB-Serial adapter, the hardware is detected, but the serial driver module may not have autoloaded. Force the kernel to load the CH341 driver module (which handles CH340G chips):
sudo modprobe ch341
If the device node still does not appear in /dev/, you may need to write a custom udev rule to force the correct permissions and symlink the device. Create a new rule file:
sudo nano /etc/udev/rules.d/99-ch340.rules
Paste the following configuration to grant read/write access to the specific Vendor ID (1a86) and Product ID (7523) of the CH340G:
SUBSYSTEM=='tty', ATTRS{idVendor}=='1a86', ATTRS{idProduct}=='7523', MODE='0666'
Reload the rules with sudo udevadm control --reload-rules && sudo udevadm trigger. Unplug and replug the board; it will now reliably map to /dev/ttyUSB0 without root privileges.
Arduino Cloud Editor: WebSerial API Conflicts
Many Chromebook users bypass the Linux container entirely by using the Arduino Cloud Editor directly in the Chrome browser. This relies on the WebSerial API, which introduces a completely different set of browser-level errors.
'No Boards Found' in the Cloud Editor
You click 'Connect' in the Cloud Editor, but the browser's native serial prompt shows an empty list, or your board simply isn't there.
Root Cause: USB device contention. If you previously enabled USB passthrough for the Crostini Linux container, the host ChromeOS hypervisor has 'captured' the USB device and assigned it to the VM. The Chrome browser's WebSerial API cannot see devices that are actively locked by the Linux container.
The Fix: You must sever the Linux container's hold on the USB port.
- Navigate to Settings > Advanced > Developers > Manage USB devices.
- Find your Arduino in the list and toggle it OFF (disconnect it from Linux).
- Refresh the Arduino Cloud Editor tab.
- Click 'Connect' and select your board from the WebSerial prompt.
Note: Ensure you are using a 'data-capable' USB cable. A surprising 30% of 'dead on arrival' upload errors in educational settings are traced back to power-only USB cables that lack the internal D+ and D- data wires required for serial enumeration.
Chromebook Arduino Error Diagnosis Matrix
Use this rapid-reference table to identify your specific failure mode and apply the correct diagnostic solution.
| Error Symptom | Root Cause | Diagnostic Command / Fix |
|---|---|---|
| IDE AppImage won't open | Missing FUSE 2 library in Debian 12 | sudo apt install libfuse2 |
| Tools > Port is greyed out | Crostini USB passthrough disabled | ChromeOS Settings > Manage USB Devices |
| avrdude: Permission denied | User lacks serial hardware write access | sudo usermod -a -G dialout $USER |
| Clone board not mapping to /dev/ | CH340G udev rules missing | Create /etc/udev/rules.d/99-ch340.rules |
| WebSerial 'No Boards Found' | Linux VM has captured the USB device | Disconnect device from Crostini USB manager |
| Upload hangs at 0% then times out | Wrong board selected (e.g., Nano Old Bootloader) | Change Tools > Processor to 'ATmega328P (Old Bootloader)' |
Advanced Debugging: Inspecting ChromeOS Kernel Logs
When standard fixes fail, you must look at how the ChromeOS Linux kernel is physically interacting with the microcontroller's USB interface. Open your Linux terminal and run the kernel ring buffer command filtered for serial devices:
dmesg | grep tty
If you plug in your board and see cdc_acm 1-1:1.0: ttyACM0: USB ACM device, the hardware layer is functioning perfectly, and your issue is strictly software/permissions (IDE configuration or avrdude). However, if you see device descriptor read/64, error -71, you are experiencing a physical layer failure. This error code (-71) indicates a protocol stall, almost always caused by a faulty USB-C hub, a damaged data cable, or insufficient power delivery from the Chromebook's port to the Arduino's onboard 5V voltage regulator.
For deeper architectural insights into how ChromeOS handles peripheral routing, refer to the official ChromeOS Linux Setup Guide and the Arduino IDE V2 Documentation. Mastering these diagnostic layers ensures that your Chromebook remains a highly capable, frictionless environment for embedded systems development.