
The Anatomy of ESP32 ADC Failures
The ESP32 microcontroller is a cornerstone of modern IoT and DIY electronics, but its internal Successive Approximation Register (SAR) Analog-to-Digital Converter (ADC) is notorious among hardware engineers for erratic behavior. Unlike the relatively predictable 10-bit ADC on the ATmega328P (Arduino Uno), the ESP32 features a 12-bit ADC (0-4095 range) that suffers from inherent hardware quirks. When makers and engineers encounter ESP32 analog input errors, the root cause almost always traces back to three distinct architectural limitations: Wi-Fi multiplexing conflicts, severe non-linearity at voltage extremes, and high-frequency thermal noise.
This diagnostic guide bypasses basic tutorials and dives straight into the silicon-level realities of the ESP32 ADC. We will break down the exact failure modes you will encounter in the field and provide actionable hardware and software workarounds to salvage your sensor readings.
Symptom 1: ADC2 Pins Return Zero During Wi-Fi Transmission
The most common and confusing error for beginners is wiring an analog sensor to an ADC2 pin (GPIO 0, 2, 4, 12, 13, 14, 15, 25, 26, or 27), only to find that analogRead() returns 0 or -1 the moment the Wi-Fi radio initializes.
The Diagnostic Reality
The ESP32’s ADC2 channels are time-multiplexed with the Wi-Fi and Bluetooth MAC layers. When you call WiFi.begin() or esp_wifi_start(), the RF subsystem claims exclusive control over the ADC2 hardware to perform internal RF power calibration and packet detection. The Arduino core will silently fail or return garbage data if you attempt to poll an ADC2 pin while the radio is active.
The Fix
- Primary Solution: Reroute all analog sensor wiring to ADC1 pins (GPIO 32, 33, 34, 35, 36, 37, 38, and 39). ADC1 is dedicated solely to analog conversion and is completely unaffected by Wi-Fi or Bluetooth operations.
- Secondary Solution: If your PCB layout forces you to use ADC2, you must temporarily disable the Wi-Fi radio, take the ADC reading, and re-enable the radio. This introduces latency and is not recommended for real-time sensor polling.
For a comprehensive pinout mapping, always refer to the official Espressif ESP-IDF ADC Documentation to verify which specific GPIO maps to which ADC channel on your exact module variant (e.g., ESP32-WROOM-32 vs. ESP32-S3).
Symptom 2: Non-Linear Readings at Voltage Extremes
If you are feeding a precise 0.05V or 3.25V signal into the ESP32 and the serial monitor shows wildly inaccurate or flattened values, you have hit the SAR ADC’s non-linear dead zones.
The Diagnostic Reality
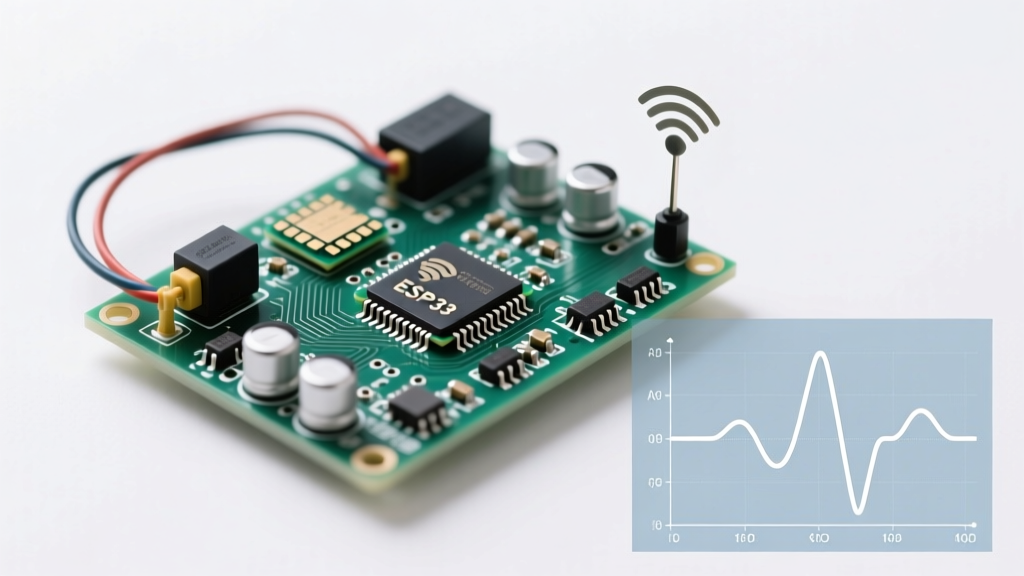
The ESP32 ADC is not a precision instrument. Due to the internal DAC comparison steps and capacitor charging times within the SAR logic, the transfer curve flattens out near 0V and Vmax. At the standard 11dB attenuation setting, any voltage below ~100mV will likely read as 0, and any voltage above ~3.1V will prematurely saturate at 4095. Furthermore, the raw analogRead() function relies on a generic lookup table that ignores the unique silicon imperfections of your specific chip.
The Fix
- Hardware Voltage Shifting: Never design a voltage divider that outputs exactly 0V or exactly 3.3V. Use an op-amp buffer or a biased voltage divider to keep your analog signal strictly within the 0.2V to 2.9V sweet spot, where the ESP32 ADC is highly linear.
- Software Calibration: Stop using raw
analogRead(). Modern versions of the Arduino ESP32 core includeanalogReadMilliVolts(). This function reads the factory-burned eFuse calibration data unique to your specific silicon die and applies a polynomial correction algorithm, drastically reducing non-linearity errors. You can read more about implementing this in this Random Nerd Tutorials ESP32 ADC Guide.
Attenuation Misconfigurations: A Diagnostic Matrix
Many developers blindly set analogSetAttenuation(ADC_11db) for every project, assuming it is a universal "catch-all" setting. This degrades your signal-to-noise ratio. Match your attenuation to your actual sensor output voltage using the matrix below.
| Attenuation Setting | Theoretical Range | Reliable Diagnostic Range (Linear Zone) | Best Use Case |
|---|---|---|---|
ADC_0db |
0 - 1.1V | 0.10V - 0.90V | Direct LiPo cell monitoring, low-voltage current shunts |
ADC_2_5db |
0 - 1.5V | 0.20V - 1.30V | 3.3V logic level sensors with internal dividers |
ADC_6db |
0 - 2.2V | 0.30V - 2.00V | Standard 2.0V reference sensors |
ADC_11db |
0 - 3.3V | 0.15V - 3.00V | General purpose, 5V sensors with 2/3 voltage dividers |
Symptom 3: Erratic Jitter and High-Frequency Noise
Even with a stable bench power supply, an ESP32 analog pin will often jitter by 15 to 30 LSBs (Least Significant Bits) between consecutive reads. This makes it impossible to get a stable reading from high-impedance sensors like potentiometers or NTC thermistors.
Hardware Filtering (The Mandatory Fix)
The ESP32’s internal sample-and-hold capacitor requires a burst of current to charge. High-impedance sources cannot supply this current fast enough, resulting in voltage droop during the conversion phase.
- Solder a 100nF (0.1µF) MLCC ceramic capacitor directly between the ADC GPIO pin and GND, as close to the ESP32 module as physically possible.
- For extremely noisy environments (e.g., near DC motors or switching regulators), add a 10µF electrolytic capacitor in parallel with the 100nF capacitor, and place a 100Ω series resistor between the sensor output and the ADC pin to form an RC low-pass filter.
Software Oversampling (The Code Fix)
If hardware filtering isn't enough, implement software oversampling. By taking multiple readings and bit-shifting, you can artificially increase the resolution and average out Gaussian noise.
// 16x Oversampling Function for ESP32 ADC
uint32_t readStableADC(uint8_t pin) {
  uint32_t sum = 0;
  for (int i = 0; i < 16; i++) {
    sum += analogReadMilliVolts(pin);
  }
  // Dividing by 16 (or bit-shifting right by 4) yields a highly stable average
  return sum >> 4;
}
Advanced Diagnostic Workflow for Stubborn ADC Errors
When the standard fixes fail, follow this strict diagnostic hierarchy to isolate the fault:
- Bypass the Code: Disconnect the sensor. Use a precision multimeter to measure the voltage directly at the ESP32 GPIO pad. If the multimeter reads 1.50V but the ESP32 reads 1.20V, the issue is internal to the ESP32. If the multimeter reads 1.20V, your sensor circuit is loading down the line.
- Check Strapping Pin Conflicts: GPIO 12 (MTDI) is an ADC2 pin, but it is also a boot strapping pin. If pulled high during boot, it changes the internal flash voltage regulator from 3.3V to 1.8V, causing brownouts and corrupting ADC references. Never use GPIO 12 for analog inputs if it has a pull-up resistor.
- Isolate the USB Power: The AMS1117-3.3 voltage regulator on cheap ESP32 dev boards is notoriously noisy. Power your analog circuitry from a dedicated, low-noise LDO (like the MCP1700-330) rather than sharing the ESP32's onboard 3.3V rail.
Hardware Workarounds: When the Internal ADC Fails
If your application demands true precision (e.g., load cells, RTD temperature sensors, or high-fidelity audio envelope detection), the ESP32 internal ADC is simply the wrong tool for the job. The most cost-effective and robust solution is to bypass it entirely using an external I2C ADC.
The ADS1115 is a 16-bit precision ADC with an internal Programmable Gain Amplifier (PGA). It completely eliminates the ESP32’s non-linearity, Wi-Fi conflicts, and noise issues. According to the Adafruit ADS1115 Breakout Guide, the I2C interface allows you to read microvolt-level changes with zero interference from the ESP32's RF subsystem. At roughly $1.50 for clone modules and $4.00 for official Adafruit breakouts, the ADS1115 should be your default fallback whenever ESP32 analog input diagnosis proves too costly in terms of development time.
Final Diagnostic Verdict
Mastering the ESP32 analog input requires accepting its hardware limitations. By migrating critical sensors to ADC1, utilizing analogReadMilliVolts() for eFuse calibration, enforcing strict RC hardware filtering, and keeping signals out of the non-linear dead zones, you can transform the ESP32 from an erratic analog reader into a highly reliable data acquisition node.