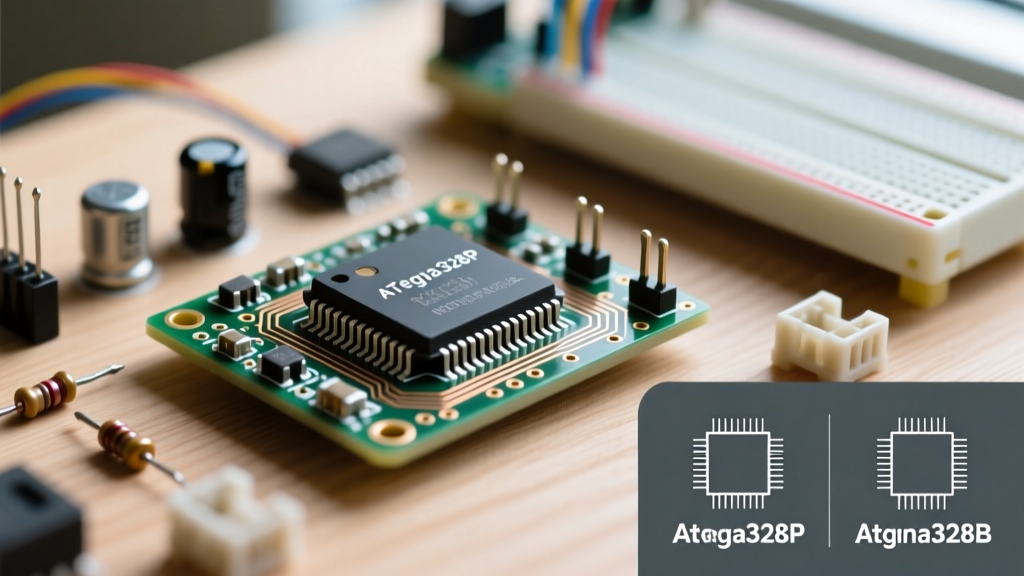

The Elegoo Arduino Starting Line
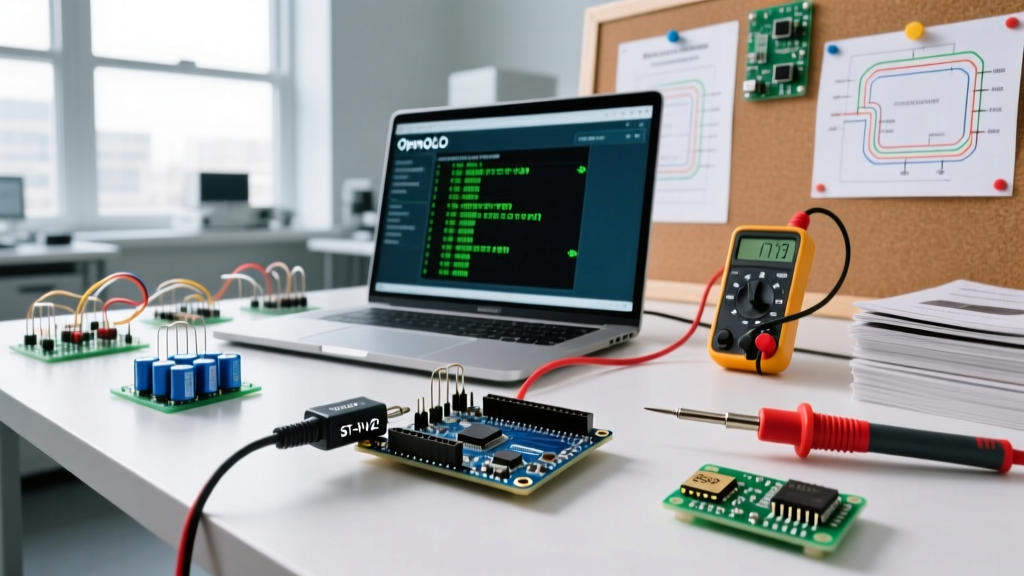
For millions of makers, the Elegoo Arduino ecosystem—most notably the Elegoo Uno R3 Super Starter Kit—serves as the gateway into embedded systems. Priced aggressively around $35 for a board plus hundreds of components, Elegoo’s ATmega328P clones utilizing the WCH CH340G USB-to-serial chip offer unbeatable value for learning basic circuitry and C++ sketching. However, as projects evolve from blinking LEDs to complex IoT nodes, robotics, or high-speed data logging, the hardware limitations of clone boards become apparent.
Transitioning from an Elegoo clone to an official Arduino board (like the Uno R4 Minima, Uno R4 WiFi, or Nano ESP32) is not always a simple drop-in replacement. The migration involves navigating architectural shifts from 8-bit AVR to 32-bit ARM Cortex-M4 or Xtensa LX6 processors, resolving voltage logic mismatches, and refactoring low-level code. This comprehensive 2026 migration guide provides the exact technical roadmap to upgrade your Elegoo Arduino projects to official, production-grade microcontrollers without losing your mind—or your code.
Hardware Comparison: Elegoo Uno R3 vs. Official Arduino R4
Before unsoldering your current prototype, it is critical to understand the hardware deltas. The Elegoo Uno R3 is a faithful physical clone of the legacy Arduino Uno R3, but the official Arduino Uno R4 represents a massive generational leap.
| Specification | Elegoo Uno R3 (Clone) | Arduino Uno R4 Minima | Arduino Uno R4 WiFi |
|---|---|---|---|
| Microcontroller | Microchip ATmega328P (8-bit AVR) | Renesas RA4M1 (32-bit ARM Cortex-M4) | Renesas RA4M1 + ESP32-S3 |
| Clock Speed | 16 MHz | 48 MHz | 48 MHz |
| Operating Voltage | 5V (I/O is 5V tolerant) | 5V (I/O is 5V tolerant) | 5V (I/O is 5V tolerant) |
| USB-to-Serial Chip | WCH CH340G | Native USB (Hardware CDC) | ESP32-S3 Native USB |
| SRAM | 2 KB | 32 KB | 32 KB |
| Flash Memory | 32 KB | 256 KB | 256 KB |
| Typical Price (2026) | ~$12.00 (Board Only) | $20.00 | $27.50 |
As documented in the official Arduino Uno R4 Cheat Sheet, the R4 maintains the classic Uno physical footprint and 5V logic levels, which saves your existing 5V sensors and shields from immediate obsolescence. However, the underlying silicon is entirely different.
Why Migrate Away from Elegoo Clones?
1. The CH340G Driver Friction
Elegoo boards rely on the CH340G chip for USB communication. While functional, this chip requires third-party drivers on Windows and macOS. As operating systems enforce stricter kernel-level security (such as macOS Sonoma and Sequoia's system extensions), CH340 drivers frequently break or fail to sign correctly, resulting in the dreaded /dev/tty.wchusbserial permission errors. Official boards use native USB controllers or integrated Wi-Fi SoCs that enumerate as standard CDC/ACM devices, requiring zero third-party drivers.
For a deep dive into the quirks of clone serial chips, the SparkFun CH340 Driver Guide remains an essential troubleshooting resource for legacy setups.
2. Memory and Processing Bottlenecks
The ATmega328P on the Elegoo board maxes out at 2KB of SRAM. If your project involves parsing JSON payloads, driving large TFT displays, or buffering audio, you will inevitably hit memory walls. Consider addressable LEDs: running the FastLED library on large WS2812B matrices limits you to roughly 600 LEDs on an Elegoo Uno before SRAM exhaustion causes a crash. The R4’s 32KB SRAM and 48MHz ARM processor eliminate these bottlenecks, allowing for complex multitasking, massive LED arrays, and floating-point math without software emulation overhead.
3. Native USB HID Capabilities
The Elegoo Uno R3 uses a separate chip for USB-to-Serial, meaning it cannot natively act as a USB Keyboard or Mouse (HID device) without complex software workarounds like the V-USB library, which is highly unreliable and timing-dependent. The Uno R4 and Nano ESP32 feature native USB, allowing you to use the standard Keyboard.h and Mouse.h libraries out of the box for custom macro pads or gaming peripherals.
The Code Migration Matrix: AVR to ARM
The most painful part of upgrading your Elegoo Arduino project is code porting. Code written for the 8-bit AVR architecture often relies on direct register manipulation or AVR-specific libraries that will fail to compile on the 32-bit ARM Cortex-M4 of the R4.
- Direct Port Manipulation: If your Elegoo sketch uses
PORTB,DDRB, orPINBto toggle pins for speed, this will break. You must refactor these to usedigitalWriteFast()or the official Arduino R4 GPIO API. - Interrupt Vectors: AVR uses specific interrupt vectors (e.g.,
INT0_vect). The Renesas RA4M1 uses a different interrupt controller. You must replace custom ISR definitions with the standardattachInterrupt()Arduino API. - Timer and PWM Registers: Libraries that directly manipulate
TCCR1AorOCR1Afor custom PWM frequencies or motor control will not compile. You must switch to hardware-agnostic libraries likeanalogWriteFrequency()(supported in the R4 core) or use hardware timer abstractions. - EEPROM vs. Flash Emulation: The ATmega328P has 1KB of true hardware EEPROM. The R4 does not have dedicated EEPROM; it emulates it using a reserved block of internal Flash memory. The
EEPROM.hlibrary works, but write cycles are limited by the Flash endurance (typically 10,000 to 100,000 cycles). For high-frequency logging, migrate to an external I2C FRAM chip like the Fujitsu MB85RC256V.
Step-by-Step Migration Workflow
- Audit Your Dependencies: Open your Elegoo sketch in Arduino IDE 2.3.x. Check the Library Manager for every included header. Ensure each library explicitly states support for "Arduino R4", "Renesas", or "ARM Cortex". If a library hasn't been updated since 2019, find a modern fork or rewrite the hardware-specific calls.
- Swap the Hardware: Power down your circuit. Remove the Elegoo Uno R3. Seat the Arduino Uno R4 Minima. Because the R4 maintains the standard 2.54mm header spacing and 5V output on the 5V pin, your physical wiring should remain intact.
- Update Board Definitions: In the IDE, navigate to Boards Manager. Search for "Arduino Renesas UNO R4 Boards" and install the latest 2026 core package. Select your specific board and the correct native COM port.
- Compile and Refactor: Hit compile. Address the inevitable architecture errors. Replace
avr/pgmspace.hwith standard C++constarrays in flash, as the ARM compiler handles memory mapping differently than the Harvard architecture of the AVR. - Upload and Profile: Upload the sketch. Use the Serial Plotter to verify sensor data timing. The 48MHz clock will execute loops significantly faster; you may need to add
delay()or hardware timers to debounce buttons or pace sensor reads that previously relied on the sluggish 16MHz AVR execution speed.
Troubleshooting Edge Cases & Failure Modes
Pro-Tip: If you are migrating from an Elegoo Nano V3.0 (which uses a Mini-USB or USB-C connector but still relies on the CH340) to an official Nano ESP32, be aware of the voltage shift. The Nano ESP32 operates at 3.3V logic. Connecting 5V sensors directly to its I/O pins will permanently damage the SoC. You must use a bidirectional logic level shifter (like the Texas Instruments TXS0108E) for any 5V peripherals.
The "Ghost Port" Issue
When migrating, users often leave the IDE set to the old CH340 COM port (e.g., COM3 or /dev/tty.wchusbserial1420). Official R4 boards enumerate differently. If your upload fails with a No device found on COMX error, physically unplug the board, wait 5 seconds, and plug it back in while watching the IDE's port dropdown to catch the new native USB enumeration.
Bootloader Recovery and DFU Mode
Unlike the Elegoo boards, which use the Optiboot bootloader via the UART pins and require an external ICSP programmer (like the USBasp) if the bootloader is corrupted, the R4 features a built-in ROM bootloader and a sophisticated DFU (Device Firmware Upgrade) mode. If you accidentally corrupt the R4's firmware or upload a sketch that crashes the USB stack, you do not need external hardware. Simply double-tap the reset button on the R4 to force it into DFU mode, and use the Arduino IDE's standard upload function to restore the factory state.
Final Thoughts on the Upgrade Path
Migrating from an Elegoo Arduino clone to an official board is a rite of passage for serious embedded developers. While the Elegoo kits provide an incredible, low-risk sandbox for mastering the basics of C++ and circuit design, the transition to 32-bit ARM architectures unlocks the performance, memory, and native connectivity required for modern, commercial-grade IoT and robotics projects. By systematically auditing your code for AVR-specific registers and respecting the new hardware paradigms, your upgrade will be seamless, future-proofing your maker journey for years to come.
For the latest IDE downloads and core packages to support your migration, always refer to the official Arduino Software page.