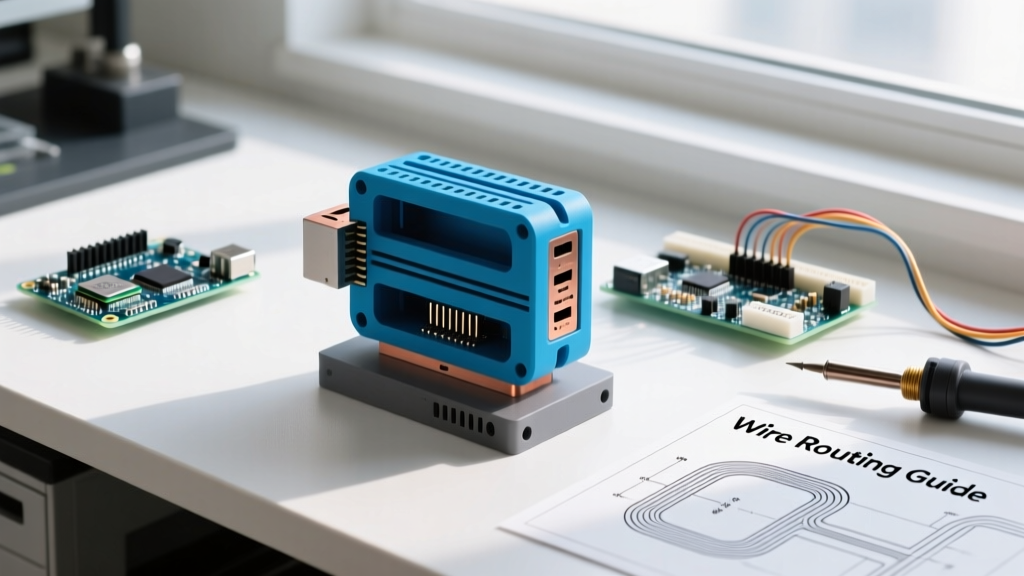

Why Migrate to a Custom Arduino Case 3D Print?
For years, the standard approach to housing microcontroller projects involved purchasing off-the-shelf acrylic enclosures or generic ABS project boxes. While functional, these legacy solutions severely limit I/O accessibility, sensor integration, and aesthetic customization. As desktop 3D printing technology has matured, migrating to a custom Arduino case 3D print workflow has become the gold standard for serious makers, engineers, and educators. This migration is not just about aesthetics; it is a fundamental upgrade in project scalability, thermal management, and mechanical precision.
However, transitioning from buying generic boxes to designing and printing custom enclosures introduces new engineering challenges. Makers often encounter warped standoffs, shattered mounting holes, and heat-induced deformation. This comprehensive migration and upgrade guide will walk you through upgrading your materials, mastering CAD tolerances, and optimizing your slicer settings to produce professional-grade, functional electronics enclosures.
The Migration Matrix: Off-the-Shelf vs. 3D Printed Enclosures
Before diving into the technical upgrade path, it is crucial to understand the trade-offs you are navigating. The table below compares traditional purchased enclosures against modern FDM (Fused Deposition Modeling) and SLA (Stereolithography) 3D printed alternatives.
| Feature | Generic Acrylic/ABS Box | FDM 3D Print (PLA/PETG) | SLA Resin Print |
|---|---|---|---|
| Customization | Low (Requires drilling/cutting) | High (Native CAD integration) | High (Complex geometries) |
| Lead Time | 3-7 Days (Shipping) | 2-6 Hours (On-demand) | 4-8 Hours + Curing |
| Cost per Unit | $4.00 - $12.00 | $0.40 - $1.50 (Filament) | $1.50 - $4.00 (Resin) |
| Thermal Resistance | High (ABS melts ~105°C) | Medium (PETG softens ~80°C) | Low (Standard resin ~60°C) |
| I/O Cutout Precision | Poor (Manual filing required) | Excellent (Exact CAD match) | Exceptional (Micro-detail) |
As the matrix illustrates, the primary advantage of the Arduino case 3D print route is the elimination of manual machining. You can design exact cutouts for USB-B, DC barrel jacks, and pin headers directly into the CAD model, saving hours of frustrating Dremel work.
Phase 1: Upgrading Your Material Strategy
The most common failure point for makers migrating to 3D printed electronics cases is material selection. Standard Polylactic Acid (PLA) is the default filament for beginners, but it is fundamentally unsuited for enclosed electronics.
The Glass Transition Trap
PLA has a glass transition temperature (Tg) of approximately 60°C. When you place an Arduino Uno inside a poorly ventilated enclosure, the onboard linear voltage regulator (especially when stepping down 9V-12V to 5V) and connected motor shields can easily raise the internal ambient temperature to 55°C or higher. Under mechanical load from mounting screws, PLA standoffs will slowly creep, deform, and eventually shear off the print bed.
The Engineering Filament Upgrade Path
To successfully upgrade your enclosure manufacturing, you must migrate to engineering-grade thermoplastics. According to the MatterHackers PETG printing guide, transitioning to PETG or ABS/ASA provides the necessary thermal headroom.
- PETG (Polyethylene Terephthalate Glycol): With a Tg of ~80°C, PETG is the ideal upgrade for 90% of indoor Arduino projects. It offers excellent layer adhesion, slight flexibility (preventing standoff snapping), and prints easily on modern direct-drive extruders at 230°C - 250°C.
- ABS / ASA (Acrylonitrile Styrene Acrylate): For automotive or outdoor IoT deployments, ASA is mandatory. It boasts a Tg of ~105°C and includes UV inhibitors that prevent the case from becoming brittle and yellowing in sunlight. Note that printing ABS/ASA requires an enclosed printer with active heating to prevent severe warping.
- CF-PETG (Carbon Fiber PETG): For projects requiring high rigidity and EMI (Electromagnetic Interference) mitigation, carbon-fiber-infused PETG provides a matte, professional finish and vastly improves dimensional accuracy due to reduced thermal shrinkage.
Phase 2: Mastering CAD Tolerances and Standoff Specs
Migrating from a pre-molded plastic box to a custom CAD design requires a deep understanding of FDM manufacturing tolerances. Unlike injection molding, 3D printing introduces specific X/Y axis expansion and Z-axis squish that must be compensated for in your CAD software (Fusion 360, Onshape, or Tinkercad).
Arduino Uno R3 Exact Dimensions
According to the Arduino Uno R3 official datasheet, the PCB measures exactly 68.6 mm x 53.3 mm. The mounting holes are 2.5 mm in diameter. However, you cannot simply draw a 2.5 mm hole in your CAD model and expect an M2.5 screw to pass through a 3D printed part.
The Clearance Hole Formula
FDM printers typically over-extrude slightly into the center of small holes due to the polygon approximation of circles by the stepper motors. As noted in the Formlabs engineering tolerances guide, designing for clearance is critical for mechanical assembly.
Pro Tip: For standard FDM printers (0.4mm nozzle), always add a 0.15 mm to 0.25 mm offset to your hole diameters. For an Arduino M2.5 mounting hole, design your CAD cylinder at 2.7 mm to 2.8 mm. If you intend to self-tap the screw directly into the plastic without a brass insert, design the hole at 2.2 mm.
Upgrading to Heat-Set Inserts
The ultimate upgrade for any 3D printed Arduino case is abandoning self-tapping screws entirely. Self-tapping strips out after two or three disassembly cycles. Instead, design your standoffs with a 3.2 mm hole and use a soldering iron to press in M2.5 x 4.0 mm brass heat-set inserts. This provides a permanent, metal-on-metal thread that will never strip, elevating your project from a hobbyist prototype to a professional product.
Phase 3: Slicer Optimization for Electronics
Once your CAD model is exported as an STL or 3MF file, the migration continues in the slicer (PrusaSlicer, Bambu Studio, or Cura). Electronics enclosures require specific internal geometries to balance strength, print time, and material usage.
Recommended Slicer Profile Upgrades
- Perimeters (Walls): Increase to 3 or 4 perimeters. This provides the necessary wall thickness for structural rigidity and ensures that when you cut I/O ports for the USB and power jacks, the walls do not collapse.
- Infill Density and Pattern: Use 15% to 20% Gyroid infill. Gyroid provides excellent multi-directional strength and, unlike rectilinear patterns, will not catch on the nozzle if a layer shift occurs. Furthermore, dense infill patterns can act as a rudimentary Faraday cage, slightly reducing high-frequency EMI leakage from switching regulators.
- Top/Bottom Layers: Set to 4 solid layers. This ensures the exterior surfaces are completely opaque and smooth, hiding the internal infill and providing a solid mounting surface for external components like OLED displays or tactile switches.
- Elephant Foot Compensation: Enable this setting (typically set to 0.15 mm). The first layer of a print squishes outward due to bed adhesion and Z-axis pressure. Without compensation, the bottom edges of your Arduino case will flare out, causing the top and bottom halves to misalign during assembly.
Thermal Management and Ventilation Upgrades
An often-overlooked aspect of migrating to custom 3D printed cases is thermal management. A fully sealed PLA or PETG box will trap heat generated by the ATmega328P microcontroller, voltage regulators, and attached sensors (like the DHT22, which will report false highs if placed near a heat source).
Designing Passive Convection Vents
Do not rely on solid walls. Integrate passive convection vents into your CAD model. The most effective placement utilizes the chimney effect: place intake vents on the bottom-left edge of the case and exhaust vents on the top-right edge. As the internal components heat the air, it naturally rises and exits the top vents, drawing cooler ambient air in from the bottom. For an Arduino Uno enclosure, a total vent area of 200 to 300 square millimeters is usually sufficient for passive cooling of standard 5V logic circuits.
Troubleshooting Common Migration Failures
Even with the right materials and CAD tolerances, the transition to 3D printed enclosures can present edge-case failures. Here is how to diagnose and resolve them:
1. Standoff Shearing During Assembly
Cause: The standoffs are printed directly onto the build plate with insufficient surface area, or the printer's Z-axis is over-compressing the first layer, causing the base of the standoff to be squished and weak. Solution: Add a 1.0 mm chamfer or fillet to the base of your standoffs in CAD. This increases the surface area bonding to the floor and reduces stress concentrations at the sharp 90-degree internal corner.
2. Top and Bottom Halves Misaligning
Cause: FDM shrinkage. Materials like ABS and PETG shrink as they cool from the nozzle temperature to room temperature. If the top lid and bottom base are printed in separate jobs with different ambient room temperatures, they may shrink at slightly different rates. Solution: Design a 'lip and groove' mating system rather than relying on outer wall friction. A 0.5 mm deep groove on the bottom half with a corresponding 0.4 mm lip on the top half will force the pieces into perfect alignment regardless of minor X/Y shrinkage variations.
3. USB Port Cutout Interference
Cause: The CAD model accounts for the metal USB-B connector, but fails to account for the plastic over-mold on the actual USB cable plug, which is often much wider and taller than the PCB receptacle. Solution: Always measure the physical cable plug with digital calipers, not just the Arduino board. A standard USB-B cable plug requires a cutout of at least 11.5 mm x 12.5 mm to insert and remove without scraping the PETG walls.
Conclusion: The Modern Maker Standard
Migrating to a custom Arduino case 3D print workflow represents a significant upgrade in your maker capabilities. By abandoning brittle PLA for engineering-grade PETG, applying proper clearance tolerances to your CAD models, and utilizing brass heat-set inserts, you bridge the gap between fragile hobby projects and robust, deployable hardware. As 3D printing hardware continues to advance, the ability to rapidly iterate custom electronics enclosures on your desktop remains one of the most powerful tools in the modern electrical engineer's arsenal.