
The Reality of Environmental Monitoring: Why Your Readings Fail
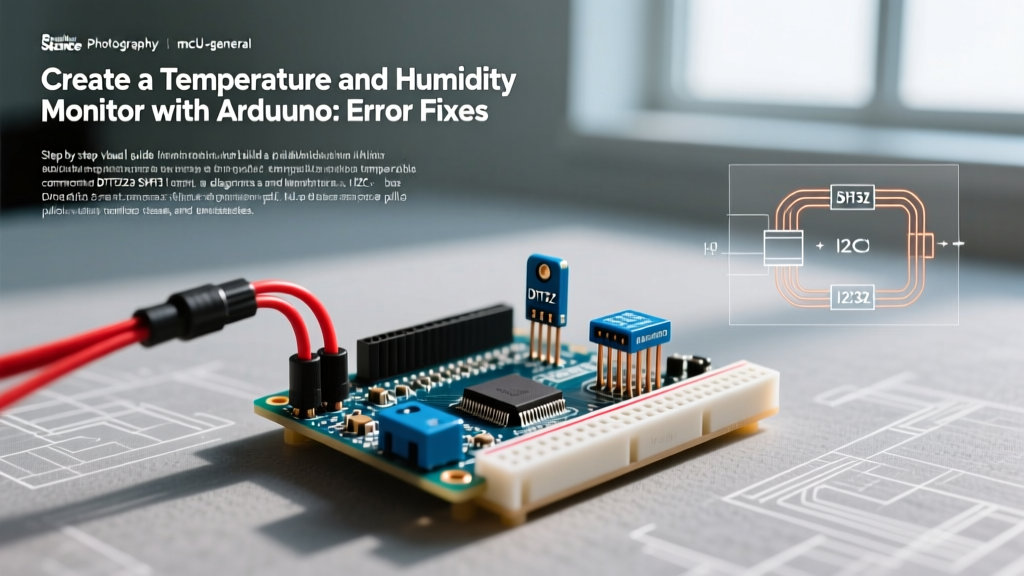
Learning how to create a temperature and humidity monitor with Arduino is a rite of passage for makers. However, while basic tutorials show you how to wire a DHT22 sensor to an Arduino Uno R4 Minima and display data on an SSD1306 OLED, they rarely address the inevitable real-world failures. In 2026, as DIY environmental monitoring shifts toward high-precision applications like indoor agriculture, server room auditing, and automated terrariums, encountering "NaN" (Not a Number) errors, I2C bus lockups, and thermal drift is no longer just a nuisance—it is a critical failure point.
This guide bypasses the basic wiring diagrams and dives straight into the Error Diagnosis of environmental monitors. We will explore the exact electrical and programmatic reasons your sensor fails, and provide actionable, hardware-level solutions to ensure your monitor runs reliably for months without a reboot.
Sensor Selection Matrix and Known Failure Points
The root cause of 80% of monitoring errors stems from selecting the wrong sensor protocol for the application. Below is a comparison of the most common sensors used in Arduino projects, highlighting their specific failure modes.
| Sensor Model | Protocol | Accuracy (Temp/RH) | Sample Rate | Primary Failure Mode | Approx. Cost (2026) |
|---|---|---|---|---|---|
| DHT11 | Single-Wire | ±2.0°C / ±5% RH | 1 Hz | Timing desync, high noise | $1.50 |
| DHT22 (AM2302) | Single-Wire | ±0.5°C / ±2% RH | 0.5 Hz | Interrupt collision, NaN | $4.50 |
| Sensirion SHT31-D | I2C | ±0.3°C / ±2% RH | 10 Hz | I2C bus hang, address conflict | $5.00 |
Error Diagnosis 1: "NaN" and Checksum Failures on DHT22
The Microsecond Timing Problem
The DHT22 utilizes a proprietary single-wire protocol. The host (Arduino) pulls the data line LOW for at least 1ms to signal a read request. The sensor then responds by pulling the line HIGH for 80µs, followed by LOW for 80µs, and then streams 40 bits of data. Each bit is represented by a 50µs LOW pulse followed by a HIGH pulse (26-28µs for a '0', 70µs for a '1').
The Failure: If your Arduino sketch uses blocking functions like delay(), or if background interrupts (such as millis() timer overflows, Servo.h updates, or software serial routines) fire during that critical 4ms data transmission window, the microsecond timing shifts. The Arduino misreads the bitstream, the checksum validation fails, and the Adafruit DHT library returns NaN (Not a Number).
The Hardware & Software Fix
To eliminate NaN errors on single-wire sensors, you must address both the physical layer and the code execution layer:
- Pull-Up Resistor: Ensure a 4.7kΩ pull-up resistor is connected between the VCC (5V or 3.3V) and the Data pin. The internal Arduino pull-up (approx. 20kΩ-50kΩ) is too weak to pull the line high fast enough for the DHT22's strict timing requirements, especially if your wire length exceeds 1 meter.
- Interrupt Management: In your C++ code, briefly disable interrupts during the read function. According to the Adafruit DHT Guide, wrapping the read call in
noInterrupts()andinterrupts()prevents timer collisions. Note: Doing this will causemillis()to lose a few ticks, which is acceptable for a 4ms window. - Decoupling Capacitor: Place a 100nF (0.1µF) ceramic capacitor directly across the VCC and GND pins of the DHT22. This prevents localized voltage sags during the sensor's internal ADC sampling phase.
Error Diagnosis 2: I2C OLED Display Freezes and Timeouts
Modern environmental monitors typically pair the sensor with a 128x64 SSD1306 I2C OLED display. A common and frustrating error is the display freezing entirely, or the Arduino hanging indefinitely during the Wire.endTransmission() call.
Why the I2C Bus Locks Up
The I2C protocol relies on an open-drain architecture. If a glitch occurs on the SDA line while the OLED is transmitting a '0' (pulling the line low), and the Arduino resets or loses sync, the OLED will continue holding the SDA line low. The Arduino's hardware I2C peripheral will wait forever for the line to go high, resulting in a permanent system freeze.
Critical Warning: Never connect a 5V Arduino Uno directly to a 3.3V I2C sensor or display without a logic level shifter (like the BSS138). Over time, the 5V logic high will degrade the 3.3V I2C pull-up resistors and internal protection diodes on the OLED, leading to intermittent ACK failures and eventual hardware death.
Implementing an I2C Watchdog
To prevent permanent lockups, you must utilize the timeout features built into modern Arduino cores. As detailed in the Arduino Wire Library Reference, you can set a hardware timeout to force the bus to reset if a device stops responding.
Add the following to your setup() function:
Wire.setWireTimeout(50000, true); // 50ms timeout, auto-reset on timeout
This single line of code prevents the microcontroller from hanging, allowing your error-handling logic to attempt a software I2C bus recovery or trigger a hardware watchdog reset.
Error Diagnosis 3: Power Brownouts and Thermal Drift
The USB Voltage Drop Phenomenon
When powering your monitor via a standard USB cable from a PC or a cheap 5V wall adapter, voltage drop is a hidden killer of accuracy. An OLED display can draw up to 20mA when all pixels are illuminated. The DHT22 draws 1.5mA during active sampling. If your USB cable has thin gauge wires, the voltage at the Arduino's 5V pin might be 4.9V, but by the time it reaches the end of a breadboard power rail, it may drop to 4.6V.
The DHT22 requires a minimum of 3.3V to operate, but its internal calibration curve assumes a stable 5V (or 3.3V) reference. A fluctuating VCC causes the internal thermistor and capacitive humidity element to return erratic, drifting values.
Thermal Isolation
Another frequent error is the temperature reading sitting 2°C to 4°C higher than the actual room temperature. This is caused by thermal coupling. If the DHT22 or SHT31 is mounted directly above the Arduino's onboard voltage regulator or the OLED display's driver IC, the sensor will measure the heat radiating from the PCB, not the ambient air.
The Fix: Mount the sensor on a separate breakout board and connect it via a 4-wire ribbon cable, keeping it at least 5cm away from any heat-generating logic components. For high-precision applications, upgrade to the Sensirion SHT31-D, which features superior internal thermal compensation and a faster I2C interface that reduces active heating time.
Systematic Diagnostic Flowchart
When your monitor outputs garbage data or freezes, do not guess. Follow this exact diagnostic sequence using a digital multimeter (DMM) and an I2C scanner sketch:
- Verify Rail Voltage: Measure VCC and GND directly at the sensor's header pins, not the Arduino 5V pin. If it reads below 4.7V (for a 5V system), replace the USB cable or add a dedicated 5V buck converter power supply.
- Run an I2C Scanner: If using an SHT31 or OLED, upload a standard I2C Scanner sketch. If the device address (e.g., 0x44 for SHT31, 0x3C for OLED) does not appear, check your SDA/SCL wiring and verify the 4.7kΩ pull-up resistors are present.
- Check for Capacitive Load: If your I2C wires exceed 30cm, the wire capacitance will round off the sharp edges of the I2C clock signal, causing data corruption. Lower the I2C clock speed in your setup using
Wire.setClock(100000);(100kHz standard mode) instead of the 400kHz fast mode. - Implement Non-Blocking Code: Ensure your main
loop()does not usedelay(). Use amillis()-based state machine to poll the sensor exactly every 2.0 seconds (for DHT22) or 1.0 second (for SHT31). Polling too frequently causes the sensor's internal heating element to artificially inflate the temperature reading.
Conclusion: Building for Reliability
Understanding how to create a temperature and humidity monitor with Arduino is only the first step; mastering the error diagnosis is what separates a weekend prototype from a reliable, long-term deployment. By addressing single-wire timing collisions, implementing I2C bus timeouts, and respecting power and thermal physics, you can build an environmental monitor that delivers lab-grade reliability in real-world conditions. Always favor I2C sensors like the SHT31-D for critical applications where microsecond timing vulnerabilities are unacceptable.