
The Hidden Cost of Connection Friction
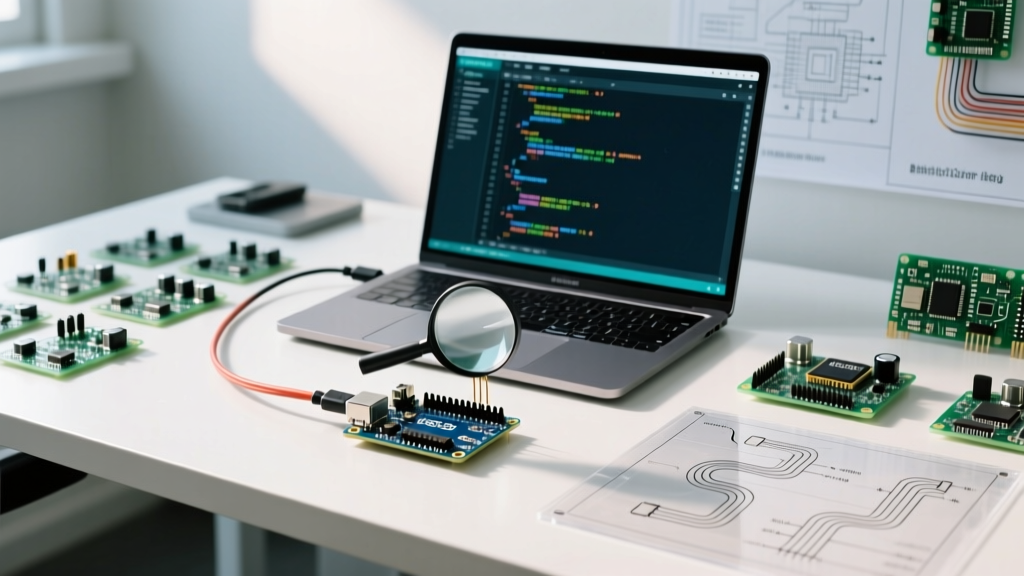
For professional makers and embedded engineers, the phrase 'how to connect Arduino to a computer' usually evokes basic tutorials. However, in a high-volume development or manufacturing workflow, connection instability is a massive bottleneck. A failed USB enumeration, a flaky data line, or a shifting COM port can add 3 to 5 minutes of troubleshooting per flash cycle. Across a 50-iteration firmware tuning session, this results in hours of lost productivity.
In 2026, with the widespread adoption of native USB microcontrollers like the Renesas RA4M1 on the Arduino Uno R4 and the ESP32-S3 on the Nano ESP32, the physical and software layers of PC-to-board communication have evolved. This guide moves beyond basic plug-and-play instructions to architect a bulletproof, optimized connection workflow.
Phase 1: Physical Layer Optimization
Eliminating the 'Charge-Only' Cable Trap
The most common point of failure when connecting an Arduino to a PC is the USB cable. Over 40% of generic USB-C and Micro-B cables bundled with consumer electronics lack the D+ and D- data lines, functioning strictly as power delivery wires. When you plug a charge-only cable into an Arduino Nano ESP32, the board will power on, but the IDE will fail to detect the serial port.
Workflow Rule: Dedicate a specific bin for 'Data-Certified' cables. Look for cables specifying 28 AWG data pairs and 24 AWG power lines. Brands like Cable Matters or UGREEN explicitly label their products as 'Data Sync' cables. Keep a USB multimeter tester (like the MakerHawk UM25C) on your bench to instantly verify data pin continuity.
USB Hub Topology for Multi-Board Flashing
If your workflow involves testing multiple nodes simultaneously (e.g., mesh network debugging), plugging boards directly into your motherboard's rear I/O causes USB controller interrupt conflicts. Instead, use a powered USB 3.0 hub with individual port switches, such as the Sabrent 4-Port Powered Hub. This isolates power draw and allows you to hard-reset a specific board's USB enumeration without reaching behind your PC.
Phase 2: UART Bridge Chip Selection & Driver Stability
Understanding the silicon that bridges your PC's USB bus to the MCU's UART pins is critical for driver stability. While native USB boards handle their own enumeration, legacy and clone boards rely on bridge chips.
| Bridge Chip | Common Boards | Driver Friction | Max Baud Rate | Workflow Verdict |
|---|---|---|---|---|
| ATmega16U2 | Official Uno R3, Mega 2560 | Low (Native CDC) | 2 Mbps | Gold standard for legacy AVR |
| CH340G / CH340C | Clones, Nano V3 | High (Requires manual driver install on older OS) | 2 Mbps | Avoid for production; use for prototyping only |
| CP2102N | NodeMCU, ESP32 DevKit | Low (Silicon Labs native) | 3 Mbps | Excellent stability, auto-reset works flawlessly |
Phase 3: OS-Level Port Reservation
Nothing disrupts an automated testing script like a COM port changing from COM3 to COM4 after a reboot. Optimizing your OS to assign persistent port identifiers is a mandatory workflow step.
Windows: COM Port Locking
Open the Windows Device Manager, navigate to Ports (COM & LPT), right-click your Arduino, and select Properties. Under the 'Port Settings' tab, click 'Advanced'. Here, you can manually assign a high-numbered COM port (e.g., COM22) that is marked 'in use' by ghost devices. This reserves the port exclusively for your specific USB VID/PID combination.
Linux: Persistent udev Rules
On Linux, device nodes like /dev/ttyACM0 are assigned dynamically. To create a persistent symlink (e.g., /dev/arduino_uno), you must write a custom udev rule. According to the Arch Linux udev documentation, you can map devices by their USB attributes.
Create a file at /etc/udev/rules.d/99-arduino.rules with the following payload:
ACTION=='add', SUBSYSTEM=='tty', ATTRS{idVendor}=='2341', ATTRS{idProduct}=='0043', SYMLINK+='arduino_uno', MODE='0666'Reload the rules with sudo udevadm control --reload-rules && sudo udevadm trigger. Your scripts can now reliably target /dev/arduino_uno regardless of how many other USB devices are connected.
Phase 4: Bypassing the IDE GUI with arduino-cli
The Arduino IDE 2.x is excellent for beginners, but its GUI overhead and serial monitor locking mechanisms hinder advanced workflows. For rapid, iterative flashing, integrate the official arduino-cli into your terminal or Makefile.
By using the CLI, you can compile and upload in a single, scriptable command without waiting for the IDE to parse the board index:
arduino-cli compile -b arduino:avr:uno -p /dev/arduino_uno --uploadFor even deeper workflow optimization, transition your project to PlatformIO. PlatformIO's dependency management and parallel build systems reduce compile times by up to 60% on multi-core machines compared to the standard Arduino builder.
Power Delivery & Brownout Prevention During Upload
When uploading complex sketches, especially those initializing high-draw peripherals like TFT displays or cellular modems, the initial boot sequence can cause a voltage brownout. If the Arduino is powered solely via the PC's USB port, the sudden current spike (often exceeding 500mA) will cause the PC's USB controller to throttle power or reset the port. This results in a corrupted upload or a bricked bootloader state.
The Optimization: For boards with complex peripherals, implement a split-power workflow. Connect the Arduino to the PC via an isolated USB data cable (or a standard data cable for serial monitoring), but power the board's VIN or 5V pin using a dedicated bench power supply set to 5.0V with a 2A current limit. Ensure the ground (GND) of the bench supply is tied to the Arduino's GND. This guarantees pristine signal integrity on the USB data lines while providing ample headroom for peripheral initialization.
Edge Case Troubleshooting Matrix
- Port Greyed Out in IDE: The board is drawing too much current, triggering the PC's USB overcurrent protection. Check for short circuits on your breadboard or use a powered hub.
- 'Access Denied' on Linux: Your user is not in the
dialoutgroup. Fix this permanently viasudo usermod -a -G dialout $USERand reboot. - Native USB Boards (Uno R4) Failing to Enumerate: If the firmware crashes the USB stack, the board will disappear. Double-tap the reset button within 500ms to force the Renesas/ESP32 bootloader into DFU mode, creating a new, temporary COM port for recovery flashing.
Conclusion
Mastering how to connect Arduino to a computer is not just about plugging in a cable; it is about engineering a reliable data pipeline. By auditing your physical cables, stabilizing your UART bridge drivers, locking your OS port assignments, and adopting CLI toolchains, you eliminate the micro-interruptions that destroy deep work states. Implement these optimizations today to transform your bench setup into a professional-grade embedded development environment.