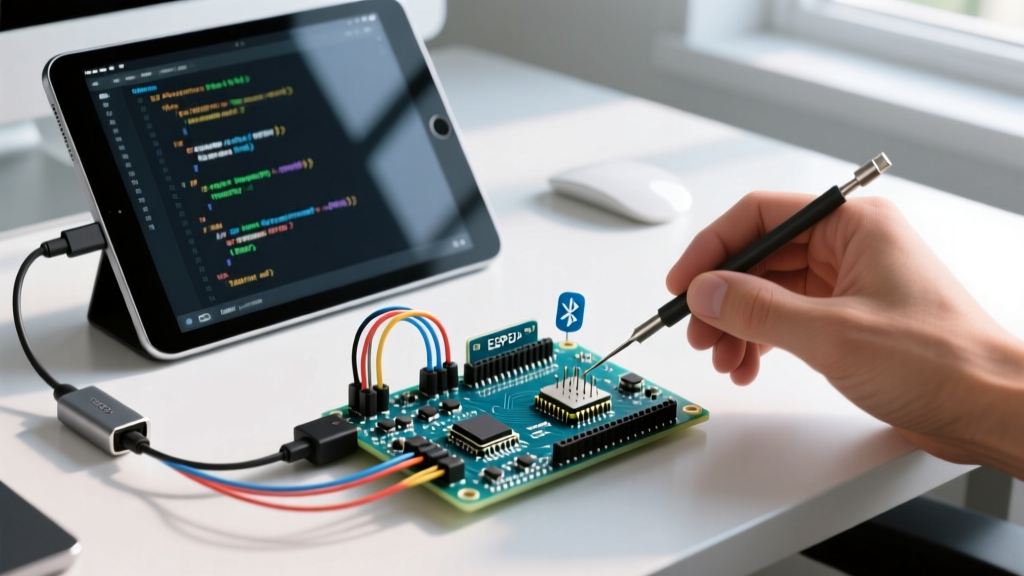

Transitioning to an iPad-centric workflow is a common goal for modern makers, but attempting to connect an Arduino with iPad hardware presents unique POSIX and driver-level roadblocks. Unlike macOS or Windows, iPadOS is a sandboxed environment. It lacks the underlying terminal access and third-party kernel drivers required to natively compile and upload sketches via standard USB serial bridges. If you plug an Arduino Uno R3 directly into an iPad Pro via USB-C, you will not see a serial port in Safari, nor can you run the traditional Java-based Arduino IDE.
However, with the right hardware matrices and cloud-based configurations, developing and interfacing with microcontrollers on an iPad is not only possible but highly efficient. This guide details the exact hardware limitations, the failure modes of direct USB connections, and the definitive 2026 workflows for Over-The-Air (OTA) compilation and Bluetooth Low Energy (BLE) serial communication.
Hardware & Connection Matrix: Choosing Your Path
Before purchasing adapters, you must select a communication architecture that aligns with iPadOS limitations. Below is a comparison of the primary methods for integrating an Arduino with iPad setups.
| Method | Hardware Required | Est. Cost (USD) | Native Compilation? | Best Use Case |
|---|---|---|---|---|
| Direct USB-C | Apple USB-C to USB Adapter | $29 - $69 | No (Driver Wall) | Powering low-draw sensors, reading MFi MIDI |
| ESP32 Wi-Fi OTA | ESP32-WROOM-32E Dev Board | $6 - $9 | Yes (via Cloud) | Full IDE coding via Arduino Cloud / Wokwi |
| Legacy BLE Serial | Arduino Uno + HM-10 Module | $12 - $18 | No (Data Only) | Real-time telemetry, robotics control |
| Remote Desktop | PC + VNC/TeamViewer App | $0 (Software) | Yes (via PC) | Heavy C++ debugging, legacy AVR ISP programming |
The Direct USB-C Bottleneck: Power and Driver Limits
The most frequent mistake makers make is assuming a simple USB-C OTG adapter will enable local compilation. When you connect an Arduino featuring a CH340G or FT232RL serial-to-USB bridge to an iPad, iPadOS does not load the necessary kernel extensions (.kext) to mount the device as a /dev/tty.usbserial node. Without this POSIX serial mapping, no software on the iPad can address the bootloader.
Furthermore, you will frequently encounter the dreaded 'Accessory requires too much power' notification. According to Apple's official USB-C accessory guidelines, unauthenticated USB-C peripherals are restricted to strict power draw limits (often 100mA to 500mA depending on the iPad model and adapter). While an ATmega328P chip draws roughly 20mA, an Arduino Mega 2560 with an attached 16x2 LCD shield and a single SG90 servo can easily spike past 400mA during initialization, triggering the iPad's hardware-level port shutdown to protect the logic board.
The Web Serial API Illusion
Many developers attempt to bypass local software by using browser-based IDEs that rely on the Web Serial API. While this works flawlessly on Chrome for Android or desktop browsers, it fails completely on the iPad. As documented by the MDN Web Docs on the Web Serial API, Apple's WebKit engine (which powers all browsers on iPadOS, including Chrome and Safari) does not support the Web Serial API. Consequently, browser-based local compilers cannot 'see' a USB-connected microcontroller on an iPad.
The Modern Standard: ESP32 OTA and Cloud Workflows
To achieve a true 'code-on-iPad' experience without relying on a remote PC, you must abandon legacy 5V AVR boards for your primary development and adopt the ESP32 architecture paired with cloud compilers. The ESP32-WROOM-32E natively supports Wi-Fi and Over-The-Air (OTA) updates, completely bypassing the need for a physical USB data connection after the initial provisioning.
Step-by-Step Arduino Cloud OTA Configuration
- Initial Provisioning (PC Required): You must use a desktop PC for the first flash. Install the Arduino Create Agent on your PC, connect the ESP32 via USB, and link it to your Arduino Cloud account. This embeds your unique Wi-Fi credentials and OTA authentication certificates into the ESP32's flash memory.
- Cloud IDE Setup: Open Safari on your iPad and navigate to the Arduino Cloud web IDE. Create a new 'Thing' and link your provisioned ESP32.
- OTA Compilation: Write your C++ sketch in the Safari web IDE. When you click 'Upload', the code is compiled on Arduino's cloud servers and pushed to your ESP32 via your local Wi-Fi network. The iPad acts purely as a thin client.
- Serial Monitoring: Arduino Cloud's web interface includes a cloud-based serial monitor. Debugging
Serial.println()statements are routed from the ESP32, through your router, to the Arduino Cloud, and back down to your iPad's Safari session via WebSockets.
Interfacing Legacy 5V Boards via HM-10 BLE
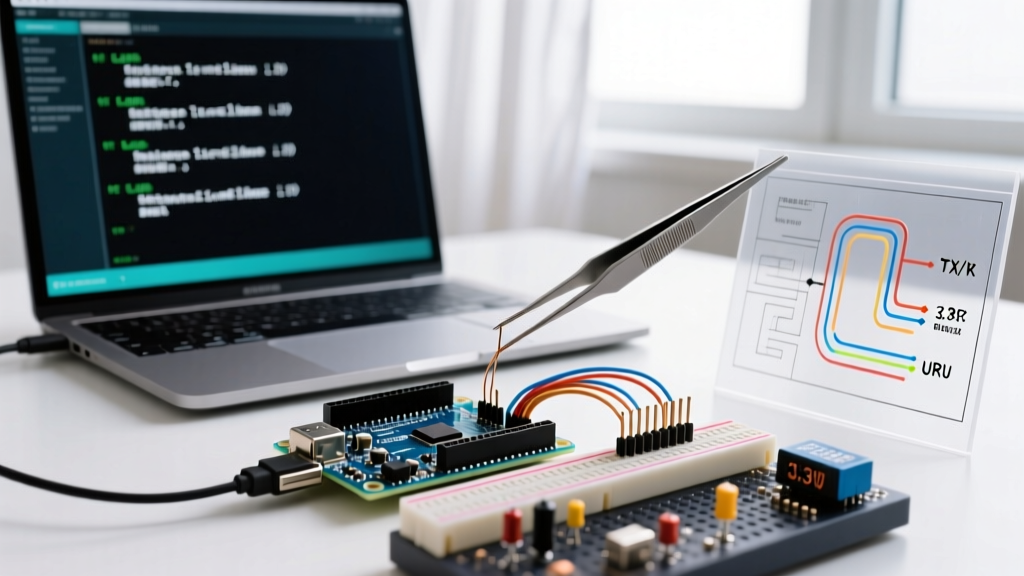
If your project strictly requires a legacy 5V Arduino Uno or Nano, you can use an iPad to read serial telemetry and send control commands via Bluetooth Low Energy (BLE) using the HM-10 module. However, iOS handles BLE pairing very differently than Android or Windows.
Hardware Wiring and Voltage Division
The HM-10 operates strictly at 3.3V logic. The Arduino Uno's TX pin outputs 5V. Sending 5V directly into the HM-10's RX pin will degrade or destroy the module's silicon over time. You must construct a voltage divider using a 2.2kΩ and a 3.3kΩ resistor.
- Arduino TX (Pin 11 via SoftwareSerial): Connect to the junction of the 2.2kΩ and 3.3kΩ resistors.
- 3.3kΩ Resistor: Connect the other end to GND.
- 2.2kΩ Resistor: Connect the other end to the HM-10 RX pin. (This yields ~3.2V at the junction).
- Arduino RX (Pin 10): Connect directly to HM-10 TX (3.3V output is safely read as HIGH by the Uno's 5V logic).
The iOS BLE Pairing Quirk
When configuring the HM-10 with an iPad, do not attempt to pair the module in the iPad's main Settings app. iOS reserves the system-level Bluetooth settings for MFi (Made for iPhone/iPad) certified audio and HID devices. Standard BLE UART modules like the HM-10 will not appear there.
Instead, download a third-party BLE terminal app like LightBlue or SerialFreak. Open the app, scan for peripherals, and connect to the 'HMSoft' or 'AT-09' broadcast name. You can then map the virtual serial port to send and receive ASCII data at the default 9600 baud rate.
Troubleshooting Edge Cases and Power Injection
When building hybrid setups that combine iPads with physical microcontroller rigs, keep these edge cases in mind:
Pro-Tip: External Power Injection
If you must connect an Arduino directly to an iPad via USB-C for MIDI or low-latency HID emulation, use a powered USB hub between the iPad and the Arduino. A hub with its own 5V/2A wall adapter prevents the iPad from sourcing the current, entirely bypassing the 'Accessory requires too much power' error while maintaining the data handshake.
- Safari Background Throttling: iPadOS aggressively suspends background tabs to save battery. If you are using a WebSockets-based serial monitor in Safari and switch to another app, the connection will drop within 30 seconds. Keep Safari in the foreground, or use Split View to keep the browser active while taking notes in GoodNotes.
- Baud Rate Mismatches: The HM-10 defaults to 9600 baud. If you flash AT commands to change the module to 115200 baud, remember that SoftwareSerial on the Arduino Uno becomes highly unstable and drops packets above 38400 baud. If high-speed telemetry is required, migrate to an Arduino Mega (which has hardware UART on Pins 14-19) or an ESP32.
- USB-C Hub Incompatibility: Avoid ultra-cheap, unbranded USB-C hubs when attempting MFi HID or MIDI connections with iPadOS. Apple's USB-C implementation requires specific Power Delivery (PD) negotiation handshakes. Hubs lacking proper PD controllers will cause the iPad to repeatedly connect and disconnect the peripheral in a boot-loop.
By understanding the sandboxed nature of iPadOS and pivoting toward cloud-compilation and BLE telemetry, you can transform your iPad into a highly capable, portable microcontroller development station without compromising on professional engineering standards.