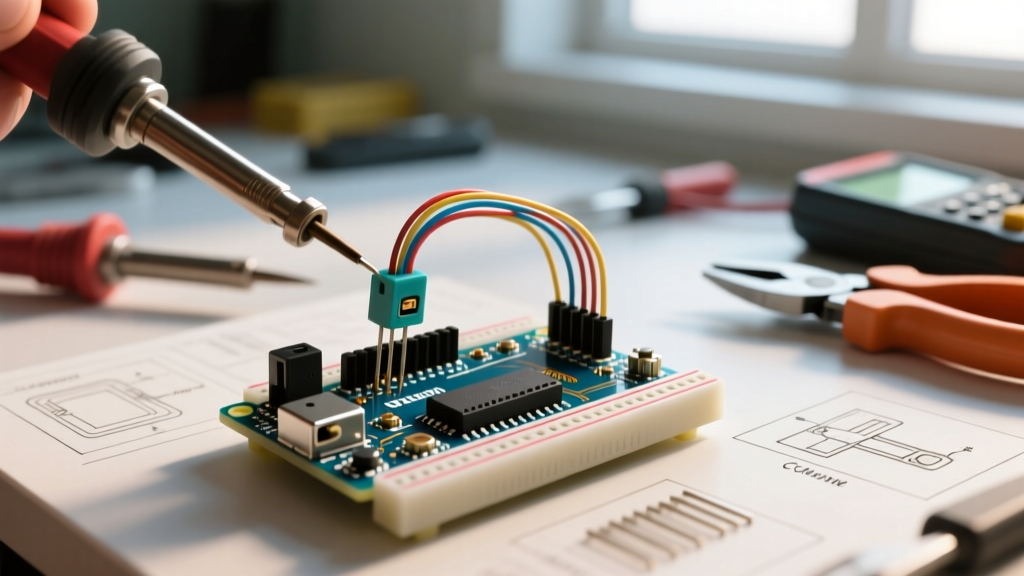

The Core Concept: What is a Limit Switch in MCU Projects?
In the realm of microcontrollers, a limit switch acts as the physical guardian of automated motion. Whether you are building a CNC router, a 3D printer, or an automated linear actuator, a limit switch for Arduino provides a definitive, binary signal indicating that a moving part has reached a physical boundary. Unlike optical sensors or Hall effect sensors, mechanical limit switches rely on physical contact to actuate an internal metal spring and electrical contacts.
While modern maker projects often favor non-contact sensors for homing, mechanical limit switches remain the industrial standard for harsh environments. They are immune to ambient light interference, dust accumulation, and moderate magnetic fields, making them indispensable for heavy-duty automation.
Normally Open (NO) vs. Normally Closed (NC): The Fail-Safe Rule
The most critical conceptual hurdle for beginners is choosing between Normally Open (NO) and Normally Closed (NC) wiring configurations. A standard micro switch (like the ubiquitous Omron D2F series) features three terminals: COM (Common), NO, and NC.
- Normally Open (NO): The circuit is open (disconnected) until the switch is pressed. Pressing the switch completes the circuit.
- Normally Closed (NC): The circuit is closed (connected) and current flows continuously. Pressing the switch breaks the circuit.
⚠️ CRITICAL ENGINEERING RULE: Always wire limit switches in a Normally Closed (NC) configuration for safety-critical applications like CNC machines and 3D printers. If a wire breaks, a connector vibrates loose, or a rat chews through your cable, an NC circuit will instantly register as "triggered," halting the machine safely. An NO circuit would fail silently, resulting in a catastrophic mechanical crash.
Wiring a Limit Switch for Arduino: Pull-Up Resistors
You cannot simply connect a switch between an Arduino digital pin and ground without addressing the "floating pin" problem. When the switch is open (in an NO configuration) or when dealing with long cable runs, the Arduino pin acts as an antenna, picking up electromagnetic interference (EMI) and registering false triggers.
Internal vs. External Pull-Ups
To stabilize the pin, a pull-up resistor is required to hold the pin at a logic HIGH (5V or 3.3V) when the switch is open. When the switch closes, it connects the pin directly to GND, pulling it to logic LOW.
The Arduino Uno R3 and modern boards like the Arduino Nano ESP32 feature internal pull-up resistors (typically 20kΩ to 50kΩ). You can activate these in software using INPUT_PULLUP. However, for cable runs exceeding 1 meter in high-EMI environments (such as near TMC2209 stepper drivers using high-frequency StealthChop PWM), the internal pull-up is often too weak. In these cases, an external 4.7kΩ or 10kΩ pull-up resistor placed at the microcontroller end is highly recommended to lower the impedance and reject noise.
The Hidden Enemy: Contact Bounce and EMI
When the metal contacts inside a limit switch close, they do not make a clean, instantaneous connection. The physical metallurgy causes the contacts to "bounce" against each other for 1 to 5 milliseconds before settling. To an Arduino running at 16MHz or 240MHz, this bounce looks like dozens of rapid button presses.
Hardware Debouncing (RC Filter)
For mission-critical hardware where software latency is unacceptable, you can implement a hardware low-pass RC (Resistor-Capacitor) filter. By placing a 100nF ceramic capacitor in parallel with the switch terminals and a 10kΩ series resistor, you create a time constant (τ = R × C) of 1 millisecond. This physically absorbs the high-frequency voltage spikes caused by contact bounce, delivering a clean, smooth logic transition to the Arduino pin.
Software Debouncing
For 90% of maker projects, software debouncing is sufficient. Rather than writing complex millis() timing loops from scratch, the industry standard is to use the Bounce2 library. It efficiently tracks state changes and ignores transient noise without blocking the main execution loop.
Sensor Showdown: Limit Switch vs. Hall Effect vs. Optical
Choosing the right endstop or homing sensor depends on your environmental constraints and budget. Below is a comparison matrix based on 2026 component pricing and performance metrics.
| Feature | Mechanical Limit Switch (Omron D2F-01F) | Hall Effect Sensor (A3144) | Optical Endstop (TCRT5000) |
|---|---|---|---|
| Average Cost | $2.50 (Genuine) / $0.15 (Clone) | $0.60 | $1.20 |
| Physical Contact | Required (Wear over time) | None (Magnetic field) | None (Infrared beam) |
| EMI Immunity | High (with shielded cable) | Moderate (Susceptible to strong motors) | Low (Fails in dusty/bright environments) |
| Repeatability | ±0.05mm | ±0.5mm (Field variance) | ±0.1mm |
| Fail-Safe Wiring | Yes (NC Configuration) | No (Active LOW output) | No (Opto-isolator constraints) |
Real-World Failure Modes in CNC and 3D Printing
Understanding how limit switches fail is just as important as knowing how to wire them. Here are the most common edge cases encountered in the field:
- Contact Welding: If a limit switch is accidentally wired to handle high current (e.g., directly switching a 12V solenoid instead of signaling an MCU), the internal contacts can weld together. Always use the switch only for low-voltage logic signals (3.3V/5V at <10mA).
- Overtravel Damage: Micro switches have a specified "overtravel" distance (usually around 0.5mm to 1mm). If a heavy CNC gantry slams into the switch at high speed, the physical plunger will bottom out, destroying the internal spring mechanism. Always use a mechanical hard stop positioned 1mm *after* the switch's actuation point.
- Oxidation in Humid Environments: Generic $0.15 micro switches often use cheap alloy contacts that oxidize, leading to high resistance and false triggers. For outdoor or humid environments, invest in gold-plated contacts like the Omron D2F-01F ($2.50), which resist oxidation and guarantee reliable low-current logic switching.
Complete Arduino Code Example
Below is a robust implementation using the Arduino INPUT_PULLUP configuration and the Bounce2 library. This code assumes an NC wiring configuration, meaning the pin reads HIGH when safe, and LOW when triggered. For an NO setup, simply invert the logic.
#include <Bounce2.h>

// Define the pin connected to the limit switch
const int LIMIT_SWITCH_PIN = 2;

// Instantiate a Bounce object
Bounce limitSwitch = Bounce();

void setup() {
  Serial.begin(115200);

  // Configure pin with internal pull-up resistor
  // Refer to the official Arduino documentation on INPUT_PULLUP for hardware specifics:
  // https://www.arduino.cc/reference/en/language/functions/digital-io/pinmode/
  pinMode(LIMIT_SWITCH_PIN, INPUT_PULLUP);

  // Attach the pin to the Bounce instance
  limitSwitch.attach(LIMIT_SWITCH_PIN);

  // Set a 10ms debounce interval to filter mechanical bounce and EMI
  limitSwitch.interval(10);

  Serial.println("Limit Switch Monitoring Initialized (NC Configuration)...");
}

void loop() {
  // Update the Bounce instance (must be called every loop)
  limitSwitch.update();

  // Detect the exact moment the switch is triggered (Falling edge for NC switches)
  if (limitSwitch.fell()) {
    Serial.println("[ALERT] LIMIT TRIGGERED! Halting motion.");
    // Insert emergency stop / stepper disable logic here
  }

  // Detect the exact moment the switch is released (Rising edge for NC switches)
  if (limitSwitch.rose()) {
    Serial.println("[STATUS] Limit cleared. Safe to resume.");
  }
}
Final Thoughts on Integration
Integrating a limit switch for Arduino is a foundational skill that bridges the gap between software logic and physical reality. By respecting the fail-safe NC wiring paradigm, implementing proper pull-up resistors to combat EMI, and utilizing software debouncing, you ensure that your automated projects operate safely and reliably for millions of cycles. For further reading on handling mechanical switch inputs, review the official Arduino Debounce Tutorial to understand the underlying timing mechanics without relying on third-party libraries.