
The 'Hello World' of Microcontrollers: When Blink Fails
The 'Blink' sketch is universally recognized as the rite of passage for embedded systems engineers and hobbyists alike. However, when your blinking LED Arduino setup refuses to toggle, it can be a frustrating roadblock that points to deeper systemic issues within your toolchain, hardware, or microcontroller architecture. Whether you are using a legacy ATmega328P-based Uno R3, a modern Arm Cortex-M4 powered Uno R4 Minima, or a breadboarded standalone AVR chip, a failure to blink is rarely just a 'bad LED'.
In this comprehensive troubleshooting guide, we will systematically isolate the failure domain—from IDE compilation errors and USB-to-Serial handshake faults to physical circuit miscalculations and silicon-level pin damage. By applying a structured diagnostic approach, you can identify the root cause and restore functionality to your development environment.
Anatomy of a Blinking LED Arduino Circuit
Before diagnosing faults, we must establish the baseline parameters of a standard LED circuit. A typical external blinking LED Arduino setup requires three core components:
- Microcontroller GPIO Pin: Usually Digital Pin 13 (or any configurable digital I/O).
- Current-Limiting Resistor: A 220Ω to 330Ω carbon film or metal film resistor (Color bands: Red-Red-Brown-Gold for 220Ω).
- Light Emitting Diode (LED): A standard 5mm through-hole LED with a forward voltage (Vf) of approximately 2.0V for red, and up to 3.3V for blue or white.
Expert Insight: Never connect an LED directly to an Arduino GPIO pin without a current-limiting resistor. The ATmega328P absolute maximum DC current per I/O pin is 40mA, but the recommended operating condition is 20mA. Exceeding this will permanently degrade the silicon junction inside the microcontroller, leading to erratic behavior or a dead pin.
Diagnostic Matrix: Top 5 Failure Modes
Use the table below to quickly map your specific symptoms to the most likely underlying failure domain.
| Symptom Observed | Probable Cause | Diagnostic Domain |
|---|---|---|
| IDE shows 'Upload' but LED never turns on | Wrong board/port selected or missing CH340 driver | Software / Toolchain |
| Onboard Pin 13 LED is solid ON, external LED off | Op-amp buffer issue (Uno R3) or damaged GPIO pin | Hardware / Silicon |
| LED stays on, but fades slightly instead of sharp blink | PWM pin misconfiguration or capacitor parasitic load | Circuit Design / Code |
| 'avrdude: stk500_recv() programmer not responding' | Bootloader corruption or USB cable lacks data lines | Firmware / Physical Connection |
| Compilation Error: 'expected ; before } token' | Syntax error in the loop() function | Software / C++ Syntax |
Phase 1: Software and IDE Troubleshooting
If your blinking LED Arduino sketch fails to compile or upload, the issue lies entirely within the software toolchain. The Arduino IDE (both legacy 1.8.x and the modern 2.x series) relies on the GCC AVR compiler and the avrdude upload utility.
Resolving 'avrdude' Upload Errors
The most notorious error in the Arduino ecosystem is avrdude: stk500_recv(): programmer is not responding. This indicates that the IDE cannot establish a serial handshake with the microcontroller's bootloader. To fix this:
- Verify the Data Cable: Over 40% of 'dead' boards are actually victims of charge-only USB micro-B or USB-C cables. Swap to a verified data-sync cable.
- Check Clone Board Drivers: If you are using a third-party clone board (common with Nano and Uno form factors), it likely uses the CH340 or CH341 USB-to-Serial chip instead of the official ATmega16U2. You must manually download and install the CH340 drivers for your OS, as modern Windows 11 and macOS environments do not always natively bundle them.
- Force the Bootloader: Press and release the physical 'RESET' button on the board exactly when the IDE console displays 'Uploading...'. This forces the ATmega328P into its serial programming window (typically the first 500ms after reset).
For deeper IDE-level debugging, consult the official Arduino Troubleshooting Guide, which details verbose output configurations to trace exact handshake timeouts.
Phase 2: Hardware and Circuit Diagnostics
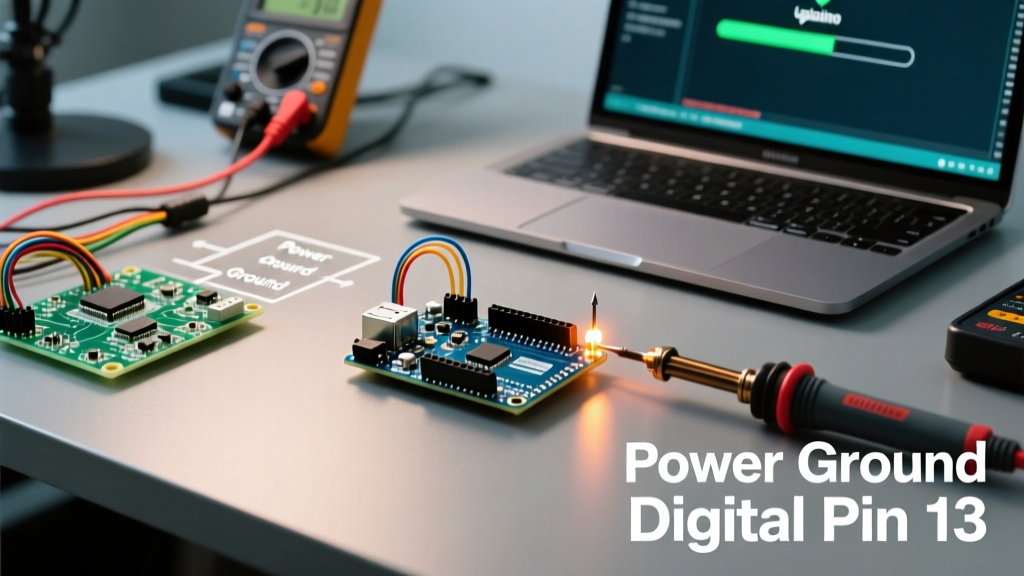
If the sketch uploads successfully (the 'L' LED on the board flashes rapidly during upload, then the IDE reports 'Done uploading'), but your external circuit remains dark, it is time to break out the digital multimeter (DMM).
Step-by-Step Multimeter Verification
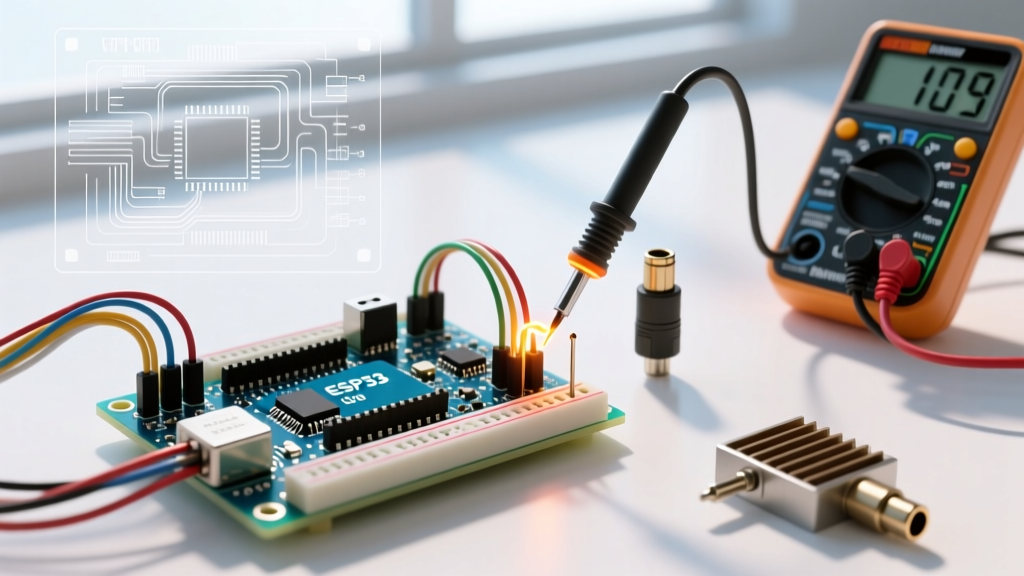
Set your DMM to DC Voltage (20V range) and follow this signal-tracing path:
- Measure GPIO Output: Place the red probe on the Arduino digital pin (e.g., Pin 13) and the black probe on GND. The voltage should rhythmically toggle between ~0.1V (LOW) and ~4.8V (HIGH) on a 5V board, or ~3.3V on a 3.3V board like the Arduino Zero or Nano 33 BLE.
- Measure Post-Resistor Voltage: Move the red probe to the junction between the resistor and the LED anode. You should see the same toggling voltage. If you see 5V at the pin but 0V after the resistor, your resistor is open (blown) or your breadboard contact is corroded.
- Verify LED Polarity: LEDs are diodes; they only pass current in one direction. The anode (long leg) must face the resistor, and the cathode (short leg, flat side on the housing) must face GND. If reversed, the LED will block current flow.
If you need to calculate the exact resistor value for a high-power or specialty LED, utilize Ohm's Law: R = (V_source - V_forward) / I_desired. For a 5V Arduino and a 2.0V red LED at 20mA, R = (5 - 2) / 0.02 = 150Ω. A standard 220Ω resistor is perfectly safe and provides a slight margin of error. For a complete primer on resistor selection, review SparkFun's Resistor Tutorial.
Edge Cases: Legacy vs. Modern Board Architectures
Not all 'Arduino' boards handle the onboard Pin 13 LED identically. Understanding these architectural nuances is critical for advanced troubleshooting.
The Uno R3 Op-Amp Buffer Anomaly
On the classic Arduino Uno R3, the onboard 'L' LED is not wired directly to Pin 13. Instead, it is routed through an LMV358 dual operational amplifier acting as a buffer. This was done to prevent the LED's current draw from interfering with sensitive SPI bus operations on Pin 13. The Failure Mode: If the LMV358 chip is damaged, or if Pin 13 is left 'floating' in a high-impedance state due to a bad solder joint, the op-amp can amplify thermal noise, causing the onboard LED to glow dimly or stay solidly lit, even when your blinking LED Arduino code dictates it should be off.
The Uno R4 Minima / WiFi Shift
Modern boards like the Uno R4 Minima utilize the Renesas RA4M1 Arm Cortex-M4 running at 48MHz. The onboard LED is driven directly by the GPIO or via a dedicated LED matrix driver (on the WiFi model). If you are porting legacy code that uses direct port manipulation (e.g., PORTB |= (1 << 5)) to blink the LED, it will fail silently on the R4. You must use the hardware-abstracted digitalWrite() functions or update your bitwise operations to match the RA4M1 register map.
Frequently Asked Questions (FAQ)
Why is my external LED glowing very dimly when it should be fully ON?
This usually indicates a missing common ground. If you are powering the LED from an external 5V breadboard supply but forgot to connect the breadboard's GND rail to the Arduino's GND pin, the circuit is attempting to complete the return path through parasitic capacitance or the USB shield, resulting in micro-ampere current flow and a dim glow.
Can a blinking LED Arduino sketch damage my PC's USB port?
No, unless you have a catastrophic short circuit (e.g., a bare wire touching 5V and GND simultaneously). The Arduino board features a resettable PTC polyfuse (typically rated at 500mA) on the USB VBUS line. If your circuit attempts to draw more than 500mA, the polyfuse will heat up, increase its resistance, and cut off power to protect your motherboard's USB controller.
My code uses delay(), but the blink timing is erratic. Why?
If you are using external interrupts, software serial libraries, or complex timer-based PWM outputs, the delay() function can be blocked or skewed. For mission-critical timing in a blinking LED Arduino project, abandon delay() and implement a non-blocking state machine using the millis() function, as demonstrated in the official Arduino Blink Without Delay documentation.
Final Verification Checklist
Before discarding a 'dead' component, run through this final 60-second checklist:
- Is the USB cable verified for data transfer, not just charging?
- Is the correct COM port selected in the IDE Tools menu?
- Is the LED inserted with the correct anode/cathode polarity?
- Is the resistor value appropriate for the LED's forward voltage?
- Are the breadboard tie-points making solid contact with the jumper wires?
By methodically isolating the software toolchain from the physical hardware, you will not only fix your current blinking LED Arduino project but also develop the systematic debugging skills required for complex IoT and robotics applications.