
The Anatomy of a Serial Failure
When developing embedded systems, the ability to execute an Arduino write to console operation is your primary window into the microcontroller's brain. The Serial Monitor is indispensable for debugging sensor values, tracking state machines, and profiling execution times. However, serial communication is deceptively complex. It relies on a fragile chain of hardware shift registers, software ring buffers, USB-to-serial bridge chips, and PC-side drivers.
When your Arduino write to console attempts fail—resulting in gibberish output, frozen sketches, or unexpected reboots—the root cause is rarely the IDE itself. Instead, it usually stems from low-level resource mismanagement or hardware timing conflicts. In this diagnostic guide, we dissect the five most common serial output failures and provide exact, actionable fixes for modern AVR and ARM-based boards.
1. The Baud Rate Mismatch (Gibberish Output)
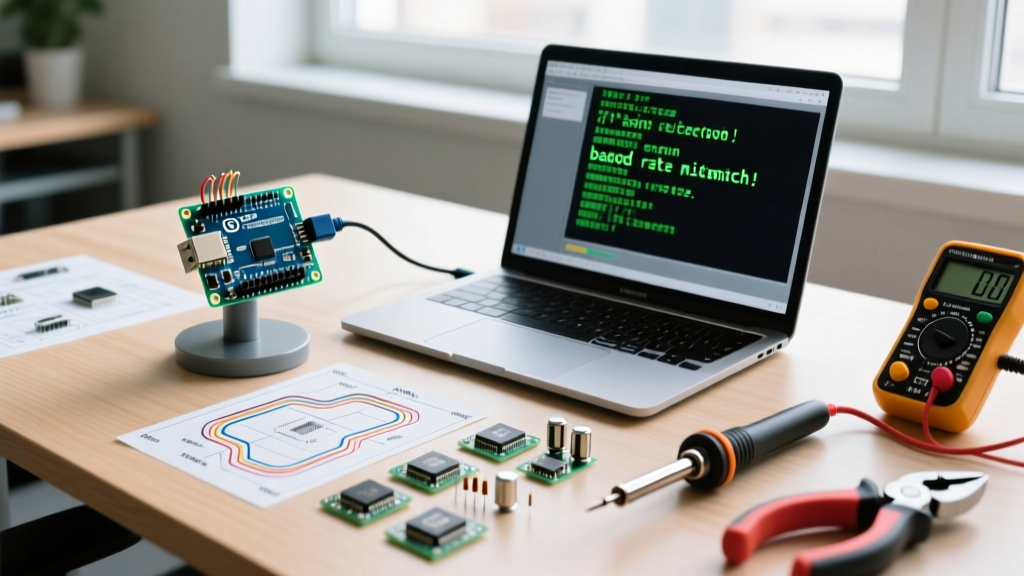
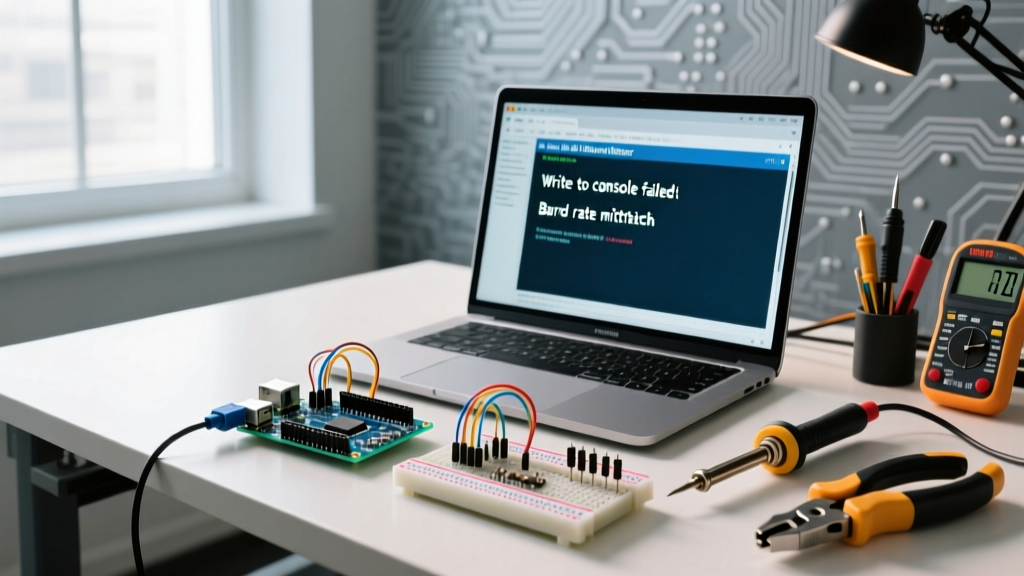
The most frequent error when attempting to write to the console is receiving a stream of unreadable characters (e.g., ÿÿÿÿ or random symbols). This is a classic baud rate mismatch between the microcontroller's UART peripheral and the host PC's serial terminal.
Diagnostic Breakdown
- The Math: Baud rate defines the symbol rate. At 115200 baud, the ATmega328P attempts to transmit roughly 11,520 bytes per second. If the Arduino IDE Serial Monitor is set to 9600, the PC samples the voltage transitions at the wrong intervals, interpreting noise and framing bits as data.
- The Clone Factor: Many modern 2026 clone boards utilize the CH340G or CH340C USB-to-serial chip instead of the official ATmega16U2. While highly reliable, older CH340 drivers occasionally struggle with non-standard baud rates (like 31250 for MIDI or 250000 for 3D printers), defaulting to garbage output.
The Fix: Ensure Serial.begin(115200); in your setup() exactly matches the dropdown menu in the Arduino IDE 2.x Serial Monitor. If using a CH340-based clone (like the Elegoo Uno R3) and experiencing intermittent corruption at high speeds, drop the baud rate to 57600 or update your CH340 driver from the manufacturer's official repository.
2. TX Buffer Overflow and Blocking Code
A severe but silent failure occurs when your Arduino write to console command suddenly halts your entire program. This is caused by the Transmit (TX) buffer filling up.
How the Hardware Serial Buffer Works
When you call Serial.print(), the Arduino core does not send the data directly to the USB cable. Instead, it pushes bytes into a 64-byte software ring buffer located in SRAM. A background interrupt (triggered by the UDRE0 flag) pulls bytes from this buffer one by one and pushes them into the hardware shift register at the speed of your baud rate.
If your sketch generates data faster than the baud rate can transmit, the 64-byte buffer fills completely. Once full, Serial.print() becomes a blocking function. It halts the main loop() until space frees up in the buffer.
Edge Case Warning: If you are running a PID controller for a stepper motor or reading high-speed ADC data, a blocking serial write introduces catastrophic latency, causing missed steps or data loss. Never place heavy serial writes inside a hardware interrupt service routine (ISR).
The Fix: Before writing to the console in timing-critical loops, check the available buffer space using Serial.availableForWrite(). If the value is low, skip the debug print or dynamically lower the reporting frequency.
3. SRAM Exhaustion from String Concatenation
If your Arduino writes to the console successfully for the first few hours, but then begins outputting corrupted fragments or silently rebooting, you are likely experiencing SRAM exhaustion due to heap fragmentation.
The Danger of the String Object
The ATmega328P has strictly 2048 bytes of SRAM. Using the String class to format console output dynamically allocates and deallocates heap memory. Consider this common anti-pattern:
String msg = "Temp: " + String(dht.readTemperature()) + "C";
Serial.println(msg);
Every loop iteration creates and destroys temporary String objects. Over time, the 2KB heap becomes fragmented like Swiss cheese. Eventually, a memory allocation fails, the microcontroller dereferences a null pointer, and the sketch crashes.
The Fix: Abandon the String class for serial formatting. Use chained Serial.print() calls or C-style snprintf(). Furthermore, wrap all static string literals in the F() macro (e.g., Serial.println(F("Sensor initialized"));). This forces the compiler to leave the text in the 32KB Flash memory, reading it directly during execution rather than wasting precious SRAM.
4. The DTR Auto-Reset Bug
Have you ever opened the Serial Monitor to view your Arduino write to console output, only to watch the microcontroller instantly reboot, losing all runtime state and variables? This is not a software bug; it is a hardware feature behaving as designed.
The DTR Line Mechanics
Official Arduino boards route the DTR (Data Terminal Ready) control line from the USB-to-serial chip through a 0.1µF capacitor to the RESET pin of the microcontroller. When the PC opens the serial port, the DTR line drops low, pulling the RESET pin low and triggering a hardware reboot. This is intended to facilitate automatic firmware uploads without pressing the physical reset button.
The Fix: If you need to monitor a running sketch without interrupting it, you must defeat the auto-reset circuit. On an Arduino Uno R3, you can place a 10µF electrolytic capacitor between the RESET and GND pins. This absorbs the DTR voltage spike, preventing the microcontroller from resetting when the Serial Monitor connects.
Diagnostic Matrix: Symptom to Root Cause
Use this matrix to quickly isolate your serial communication failure based on the exact symptoms observed in the IDE.
| Symptom | Root Cause | Domain | Actionable Fix |
|---|---|---|---|
| Random symbols / Gibberish | Baud rate mismatch or bad ground | Software / Hardware | Match IDE baud to Serial.begin(); check USB cable shielding. |
| Sketch freezes periodically | TX Buffer overflow (Blocking) | Software | Use Serial.availableForWrite() or increase baud rate to 115200+. |
| Crashes after hours of runtime | SRAM Heap Fragmentation | Software | Replace String objects with snprintf and use the F() macro. |
| Board resets when Monitor opens | DTR Line Auto-Reset | Hardware | Install 10µF capacitor between RESET and GND pins. |
| Port greyed out in IDE | USB Driver crash / Core panic | OS / Hardware | Update CH340/FTDI drivers; check for 5V/GND short on peripherals. |
Advanced Memory Profiling for Serial Stability
To ensure your Arduino write to console operations remain stable over long deployments, you must monitor your SRAM footprint. The Arduino IDE compiler output only reports Flash memory and global variables; it does not account for the stack or heap growth during runtime.
Implement a lightweight memory profiling function to print available SRAM to the console during your setup phase. By tracking the watermark of your memory usage, you can predict and prevent buffer-related serial failures before they occur in the field. For comprehensive serial protocol theory and hardware UART mechanics, refer to the SparkFun Serial Communication Guide and the official Arduino Serial Documentation. If you encounter persistent IDE-level port recognition issues, consult the Arduino Support Knowledge Base for OS-specific driver troubleshooting.
Final Pro-Tip: The Serial.flush() Trap
Many developers mistakenly use Serial.flush() to clear the incoming serial buffer. In modern Arduino cores (1.0 and above), Serial.flush() actually blocks the program until all outgoing TX data has finished transmitting. If you are trying to clear incoming garbage data, use while(Serial.available() > 0) { Serial.read(); } instead. Misusing flush() is a frequent culprit behind unexplained latency in console-heavy sketches.