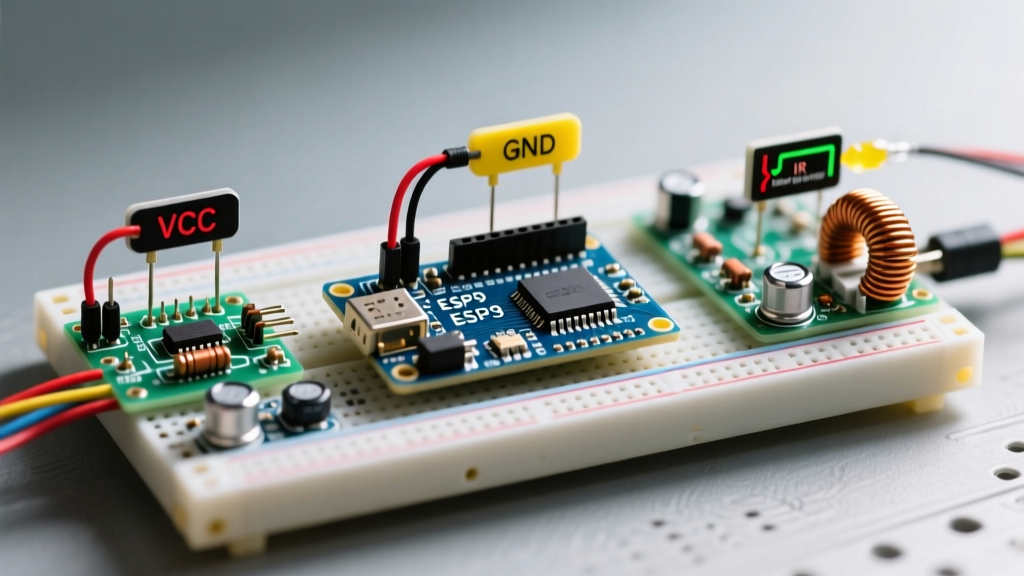

What is an Arduino Proximity Switch?
A proximity switch is a non-contact sensor that detects the presence or absence of an object within a specific range. Unlike mechanical limit switches that rely on physical contact and suffer from mechanical wear, proximity switches use electromagnetic fields, capacitance, or light to detect targets. In the maker and industrial automation space, integrating an Arduino proximity switch setup is fundamental for tasks ranging from CNC machine homing and 3D printer bed leveling to automated conveyor sorting and fluid level monitoring.
However, bridging the gap between rugged, industrial-grade 24V proximity sensors and the delicate 5V or 3.3V logic of an Arduino microcontroller requires a solid understanding of sensor physics, voltage level-shifting, and signal debouncing. This guide breaks down the core technologies, wiring topologies, and firmware strategies required to build reliable proximity detection systems in 2026.
Choosing the Right Sensor Technology
Not all proximity sensors are created equal. The material of your target object, the environmental conditions, and the required sensing distance will dictate which technology you must use. Below is a comparison of the three most common sensor types used in microcontroller projects.
| Feature | Inductive (e.g., LJ12A3-4-Z/BX) | Capacitive (e.g., LJC18A3-H-Z/BX) | Infrared / Optical (e.g., Sharp GP2Y0A21YK0F) |
|---|---|---|---|
| Detection Principle | High-frequency electromagnetic field | Electrostatic field / dielectric change | Triangulation of reflected IR light |
| Target Material | Metals only (ferrous and non-ferrous) | Metals, plastics, liquids, wood, glass | Most opaque and reflective surfaces |
| Typical Range | 2mm to 8mm | 5mm to 15mm | 10cm to 80cm (analog output) |
| Environmental Robustness | Excellent (immune to dust, moisture) | Moderate (sensitive to humidity/dust) | Poor (blinded by ambient IR / dust) |
| Avg. Cost (2026) | $4.00 - $6.50 | $6.00 - $9.00 | $8.00 - $14.00 |
When to Use Which?
- Inductive: The undisputed king of CNC homing and metal part counting. If you are detecting a steel gear or an aluminum extrusion, use an inductive sensor.
- Capacitive: Ideal for detecting non-metallic objects, such as verifying if a plastic bin is full, or sensing liquid levels through a non-metallic tank wall.
- Infrared: Best for longer-range distance measurement or object avoidance in robotics where the target material varies and physical contact is impossible.
The 24V Trap: Interfacing Industrial Sensors with 5V Logic
The most common mistake beginners make when wiring an Arduino proximity switch is connecting an industrial sensor directly to the microcontroller's digital input pin. Most cylindrical industrial sensors (like the ubiquitous LJ12A3 series) operate on a 6V to 36V DC supply and output the full supply voltage on the signal wire when triggered.
CRITICAL WARNING: If you power an inductive sensor with 12V or 24V and wire the black signal wire directly to an Arduino Uno's 5V-tolerant digital pin, you will instantly destroy the ATmega328P microcontroller. You must use voltage level-shifting.
Solving the Voltage Mismatch
Most industrial proximity switches use an NPN Normally Open (NO) output configuration. This means the signal wire acts as a switch to ground (GND). When the sensor triggers, it pulls the signal line to 0V. When untriggered, the line floats (or is pulled high via an external resistor).
To safely interface this with an Arduino, you have two primary options:
- The Voltage Divider Method: Use two resistors to step down the 24V signal to a safe 5V logic level. According to SparkFun's voltage divider guide, the formula is
Vout = Vin * (R2 / (R1 + R2)). For a 24V system, using a 10kΩ resistor (R1) and a 2.2kΩ resistor (R2) yields a safeVoutof approximately 4.36V, which registers perfectly as a HIGH on a 5V Arduino. - Optocoupler Isolation (Recommended for EMI): Use a PC817 optocoupler. The sensor drives the internal LED of the optocoupler, and the Arduino reads the isolated phototransistor side. This completely protects your MCU from voltage spikes and ground loops.
Step-by-Step Wiring: NPN Normally Open (NO)
Assuming you are using an optocoupler or a voltage divider for safety, here is the standard wiring color code for DC proximity switches:
- Brown Wire: VCC (Connect to 12V or 24V power supply positive).
- Blue Wire: GND (Connect to power supply negative and Arduino GND to establish a common ground).
- Black Wire: Signal Output (Connect to your voltage divider input or optocoupler anode).
Note: Always ensure the Arduino GND and the sensor power supply GND are tied together, otherwise the logic reference will float and cause erratic readings.
Writing the Firmware: Debouncing and State Detection
While proximity switches don't suffer from the mechanical contact bounce of physical limit switches, they do suffer from electrical noise and EMI (Electromagnetic Interference), especially when mounted near stepper motors or VFDs (Variable Frequency Drives). Relying on a simple digitalRead() inside the loop() without state-change detection or software debouncing can lead to false triggers.
The following code utilizes a non-blocking millis() debounce timer and edge-detection logic, adapting the principles from the official Arduino StateChangeDetection example.
const int PROX_PIN = 2;
const int LED_PIN = 13;

int lastProxState = HIGH; // Assuming pull-up, untriggered is HIGH
int currentProxState = HIGH;
unsigned long lastDebounceTime = 0;
const unsigned long debounceDelay = 15; // 15ms debounce for EMI filtering

void setup() {
  pinMode(LED_PIN, OUTPUT);
  // Enable internal pull-up resistor if using open-collector NPN sensor directly on 5V
  pinMode(PROX_PIN, INPUT_PULLUP);
  Serial.begin(115200);
}

void loop() {
  int reading = digitalRead(PROX_PIN);

  // Check if the reading has changed and debounce
  if (reading != lastProxState) {
    lastDebounceTime = millis();
  }

  if ((millis() - lastDebounceTime) > debounceDelay) {
    if (reading != currentProxState) {
      currentProxState = reading;

      // State changed to LOW (Sensor Triggered / Object Detected)
      if (currentProxState == LOW) {
        Serial.println("Target Detected!");
        digitalWrite(LED_PIN, HIGH);
      } else {
        Serial.println("Target Cleared.");
        digitalWrite(LED_PIN, LOW);
      }
    }
  }
  lastProxState = reading;
}
Real-World Failure Modes and Edge Cases
Designing an Arduino proximity switch circuit on a breadboard is easy; deploying it in a garage CNC or an automated greenhouse is where things break. Here are the edge cases you must engineer around:
1. Target Size and Material Variations (Inductive)
The rated sensing distance (e.g., 4mm on an LJ12A3-4-Z/BX) is based on a "standard target"—typically a 1mm thick square of mild steel measuring 12x12mm. If you attempt to detect a small M3 stainless steel screw, the sensing distance will drop by 40% to 60%. Furthermore, non-ferrous metals like aluminum and copper reduce the range by an additional 30% compared to steel. Always test with your exact target material and derate the sensor range by at least 20% in your physical CAD design.
2. Environmental Drift (Capacitive)
Capacitive sensors are highly sensitive to the dielectric constant of the environment. A capacitive sensor tuned to detect water inside a PVC pipe on a dry winter day may trigger falsely on a humid summer morning because the moisture in the air changes the baseline capacitance. Industry leaders like Pepperl+Fuchs recommend using adjustable potentiometers on capacitive sensors to recalibrate the threshold periodically, or switching to ultrasonic sensors for liquid level detection in varying climates.
3. EMI from Stepper Motors and Relays
If your Arduino proximity switch is wired with long, unshielded cables running parallel to stepper motor wires, the high-frequency PWM signals from the motor drivers will induce voltage spikes in the sensor cable. This causes the Arduino to read phantom triggers. The Fix: Use twisted-pair shielded cable for the sensor wiring, connect the shield to GND at the Arduino end only (to prevent ground loops), and implement a hardware RC low-pass filter (e.g., a 1kΩ series resistor and a 100nF capacitor to GND) on the signal line before it hits the microcontroller.
Summary
Successfully implementing an Arduino proximity switch requires more than just connecting three wires. By selecting the correct sensor physics for your target material, rigorously protecting your 5V logic from industrial 24V supplies via voltage dividers or optocouplers, and writing robust, debounced firmware, you can create industrial-grade automation systems on a maker budget.