
The Core Architecture Shift: AVR vs. ARM Cortex
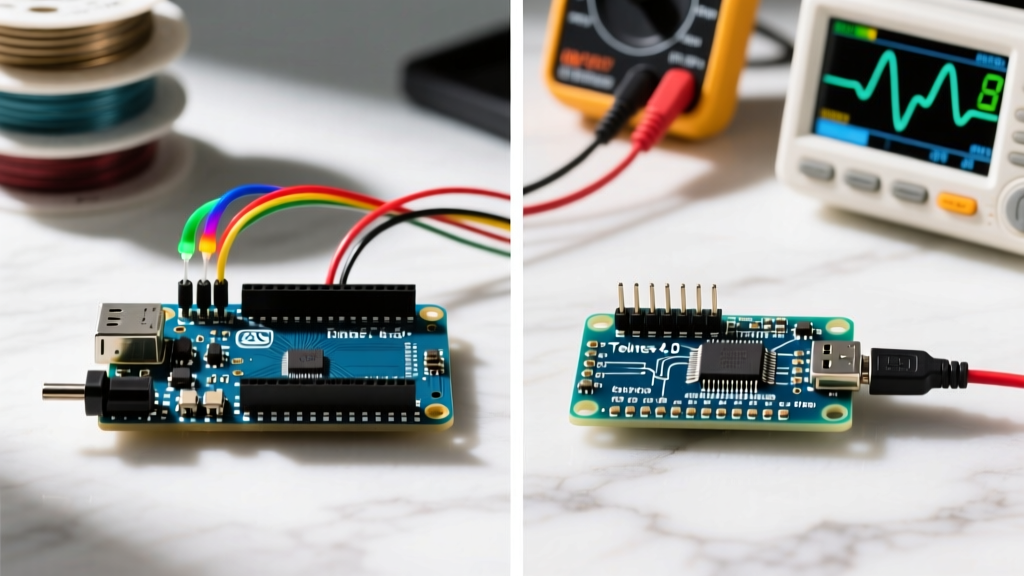
When evaluating Arduino vs Teensy for advanced maker projects, the fundamental divergence lies in the silicon architecture. Traditional Arduino boards like the Uno R3 rely on 8-bit AVR microcontrollers (ATmega328P), whereas modern Arduino boards (Uno R4) and the entire Teensy lineup utilize 32-bit ARM Cortex-M processors. This shift drastically alters how you configure your IDE, manage memory, and handle peripheral I/O. In 2026, the Teensy 4.1, powered by the NXP i.MX RT1062 crossover MCU, remains a powerhouse for DSP and high-speed data logging, demanding a completely different configuration approach compared to standard Arduino workflows.
IDE Configuration: Migrating to Teensyduino
Historically, configuring a Teensy required downloading a separate, monolithic 'Teensyduino' installer that patched the legacy Arduino IDE 1.8.x. Today, the configuration paradigm has shifted. PJRC now fully supports the Arduino IDE 2.x Board Manager ecosystem. To configure your environment for Teensy development:
- Open Arduino IDE 2.x and navigate to File > Preferences.
- In the 'Additional Boards Manager URLs' field, paste the official PJRC Teensy JSON URL:
https://www.pjrc.com/teensy/td_159/package_teensy_index.json. - Open the Boards Manager sidebar, search for 'Teensy', and install the latest core package.
This modular approach aligns with standard Arduino Board Manager practices, allowing you to seamlessly switch between an Arduino Uno R4 WiFi and a Teensy 4.1 without corrupting your core toolchains.
Hardware Specification & Pricing Matrix (2026)
| Feature | Arduino Uno R4 WiFi | Arduino Mega 2560 | Teensy 4.0 | Teensy 4.1 |
|---|---|---|---|---|
| MCU Core | Renesas RA4M1 (Cortex-M4) | ATmega2560 (8-bit AVR) | NXP i.MX RT1062 (Cortex-M7) | NXP i.MX RT1062 (Cortex-M7) |
| Clock Speed | 48 MHz | 16 MHz | 600 MHz (Nominal) | 600 MHz (Nominal) |
| Flash Memory | 256 KB | 256 KB | 1.98 MB | 7.93 MB |
| RAM | 32 KB SRAM | 8 KB SRAM | 512 KB + 512 KB TCM | 512 KB + 512 KB TCM |
| Logic Level | 5V (Tolerant) | 5V | 3.3V (Strict) | 3.3V (Strict) |
| Approx. Price (2026) | $27.50 | $42.00 | $23.90 | $31.50 |
Clock Speed & Thermal Configuration
One of the most critical differences in the Arduino vs Teensy debate is clock configuration. While an Arduino Uno runs at a fixed 16 MHz (or 48 MHz on the R4), the Teensy 4.x allows dynamic CPU speed scaling via the IDE. Navigate to Tools > CPU Speed to select frequencies ranging from 24 MHz up to 816 MHz.
Expert Warning: Overclocking the Teensy 4.0 to 816 MHz without active cooling or a heatsink will trigger the NXP chip's internal thermal shutdown. The MCU will silently reset or throttle, causing intermittent timing failures in precision applications like stepper motor control or fast Fourier transforms (FFT). Always use the tempmonGetTemp() function in your sketch to monitor die temperature during high-load overclocking.
The 3.3V Logic Trap: Hardware Configuration
The most frequent point of failure when migrating from Arduino to Teensy is ignoring logic level thresholds. Standard Arduino boards operate at 5V logic. The Teensy 4.0 and 4.1 operate strictly at 3.3V. Applying a 5V signal directly to a Teensy digital input pin will permanently destroy the ARM Cortex-M7 I/O pad.
Configuration Solutions for Mixed-Voltage Systems
- Resistor Dividers: Adequate for slow signals (e.g., button presses), using a 2.2kΩ and 3.3kΩ resistor network.
- MOSFET Level Shifters: Use a BSS138-based bi-directional level shifter for I2C buses (SDA/SCL lines).
- Dedicated ICs: For high-speed SPI or parallel data buses, configure a TXS0108E 8-bit voltage translator to ensure signal integrity at 3.3V without introducing propagation delay.
USB Stack Mapping & HID Configuration
Unlike older Arduino boards that use a secondary MCU (like the ATmega16U2) as a UART-to-USB bridge, Teensy boards feature native USB directly on the main processor. This allows for deep USB stack configuration directly from the IDE via the Tools > USB Type menu.
You can configure the Teensy to enumerate as a Serial port, a Keyboard/Mouse/Joystick HID device, a RawHID interface, or a native MIDI controller. The Arduino Uno R4 also supports native USB HID, but Teensy's implementation offers lower latency and more granular control over USB descriptors, making it the undisputed choice for custom MIDI controllers and flight simulators.
Step-by-Step: Configuring Native USB MIDI
- Select your board in the IDE and set Tools > USB Type to MIDI.
- Set Tools > Optimize to Faster (O2 optimization) to reduce USB polling jitter.
- In your sketch, omit the standard
Serial.begin(31250); native USB MIDI does not use hardware UART baud rates. - Use the
usbMIDI.sendNoteOn()andusbMIDI.sendNoteOff()functions to transmit data directly to your DAW.
Memory Allocation: PROGMEM vs. EXTMEM
On 8-bit Arduino boards, storing large lookup tables requires the PROGMEM directive to save data in flash memory rather than scarce SRAM. The Teensy 4.x architecture handles memory configuration entirely differently due to its tightly coupled memory (TCM) and external bus architecture.
The Teensy 4.1 features a footprint on the bottom of the PCB for an 8MB external PSRAM chip. Once soldered, you can configure your sketch to utilize this massive memory pool using the EXTMEM keyword. For example, declaring EXTMEM float audioBuffer[1000000]; allocates that array to the external PSRAM. Note that accessing EXTMEM is slower than internal RAM; configure your DMA (Direct Memory Access) controllers to handle bulk transfers from PSRAM to the audio buffers to prevent CPU bottlenecks.
Frequently Asked Configuration Questions
Why does my Teensy code compile but fail to upload?
Teensy uses a proprietary bootloader protocol. If the board is in a fault state, it will not enumerate. Press the physical pushbutton on the Teensy PCB to force it into HalfKay bootloader mode, then click 'Upload' in the IDE within 15 seconds.
Can I use standard Arduino libraries on Teensy?
Most high-level libraries (like Adafruit_GFX or Wire) are fully compatible. However, libraries that rely on direct AVR port manipulation (e.g., PORTB |= (1 << 5)) will fail to compile. You must refactor these to use ARM CMSIS registers or standard digitalWriteFast() functions.
How do I configure the Teensy for audio processing?
Install the Teensy Audio Library via the IDE Library Manager. You must configure the Tools > USB Type to 'Serial + MIDI + Audio' and use the Teensy Audio System Design Tool online to generate the C++ block configuration code for the I2S audio shield.