
Understanding the Arduino VIN Pin Architecture
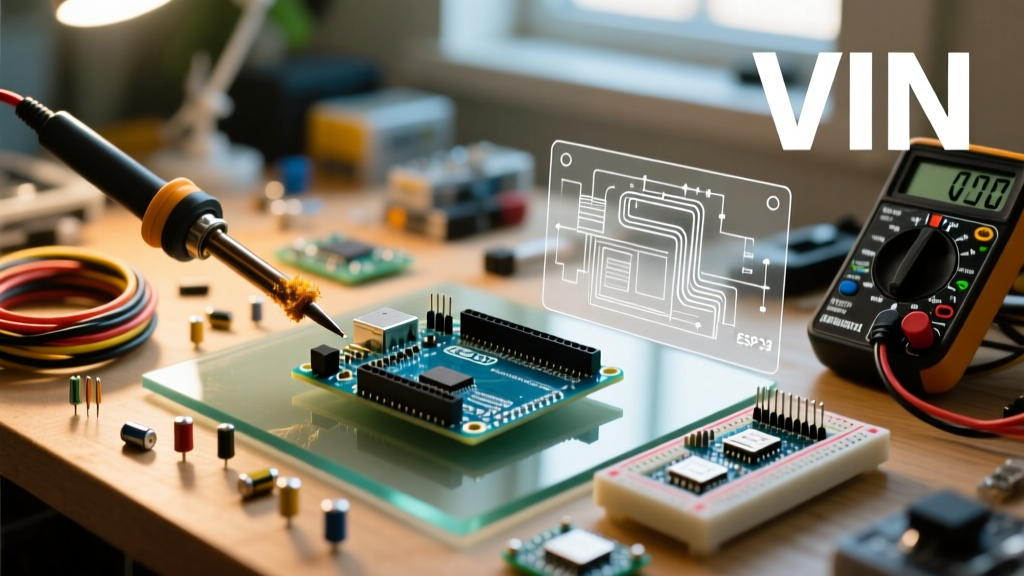
The Arduino VIN pin (Voltage Input) is a critical but frequently misunderstood power header found on boards like the Uno R3, Mega 2560, and Nano. Located in the power header block adjacent to GND, 5V, and 3.3V, the VIN pin provides a direct pathway to bypass USB power and feed the onboard linear voltage regulator. While it offers a convenient method for powering standalone microcontroller projects via battery packs, solar arrays, or wall adapters, improper configuration routinely leads to thermal throttling, erratic sensor readings, and catastrophic regulator failure.
According to the official Arduino Powering Guide, the VIN pin connects directly to the input of the onboard 5V linear regulator (typically an NCP1117-5.0 or LM1117-5.0 depending on the board revision and manufacturer). Unlike the 5V pin, which bypasses the regulator entirely, the VIN pin relies on the board's internal circuitry to step down the voltage. This fundamental architectural difference dictates how you must configure your external power supplies.
The Signal Path: From VIN to the 5V Rail
When you apply voltage to the Arduino VIN pin, the current travels through a specific protection and regulation circuit before reaching your microcontroller:
- Reverse Polarity Protection: On the Uno R3, the VIN pin routes through a diode (often a 1N4007 or similar P-N junction diode, designated as D1) to prevent catastrophic damage if you accidentally swap the positive and negative leads.
- The Linear Regulator: The protected voltage enters the NCP1117-5.0. This component burns off excess voltage as heat to maintain a stable 5.0V output.
- Capacitive Filtering: The regulated 5V passes through bulk and decoupling capacitors to smooth out transient ripple before hitting the ATmega328P and the 5V header pin.
Voltage Limits and Dropout Thresholds
Configuring the Arduino VIN pin requires strict adherence to voltage boundaries. The NCP1117-5.0 is a linear regulator, meaning it requires a minimum voltage differential—known as the dropout voltage—to function correctly.
- Absolute Minimum (Dropout): The dropout voltage for the NCP1117 is approximately 1.1V at full load. Therefore, the absolute minimum input required to sustain a 5.0V output is 6.1V. In practice, supplying less than 7V to the VIN pin will result in an unstable 5V rail, causing brownouts and USB serial disconnects.
- Recommended Operating Range: 7V to 12V. This range provides enough headroom for regulation without generating unmanageable heat.
- Absolute Maximum Rating: 20V. Applying 20V will not immediately destroy the regulator, but the thermal dissipation will trigger the internal thermal shutdown circuit within seconds if any meaningful current is drawn.
Thermal Dissipation: The Math Behind Regulator Burnout
The most common failure mode when using the Arduino VIN pin is thermal overload. Linear regulators do not efficiently step down voltage; they dissipate the voltage difference as heat. To configure your power supply safely, you must calculate the power dissipation ($P_d$) using the following formula:
P_d = (V_in - V_out) × I_load
Where V_in is your VIN supply voltage, V_out is 5V, and I_load is the total current drawn by the Arduino and any peripherals powered via the 5V pin.
Calculation Example: The 12V Sensor Trap
Suppose you configure a 12V DC wall adapter connected to the VIN pin to power an Arduino Uno and a string of WS2812B LEDs drawing 400mA (0.4A) from the 5V pin.
- V_in: 12V
- V_out: 5V
- I_load: 0.4A
- P_d: (12 - 5) × 0.4 = 2.8 Watts
The SOT-223 package of the NCP1117-5.0 on the Arduino Uno has a thermal resistance ($\theta_{JA}$) of roughly 50°C/W in still air. A 2.8W dissipation will raise the regulator's temperature by 140°C above ambient room temperature. At a 25°C room, the regulator will hit 165°C, instantly triggering its internal thermal shutdown (which activates around 150°C). Your project will randomly reboot every few seconds. For a deep dive into regulator thermals, the SparkFun Voltage Regulator Tutorial provides excellent thermal management guidelines.
Configuration Matrix: Input Voltage vs. Safe Current
Use the table below to configure your external power supply based on the maximum safe continuous current you can draw from the 5V rail without requiring an external heatsink or triggering thermal shutdown.
| VIN Input Voltage | Voltage Drop | Max Safe Current (5V Rail) | Power Dissipation | Recommended Use Case |
|---|---|---|---|---|
| 7.0V | 2.0V | ~600 mA | 1.2W | 4x AA Battery Pack (6V nominal, 7V fresh) |
| 9.0V | 4.0V | ~300 mA | 1.2W | Standard 9V Alkaline Battery (Low current only) |
| 12.0V | 7.0V | ~170 mA | 1.2W | 12V DC Switching Wall Adapter |
| 15.0V | 10.0V | ~120 mA | 1.2W | Solar Panel arrays with charge controllers |
Note: The onboard PTC resettable fuse on the Arduino Uno R3 is rated for 500mA. Even at 7V VIN, you cannot exceed 500mA total on the 5V rail without tripping the USB/Power polyfuse.
Real-World Wiring Scenarios and Configuration Steps
Scenario A: The 9V Battery Misconception
Many beginners configure their projects using a standard 9V PP3 alkaline battery connected to the VIN pin via a barrel jack or direct header wiring. While electrically valid (9V is within the 7-12V range), a standard 9V battery has a high internal resistance and a low total capacity (~400mAh). If your circuit draws 150mA, the battery voltage will sag below the 6.1V dropout threshold within 45 minutes. Configuration Fix: Use a 6x AA battery holder (9V nominal) or a 2S LiPo (7.4V) for high-current VIN configurations.
Scenario B: 12V DC Wall Adapter (Optimal)
A 12V 2A switching power supply (typically costing $5 to $8) is the most reliable VIN configuration for stationary projects. Because the Arduino's onboard regulator cannot handle high current at 12V, you must restrict the 5V rail draw to under 150mA. Use the 12V VIN strictly to power the microcontroller and low-power sensors (like I2C temperature sensors or relays drawing under 50mA each).
Scenario C: 4S LiPo Pack (14.8V - Danger Zone)
Connecting a 4S LiPo (16.8V fully charged) to the Arduino VIN pin is highly discouraged. The voltage is dangerously close to the 20V absolute maximum, and the voltage drop (11.8V) will cause immediate thermal shutdown if you draw more than 100mA. If your robotics project requires 4S LiPo power, do not use the VIN pin. Instead, configure an external step-down module.
The Modern Alternative: Bypassing VIN with Buck Converters
In 2026, relying on the Arduino's onboard linear regulator via the VIN pin for high-current projects is considered an outdated practice. The industry standard configuration for projects requiring more than 150mA at 12V or higher is to use an external synchronous buck converter.
Modules based on the LM2596 or the more efficient MP1584EN (priced around $2 to $4) can step 12V down to 5V with up to 90% efficiency, generating virtually zero heat compared to the NCP1117. To configure this:
- Connect your 12V power supply to the IN+ and IN- terminals of the buck converter.
- Use a multimeter to adjust the potentiometer on the buck converter until the OUT+ reads exactly 5.00V.
- Connect the OUT+ of the buck converter directly to the 5V pin on the Arduino header (bypassing the VIN pin and the onboard regulator entirely).
- Connect OUT- to the Arduino GND.
Warning: Never apply voltage to the 5V pin while the Arduino is simultaneously powered via USB or the VIN pin. This will backfeed the USB port or create a voltage collision that can destroy the ATmega16U2 USB interface chip.
Troubleshooting Common VIN Configuration Failures
- Symptom: Arduino resets when a motor or relay engages.
Cause: Voltage sag on the VIN line dropping below 6.1V due to inadequate power supply amperage or thin gauge wiring (e.g., 28 AWG breadboard jumper wires). Fix: Upgrade to 22 AWG silicone wire for the VIN and GND connections and ensure your power supply can deliver at least 2x the peak current draw. - Symptom: The onboard voltage regulator is too hot to touch, and the board occasionally freezes.
Cause: Thermal throttling. The NCP1117 is entering protection mode and dropping the output to 4.2V, causing the ATmega328P to brown out. Fix: Lower the VIN input voltage to 7.5V, or move high-current peripherals to an external 5V buck converter. - Symptom: No power when wiring a battery pack directly to VIN and GND headers.
Cause: If using the barrel jack, the VIN pin is an output, not an input. However, if wiring directly to the header pin marked 'VIN', ensure you are not confusing it with the '5V' pin. Verify continuity from the VIN header to the input leg of the NCP1117 using the Uno R3 schematic.
Frequently Asked Questions
Can I use the VIN pin to power external 12V components?
Yes, but with extreme caution. If you supply 12V to the VIN pin, that 12V is present on the VIN header and can be used to power external 12V relays or LED strips. However, all that current passes through the board's copper traces and the reverse polarity protection diode (if wired through the barrel jack pathway). The D1 diode on the Uno R3 is typically rated for 1A continuous. Exceeding this will melt the diode. It is always safer to wire high-current 12V loads directly to the power supply, sharing a common ground with the Arduino.
Does the Nano use the same VIN configuration as the Uno?
The Arduino Nano V3 uses a similar linear regulator (often a 7805 or an SMD equivalent depending on the clone manufacturer) connected to the VIN pin (labeled as 'VIN' or sometimes 'RAW' on older clones). The Nano lacks the robust reverse polarity protection diode found on the Uno, making it much more susceptible to instant destruction if you reverse the VIN and GND wires. Always double-check polarity with a multimeter before applying power to a Nano's VIN pin.