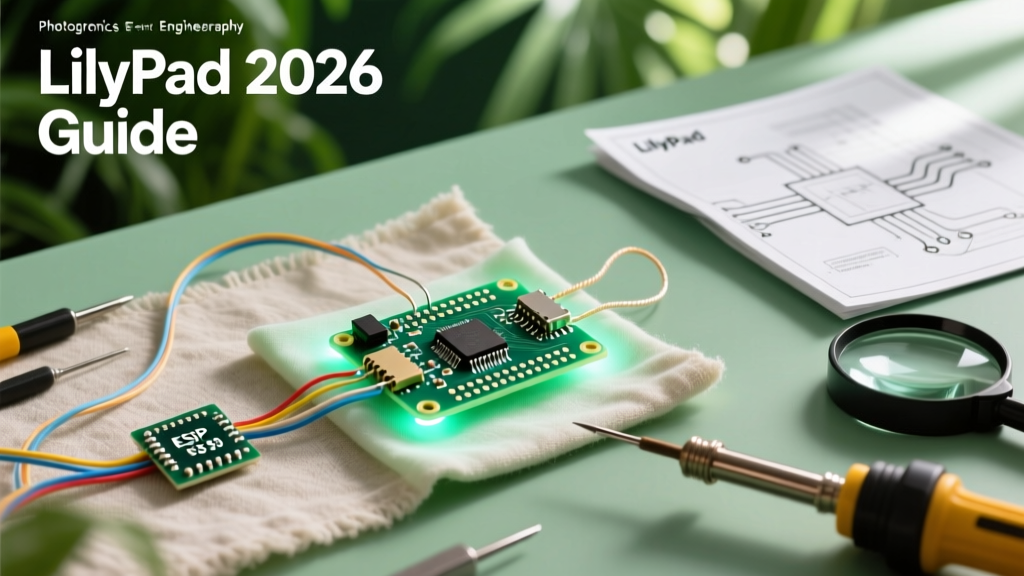

The Enduring Legacy of the LilyPad Arduino in E-Textiles
Since its inception by Leah Buechley at the MIT Media Lab, the LilyPad Arduino has remained the undisputed gold standard for wearable technology, cosplay electronics, and e-textile education. As we navigate the maker landscape in 2026, the ecosystem around this sewable microcontroller has matured significantly. While newer wireless modules exist, the LilyPad's robust community, extensive tutorial libraries, and physical sewability keep it at the forefront of soft-circuit design.
This community resource roundup curates the most vital hardware matrices, code repositories, material science data, and troubleshooting frameworks required to build reliable wearable electronics today. Whether you are engineering a reactive LED cosplay suit or teaching a university-level wearable computing course, these community-tested resources are essential.
2026 LilyPad Hardware Matrix: Choosing Your Core
The SparkFun LilyPad lineup has evolved to address specific maker pain points. Below is a comparative matrix of the most widely used boards in the current ecosystem, complete with 2026 pricing and technical specifications.
| Board Model | Microcontroller | Logic Level | Approx. Price (2026) | Best Use Case |
|---|---|---|---|---|
| LilyPad USB (DEV-12049) | ATmega32U4 | 3.3V / 8MHz | $24.95 | Core wearables, HID keyboard emulation |
| ProtoSnap Plus (DEV-14346) | ATmega32U4 | 3.3V / 8MHz | $44.95 | Classroom prototyping, no-sew testing |
| LilyPad MP3 Player (DEV-11013) | ATmega328P + VS1053B | 3.3V / 8MHz | $59.95 | Audio-reactive costumes, haunted props |
| LilyPad Vibe Board (DEV-13898) | None (Motor Driver) | N/A | $9.95 | Haptic feedback, accessibility wearables |
Expert Insight: The ATmega32U4 boards (USB and ProtoSnap) feature native USB support via the Caterina bootloader, allowing them to emulate keyboards or mice without secondary hardware—a massive advantage for interactive museum exhibits and gaming wearables.
Top Community Hubs & Code Repositories
Finding reliable, non-deprecated code for wearable sensors can be challenging. The community has consolidated around several key hubs:
- SparkFun Learn Platform: The definitive starting point. The LilyPad ProtoSnap Plus Hookup Guide remains the most comprehensive, up-to-date resource for mapping sewable pins to Arduino IDE definitions.
- FastLED Wearable Matrices: For makers integrating addressable LEDs (like the LilyPad Pixel Board), the community-maintained FastLED GitHub repositories contain specific gamma-correction profiles for 3.3V logic systems, preventing the color-shifting issues common when driving 5V LEDs from 3.3V MCUs.
- Reddit Communities (r/ewholesome & r/cosplay): Searching these subreddits for 'LilyPad' yields real-world failure analyses from convention attendees, particularly regarding battery life management in high-draw LED armor.
The Physics of Conductive Thread: Material Science & Math
The most common point of failure in e-textiles is not the code; it is the physics of the conductive thread. Community veterans emphasize understanding voltage drop before sewing a single stitch.
Thread Resistance and Voltage Drop Calculations
Standard 4-ply stainless steel conductive thread (like SparkFun's DEV-13814) has a resistance of approximately 0.25 Ω/inch (or ~10 Ω/meter). If you sew a circuit where the power travels 12 inches to an LED and 12 inches back to ground, you have 24 inches of thread.
The Math: 24 inches × 0.25 Ω = 6 Ω total thread resistance.
If your LED draws 20mA (0.02A), Ohm's Law (V = I × R) dictates a voltage drop of 0.12V.
While 0.12V is negligible for a single LED, parallel arrays draw multiplicative current. Ten LEDs drawing 200mA (0.2A) across the same 6 Ω path will result in a 1.2V drop. Your LEDs at the end of the run will visibly dim or fail to illuminate.
Actionable Solution: For high-current arrays, the community recommends using Karl Grimm High Flex 3981 thread (copper core, silver-plated, nylon-wrapped), which drops resistance to ~0.15 Ω/inch, or running parallel power/ground bus lines using thicker 6-ply or 12-ply conductive yarns.
Troubleshooting Common E-Textile Failures
Even experienced makers encounter soft-circuit anomalies. Here is a diagnostic framework derived from years of community troubleshooting.
1. The 'Fray Short' Phenomenon
Stainless steel thread frays at the needle eye and at the knot. Microscopic metal hairs can easily bridge the 2mm gap between adjacent sewable pads on the LilyPad, causing a dead short that triggers the board's thermal shutdown or drains the LiPo battery instantly.
- Prevention: Use micro-scissors to trim the thread absolutely flush with the knot.
- Mitigation: Apply a micro-drop of Fray Check or clear flexible fabric glue directly over the knot and pad to encapsulate stray fibers.
2. High-Resistance Joints
Loose knots create variable resistance, leading to flickering LEDs or erratic sensor readings. Standard sewing knots slip when pulled by heavy conductive thread.
- Prevention: Use a locking backstitch. After tying the final surgeon's knot, grip the thread tail with flat-nose pliers and pull firmly to seat the knot against the silver pad.
Essential E-Textile Toolkit for 2026
Standard sewing kits are insufficient for wearable electronics. Based on community consensus, these are the mandatory tools for your bench:
- John James 'Betweens' Needles (Size 7 or 8): Standard craft needles snap when piercing neoprene or denim with metal thread. Betweens are short, rigid, and have eyes large enough for 4-ply thread.
- Digital Multimeter with Continuity Beeper: You must test every trace for continuity and shorts before plugging in your LiPo battery. The SparkFun Sewing with Conductive Thread Guide heavily emphasizes this step to prevent frying the ATmega32U4.
- Seam Ripper & Hemostats: For removing mistaken stitches and pulling thread through tight fabric channels.
- Alligator Clip Test Leads: Essential for prototyping circuits on the ProtoSnap before committing to thread.
Waterproofing and Garment Care Protocols
Washing a LilyPad project requires strict protocols. The board itself is somewhat resilient to water, but the battery and bare metal threads are not.
The Conformal Coating Method: To protect exposed silver pads and thread knots from oxidation and wash-cycle shorts, makers apply MG Chemicals Silicone Conformal Coating (419D). Unlike rigid acrylic coatings that crack when the fabric bends, silicone remains flexible, maintaining the drape of the garment while sealing the electronics.
Warning: Never machine wash a garment with a LiPo battery attached. The agitation can puncture the battery pouch, leading to a thermal runaway fire. Always hand-wash e-textiles in cool water with mild detergent, and air-dry flat.
Frequently Asked Questions (Community Consensus)
Can I use standard Arduino shields with the LilyPad?
No. The LilyPad uses a 0.5-inch pitch sewable pad layout, not the standard 0.1-inch header spacing of Arduino Uno shields. However, you can use I2C or SPI breakout boards by soldering header pins to the breakout and connecting them to the LilyPad using conductive thread or flexible jumper wires.
Why is my LilyPad USB not showing up in the Arduino IDE?
The ATmega32U4 requires you to manually trigger the bootloader if the board enters a fault state. Double-tap the reset button on the LilyPad rapidly. The onboard LED should pulse, indicating it is in bootloader mode. You then have exactly 8 seconds to click 'Upload' in the Arduino IDE before it times out and returns to the faulty sketch.
What is the maximum power draw from the LilyPad's 3.3V regulator?
The onboard MCP1700 regulator can safely supply up to 250mA. If your wearable project requires more current (e.g., driving large NeoPixel rings), you must bypass the onboard regulator and power the LEDs directly from the raw LiPo battery line (3.7V - 4.2V) using a dedicated MOSFET or LED driver IC, while keeping the LilyPad's logic powered via its standard 3.3V rail.