
The Hardware Handshake: Beyond the Simple USB Plug
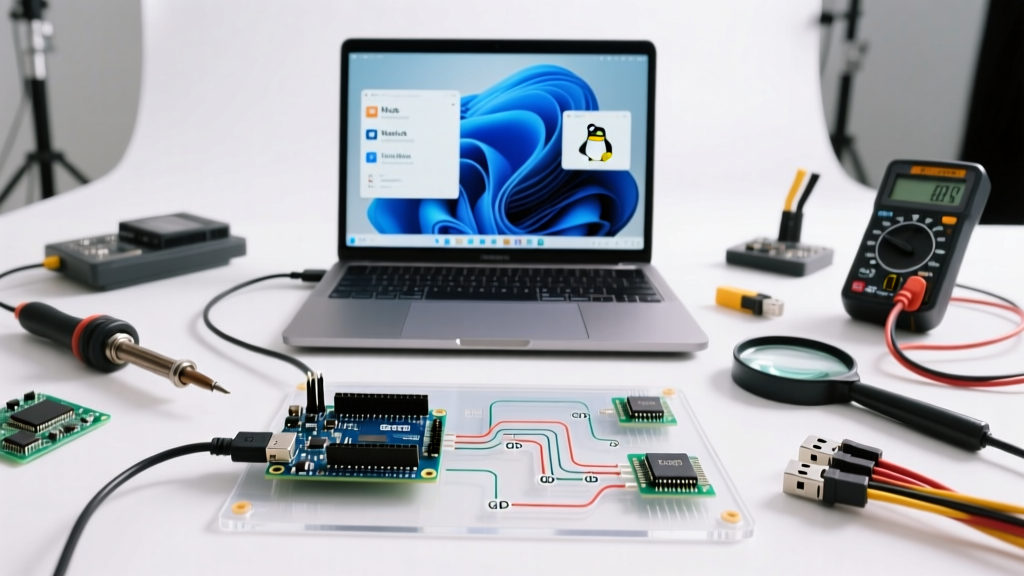
Understanding how to connect Arduino to PC environments in 2026 requires more than just plugging in a cable. With the transition to USB-C on newer boards, stricter OS-level security protocols, and a saturated market of clone boards, establishing a stable serial connection is a multi-layered compatibility challenge. Whether you are deploying a genuine Arduino Uno R4 WiFi ($27.50) or a bulk-ordered CH340-based Nano clone ($3.50), the physical and software handshakes dictate your success.
This compatibility guide dissects the physical layer, the USB-to-Serial silicon, and the operating system-specific driver configurations required to get your microcontroller talking to your IDE.
The Physical Layer: Cable Anatomy and the 'Charge-Only' Trap
The most frequent point of failure when connecting an Arduino to a PC is the USB cable itself. Not all USB cables are wired for data transmission.
Identifying Data vs. Charge-Only Cables
A standard USB 2.0 Type-A connector contains four pins:
- Pin 1 (VBUS): +5V Power
- Pin 2 (D-): Data Minus
- Pin 3 (D+): Data Plus
- Pin 4 (GND): Ground
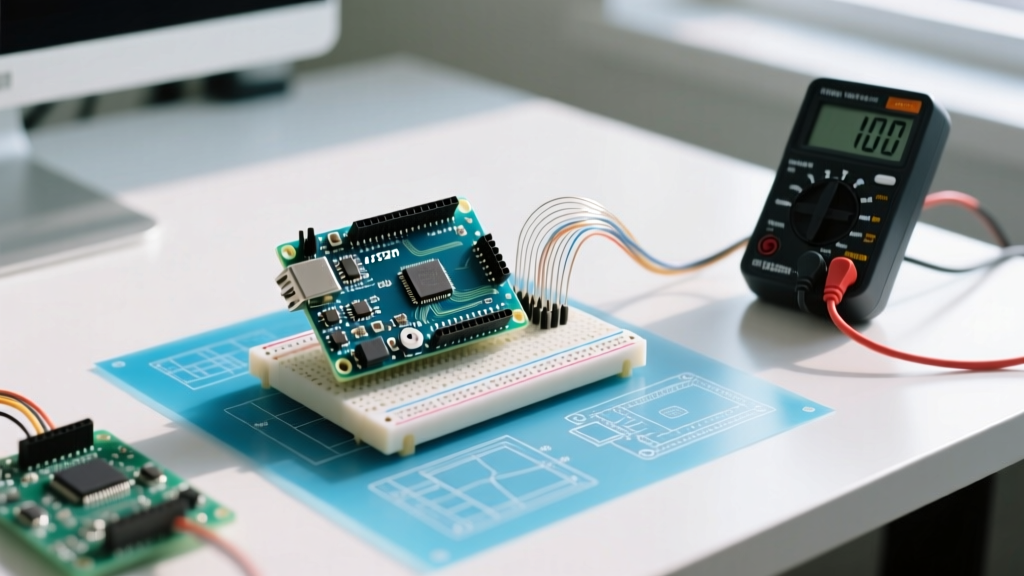
Cheap cables included with consumer electronics often omit Pins 2 and 3 to save on copper costs. If you plug your Arduino in and the power LED illuminates but the IDE port menu remains grayed out, you are likely using a charge-only cable. Pro Tip: Use a digital multimeter in continuity mode to test the D+ and D- lines on your USB-A connector before troubleshooting software drivers.
Connector Transitions in Modern Arduino Boards
While legacy boards like the Uno R3 rely on the bulky USB Type-B connector, modern iterations have shifted. The Arduino Nano ESP32 and the Uno R4 series utilize USB-C. However, ensure your PC's USB-C port supports data transfer (look for the SuperSpeed or Thunderbolt logo), as some dedicated charging ports on desktop front panels lack the internal motherboard header routing for serial data.
The Silicon Layer: USB-to-Serial IC Compatibility
Microcontrollers like the ATmega328P do not natively speak USB. They use UART (serial) communication. A secondary chip on the board acts as a USB-to-Serial bridge. Identifying this chip is the critical first step in driver installation.
| USB-to-Serial IC | Common Boards | Genuine / Clone | Native OS Support (No Driver) |
|---|---|---|---|
| ATmega16U2 | Uno R3, Mega 2560 | Genuine | Windows 11, macOS, Linux |
| CH340G / CH341A | Nano, Uno R3 (Clones) | Clone / Third-Party | Linux (Kernel 5+), Modern macOS |
| FT232RL | Arduino Nano (Legacy), FTDI Adapters | Genuine / Clone | Windows 11, macOS, Linux |
| Native USB CDC | Uno R4, Nano 33 IoT, ESP32-S3 | Genuine | All Modern OS (Class Compliant) |
OS-Specific Connection & Driver Guides
Once you have verified your cable and identified your bridge IC, you must navigate your operating system's specific security and permission architectures.
Windows 11: Core Isolation and CH340 Conflicts
Windows 11 introduced strict Memory Integrity (Core Isolation) features that block vulnerable or unsigned drivers. Older versions of the WCH CH340 driver (pre-2022) are frequently flagged and silently blocked, resulting in a 'Code 10' or 'Code 43' error in Device Manager.
- Open Device Manager and expand Ports (COM & LPT).
- If you see 'USB-Serial CH340' with a yellow triangle, right-click and select Update Driver.
- Do not rely on Windows Update. Download the latest signed CH341SER.EXE directly from the manufacturer or a trusted vendor like SparkFun's CH340 Driver Guide.
- If the installation fails silently, navigate to Windows Security > Device Security > Core Isolation Details and temporarily toggle off Memory Integrity, install the driver, reboot, and re-enable it.
macOS (Apple Silicon & Intel): Serial Port Permissions
Connecting an Arduino to a Mac running macOS Sonoma or Sequoia on Apple Silicon (M1/M2/M3/M4) requires navigating strict kernel extension (kext) policies. Genuine boards using the ATmega16U2 or native USB CDC will mount instantly as /dev/cu.usbmodem*.
However, CH340 clones require the CH34x VCP driver. Because Apple Silicon enforces strict driver signing, you must:
- Download the latest CH34x VCP driver from the official WCH site or Arduino's official documentation.
- During installation, macOS will block the system extension. Go to System Settings > Privacy & Security.
- Scroll to the Security section and click Allow next to the blocked software from 'WCH'. A reboot is mandatory.
- Verify the port by opening Terminal and typing
ls /dev/cu.*. You should see/dev/cu.usbserial-*.
Linux (Ubuntu/Debian): The Dialout Group & udev Rules
Linux natively supports almost all USB-to-Serial ICs via the kernel, meaning you rarely need to download external drivers. The barrier to entry is user permissions. By default, serial ports (/dev/ttyUSB0 or /dev/ttyACM0) are owned by the root user and the dialout group.
If the Arduino IDE shows 'Permission denied' when uploading, execute the following command in your terminal to add your user to the dialout group:
sudo usermod -a -G dialout $USER
Note: You must log out and log back in (or reboot) for group membership changes to take effect.
Troubleshooting the 'Port Grayed Out' Error
If you have verified the cable, installed the drivers, and set OS permissions, but the IDE port menu remains disabled, consider these hardware-level failure modes:
The Bootloader Crash: On ATmega328P boards, a corrupted bootloader can prevent the secondary USB IC from enumerating the device properly. If the 'L' LED on your Uno is pulsing rapidly (the 'heartbeat' of a panic loop) or is completely dead, you may need to reburn the bootloader using an ISP programmer like the USBasp ($4.00) or a secondary Arduino configured as an ArduinoISP.
The 120bps Reset Trick
For boards with native USB (like the Arduino Leonardo, Nano 33 IoT, or Uno R4), the serial port is created by the user sketch itself. If your sketch crashes or enters an infinite loop before initializing USB, the port will vanish from your PC.
The Fix:
- Select the correct board in the IDE, even if the port is missing.
- Upload a blank sketch (File > New).
- When the IDE says 'Uploading' and the console turns orange, quickly double-tap the reset button on the Arduino.
- This forces the MCU into its ROM bootloader, which will momentarily expose a stable COM port, allowing the IDE to catch it and flash the blank sketch.
Advanced: Using External FTDI Adapters for Pro Micros
Boards like the Arduino Pro Micro or standalone ATmega328P chips on breadboards lack onboard USB-to-Serial ICs to save space and cost. To connect these to a PC, you must use an external FTDI Basic breakout board (available in 5V and 3.3V variants from FTDI Chip or third-party makers).
Wiring Matrix for FTDI to Breadboard Arduino:
- FTDI GND -> Arduino GND
- FTDI VCC -> Arduino 5V (or 3.3V, match your logic level!)
- FTDI TX -> Arduino RX (Pin 0)
- FTDI RX -> Arduino TX (Pin 1)
- FTSI DTR -> Arduino Reset (via 0.1µF capacitor for auto-reset)
Frequently Asked Questions
Can I connect an Arduino to a PC via Bluetooth instead of USB?
Yes, but not natively for initial programming. You can use an HC-05 or HC-06 Bluetooth module wired to the Arduino's hardware serial pins (or SoftwareSerial) to send data to a PC. However, the HC-05 operates on classic Bluetooth SPP, which Windows 11 handles via 'Bluetooth COM Ports'. macOS does not support SPP natively without third-party tools. For wireless programming, consider upgrading to an ESP32-based board which supports WiFi OTA (Over-The-Air) updates.
Why does my PC recognize the Arduino as an 'Unknown USB Device'?
This usually indicates a physical layer failure. The PC detects the 5V VBUS line but cannot negotiate the D+/D- data lines. Swap your USB cable, try a different USB port (preferably directly on the motherboard, bypassing front-panel hubs), and inspect the Arduino's USB port for cold solder joints or bent internal pins.
Do I need to install the Arduino IDE to connect my board?
No. The Arduino IDE is simply a wrapper for the AVR-GCC compiler and avrdude uploader. As long as your OS has the correct VCP (Virtual COM Port) drivers installed, the Arduino will mount as a standard serial device. You can interact with it using PuTTY, TeraTerm, or Python scripts via the pyserial library without ever installing the official IDE.