
The Hidden Cost of a Disorganized Maker Bench
When most beginners search for arduino things to make, they are immediately bombarded with lists of blinking LEDs, line-following robots, and weather stations. While these are excellent educational exercises, they rarely translate into long-term utility. For the serious electronics hobbyist, engineer, or DIYer, the true value of a microcontroller lies in its ability to eliminate friction from your daily workflow.
A disorganized or manual workspace drains cognitive load. Manually timing UV exposure for PCB etching, forgetting to turn on the soldering fume extractor, or constantly reaching for the keyboard to trigger a compilation in your IDE are micro-interruptions that compound over a weekend build session. By shifting our perspective toward workflow optimization, we can leverage the Arduino ecosystem to build bespoke, high-ROI bench tools. This guide details advanced, highly specific Arduino things to make that will actively optimize your maker workflow, complete with component selections and architectural best practices.
High-ROI Arduino Things to Make for Your Workspace
1. The HID Hardware Build Trigger (IDE Workflow)
One of the most frustrating bottlenecks in firmware development is the repetitive physical action of navigating to the IDE and clicking 'Upload' or 'Build'. By building a custom Human Interface Device (HID), you can map a heavy-duty physical desk button to your IDE's compile shortcut.
Technical Implementation: Instead of a standard Arduino Uno (ATmega328P), this project requires an ATmega32U4-based board, such as the Arduino Pro Micro or SparkFun Pro Micro. The 32U4 chip features native USB support, allowing it to emulate a keyboard without requiring third-party driver installations.
- Hardware: Wire a high-quality mechanical keyboard switch (e.g., Cherry MX Brown) between Pin 2 and GND. Enable the internal pull-up resistor in your sketch.
- Software: Utilize the native
Keyboard.hlibrary. Map the button press to sendCtrl+Shift+B(the default build task in VS Code with PlatformIO) orCtrl+U(Upload in the legacy Arduino IDE). - Workflow Gain: Keeps your hands on the hardware and your eyes on the serial monitor, reducing context-switching latency during rapid iteration cycles.
2. Smart Soldering Fume Extractor with VOC Feedback
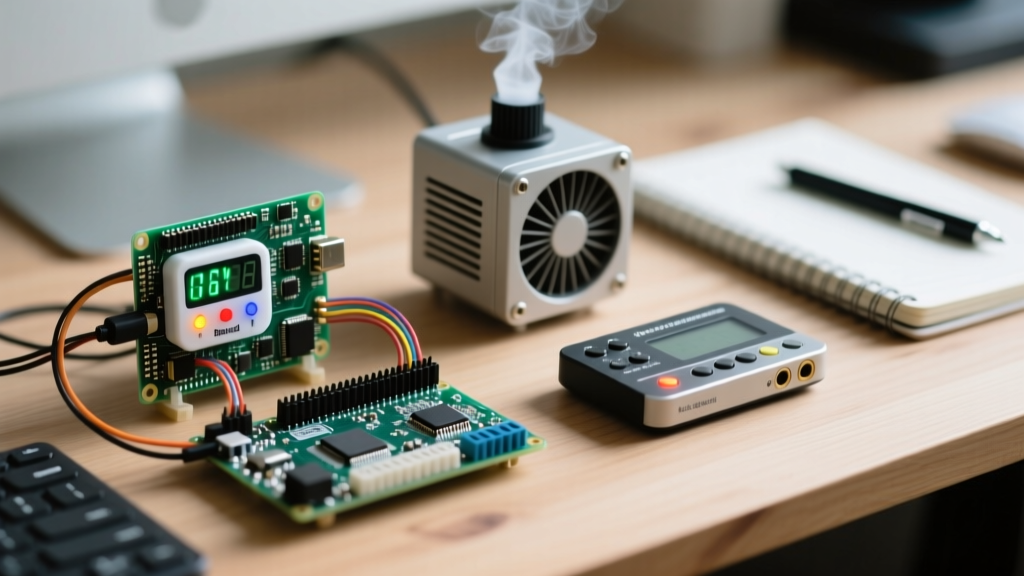
Leaving a fume extractor running at 100% creates unnecessary bench noise, while forgetting to turn it on exposes you to hazardous rosin and flux particulates. A smart extractor solves this by monitoring Volatile Organic Compounds (VOCs) and adjusting fan speed dynamically.
Technical Implementation: Use an SGP30 or BME688 environmental sensor via I2C to detect equivalent CO2 (eCO2) and Total Volatile Organic Compounds (TVOC). When TVOC levels spike—indicating active soldering—the Arduino outputs a PWM signal to a logic-level MOSFET (like the IRLZ44N) to ramp up a 12V PC fan.
Expert Tip: Never use the cheap IRF520 MOSFET modules commonly sold in beginner kits for 5V logic PWM. The IRF520 is not a logic-level MOSFET and will not fully open its gate at 5V, leading to overheating and fan stalling. Always use the IRLZ44N or IRLB8721 for 5V Arduino PWM applications.
3. Automated UV Exposure Box for Dry Film PCB Etching
Etching custom PCBs using the dry film photoresist method requires precise UV exposure. Under-exposure leads to peeling traces; over-exposure causes UV bleed and ruined fine-pitch SMD pads. Manual timing with a phone stopwatch is prone to human error.
Technical Implementation:
Build an enclosure lined with 395nm UV LED strips (the exact wavelength required for standard dry film photoresist). Control the high-current LED array using a Fotek SSR-25DA Solid State Relay.
To ensure safety and workflow efficiency, integrate a magnetic reed switch on the enclosure lid. If the lid is opened during the exposure cycle, the Arduino immediately drops the SSR gate pin LOW, cutting power to the UV array to protect your eyes, while pausing the millis() timer until the lid is closed.
Component Sourcing and BOM Comparison Table
To optimize your procurement workflow, here is a structured Bill of Materials (BOM) comparing the core components needed for these workflow-enhancing builds. Prices are estimated based on standard maker-market suppliers like DigiKey, Adafruit, and verified AliExpress vendors.
| Project | Core MCU | Key Sensors / Actuators | Est. Cost (USD) | Workflow ROI |
|---|---|---|---|---|
| HID Build Trigger | Pro Micro (ATmega32U4) | Mechanical Switch, Rotary Encoder | $12.00 | Massive (Time saved per compile cycle) |
| Smart Fume Extractor | Arduino Nano (ATmega328P) | SGP30 Sensor, IRLZ44N, 12V Fan | $28.50 | High (Health & noise reduction) |
| UV Exposure Timer | Arduino Uno / Nano | SSR-25DA, 395nm LEDs, Reed Switch | $35.00 | High (Eliminates ruined PCB batches) |
Architecting Non-Blocking Firmware for Bench Tools
When building tools that sit on your desk and run for hours, firmware architecture is critical. A common mistake when building the UV timer or Pomodoro focus clocks is relying on the delay() function. If you use delay(60000) for a one-minute pause, the microcontroller is effectively bricked for that duration—it cannot read the safety reed switch, update an OLED display, or listen for serial commands.
To optimize your code workflow, adopt a state-machine approach driven by millis(). As detailed in the Adafruit multitasking guide, tracking elapsed time allows your Arduino to handle background tasks (like updating an I2C OLED via the SSD1306 library) while simultaneously waiting for a timer to expire or a safety interlock to trigger.
Furthermore, implementing a basic serial command parser allows you to tweak variables (like UV exposure seconds or VOC thresholds) on the fly via the Arduino IDE Serial Monitor, completely eliminating the need to recompile and flash the board every time you want to adjust a benchmark parameter.
Integrating Hardware Triggers into External Scripts
For advanced makers utilizing Python or Bash scripts in their workflow, an Arduino can act as a physical bridge between the real world and your operating system. By combining the Arduino serial communication protocols with a lightweight Python script using the pyserial library, you can create powerful automation pipelines.
For example, imagine a physical toggle switch on your desk labeled 'Oscilloscope Prep'. When flipped, the Arduino sends a specific serial string. A background Python script on your PC intercepts this string and automatically launches your logic analyzer software, opens your preferred serial terminal, and configures the baud rate. This level of hardware-to-software integration transforms the Arduino from a simple hobbyist toy into a mission-critical command center for your electronics lab.
Conclusion: Compounding Returns on Bench Automation
When evaluating arduino things to make, always filter project ideas through the lens of workflow optimization. A line-following robot is fun for a weekend, but a hardware-compiled HID trigger or an automated, interlocked UV exposure box will save you hours of frustration over the lifespan of your maker journey. By selecting the right logic-level components, writing non-blocking state-machine firmware, and integrating physical controls with your software IDE, you elevate your workbench from a cluttered desk into a highly optimized engineering environment. Start with the HID Build Trigger this weekend, and immediately feel the difference in your coding cadence.