
The Hardware UART Bottleneck in Maker Projects
When building complex IoT nodes or multi-sensor arrays, the single hardware UART (Universal Asynchronous Receiver-Transmitter) on the ATmega328P quickly becomes a critical bottleneck. By default, pins 0 (RX) and 1 (TX) are hardwired to the microcontroller's primary serial interface, which is also shared with the USB-to-serial converter used for programming and debugging. If you need to connect a GPS module, a cellular modem, and a Bluetooth transceiver simultaneously, relying solely on hardware UART is impossible on standard boards like the Arduino Uno.
This is where Arduino Software Serial becomes essential. By leveraging Pin Change Interrupts (PCINT) and precise software timing, the SoftwareSerial library emulates additional serial ports on almost any digital I/O pin. However, this software-based emulation comes with strict architectural limitations that can cause silent data corruption if ignored. In this guide, we will cover the exact wiring protocols, baud rate ceilings, and interrupt conflicts you must navigate to deploy reliable multi-port serial communication.
Hardware UART vs. Arduino Software Serial
Before wiring up your modules, it is crucial to understand the performance delta between hardware and software serial implementations. Hardware UART handles bit-shifting via dedicated silicon, freeing the CPU for other tasks. Software serial relies on the main CPU loop and timer interrupts to sample incoming bits, which heavily impacts overall system performance.
| Feature | Hardware UART (Serial) | Arduino Software Serial |
|---|---|---|
| Maximum Reliable Baud Rate | 2,000,000 bps (Board dependent) | 115,200 bps (57,600 bps recommended) |
| CPU Overhead | Negligible (Hardware buffered) | High (Blocks CPU during RX/TX) |
| Concurrent Port Listening | Yes (Independent hardware buffers) | No (Only one port can 'listen' at a time) |
| Pin Restrictions | Fixed (Pins 0 & 1 on Uno) | Any digital pin supporting PCINT |
| Interrupt Conflicts | None | Clashes with Servo, NeoPixel, and Timer0 |
Step 1: Strategic Pin Selection and PCINT Limits
Not all digital pins on an Arduino Uno are created equal when it comes to software serial. The SoftwareSerial library relies on Pin Change Interrupts to detect the start bit of an incoming serial byte. On the ATmega328P, pins 0-7 share PCINT2, pins 8-13 share PCINT0, and analog pins A0-A5 share PCINT1.
Pro-Tip: Avoid using pins 11, 12, and 13 for software serial if you plan to use an SD card or SPI-based sensors, as these are reserved for the SPI bus. Furthermore, pins 0 and 1 should be left entirely alone to preserve your ability to upload sketches and use the Serial Monitor for debugging. A safe, optimized configuration for a dual-module setup is to assign the GPS to pins 8 (RX) and 9 (TX), and the Bluetooth module to pins 10 (RX) and 11 (TX).
Step 2: Wiring and 3.3V Level Shifting
One of the most common failure modes in multi-serial projects is frying the RX pin of a 3.3V peripheral (like the ESP8266 or modern NEO-M9N GPS modules) with the Arduino Uno's 5V logic levels. The Arduino's TX pin outputs 5V, which will permanently damage a 3.3V module's RX pin over time.
CRITICAL WIRING RULE: Always use a voltage divider on the hardware RX line of any 3.3V peripheral when transmitting from a 5V Arduino TX pin. A simple resistor network using a 1kΩ and 2kΩ resistor will safely drop the 5V logic high down to a safe ~3.3V.
Voltage Divider Wiring Matrix
- Arduino TX (5V) connects to the junction of the 1kΩ and 2kΩ resistors.
- 1kΩ Resistor connects from Arduino TX to the Peripheral RX pin.
- 2kΩ Resistor connects from the Peripheral RX pin to GND.
- Peripheral TX (3.3V) connects directly to the Arduino Software RX pin (the ATmega328P reliably registers 3.3V as a logic HIGH).
Step 3: Managing the listen() Bottleneck in Code
Because the Arduino Uno only has one CPU core and limited interrupt vectors, the SoftwareSerial library can only monitor one port at any given millisecond. If data arrives on Port A while the library is actively listening to Port B, the data on Port A is silently dropped. You must manually toggle the active port using the .listen() function.
Below is a robust implementation pattern for polling a GPS module and a Bluetooth transceiver without losing critical NMEA sentences.
#include <SoftwareSerial.h>

// Define Software Serial Ports
SoftwareSerial gpsSerial(8, 9);   // RX, TX
SoftwareSerial btSerial(10, 11);  // RX, TX

void setup() {
  Serial.begin(115200); // Hardware serial for debugging
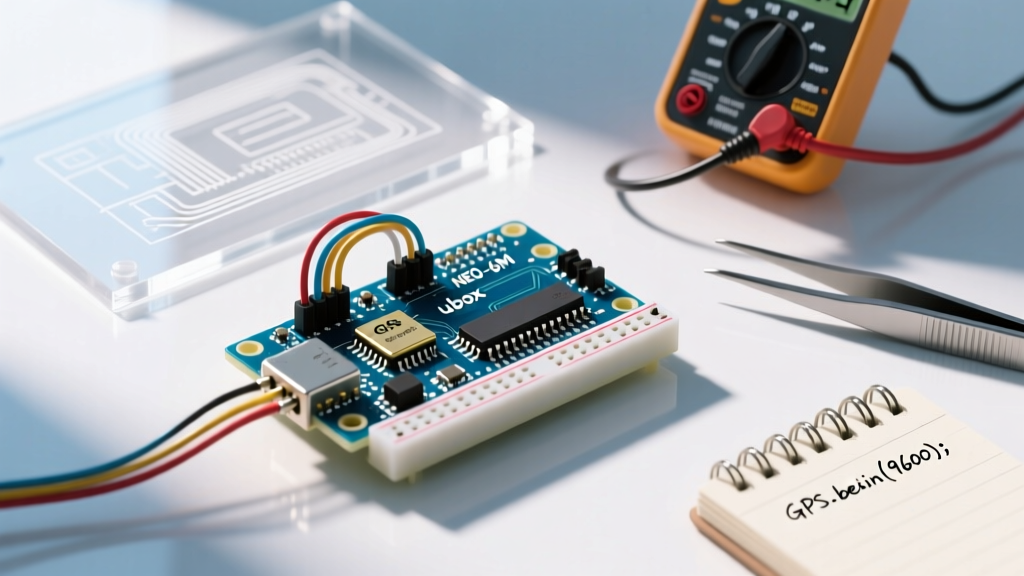
  gpsSerial.begin(9600);  // GPS modules typically default to 9600
  btSerial.begin(38400);  // HC-05/HC-06 AT mode or high-speed data

  // Always explicitly call listen on the first port to initialize the PCINT
  gpsSerial.listen();
}

void loop() {
  // Poll GPS for 500ms
  gpsSerial.listen();
  unsigned long startTime = millis();
  while (millis() - startTime < 500) {
    if (gpsSerial.available()) {
      Serial.write(gpsSerial.read()); // Forward NMEA to debug monitor
    }
  }

  // Poll Bluetooth for 500ms
  btSerial.listen();
  startTime = millis();
  while (millis() - startTime < 500) {
    if (btSerial.available()) {
      Serial.write(btSerial.read());
    }
  }
}
Advanced Troubleshooting: Interrupts and Baud Rate Dropouts
Even with perfect wiring, Arduino Software Serial is notorious for dropping bytes at higher baud rates. According to the official Arduino Software Serial documentation, while the library technically supports up to 115,200 baud, the CPU overhead required to sample bits via software interrupts causes severe timing jitter. For ATmega328P boards running at 16MHz, 57,600 baud is the absolute practical ceiling for reliable, error-free communication. If your application requires 115,200 baud or higher, you must upgrade your hardware.
The Timer0 and Servo Library Conflict
Under the hood, SoftwareSerial relies heavily on Timer0 to calculate bit-timing delays. If your project also utilizes the standard Servo.h library, you will encounter a catastrophic conflict. The Servo library hijacks Timer1, but the interaction between software serial delays and servo pulse-width modulation often results in jittery servos and corrupted serial data. As detailed in Nick Gammon's authoritative guide on AVR interrupts, nesting interrupts or blocking the CPU during a serial receive window will starve the PWM timers. If you must use servos and software serial simultaneously, switch to the AltSoftSerial library, which utilizes Timer1 for much more stable, hardware-assisted timing, albeit restricted strictly to pins 8 and 9.
Beyond the ATmega328P: Modern Alternatives
While mastering Arduino Software Serial is a rite of passage for legacy maker projects, the landscape of microcontrollers in 2026 offers vastly superior alternatives for multi-serial requirements:
- ESP32 UART Matrix: The ESP32 features three hardware UARTs. More importantly, its GPIO matrix allows you to map any of these hardware UARTs to almost any available GPIO pin, completely eliminating the need for software emulation.
- Raspberry Pi Pico (RP2040) PIO: The RP2040's Programmable I/O (PIO) state machines can run independent hardware-level serial protocols without touching the main ARM Cortex-M0+ CPUs. You can easily instantiate 8+ independent, perfectly timed UART ports using standard serial protocols via MicroPython or C++.
- Arduino Mega 2560: If you are locked into the AVR ecosystem, the Mega provides four dedicated hardware UARTs (
Serial,Serial1,Serial2,Serial3), rendering the SoftwareSerial library entirely obsolete for most use cases.
By understanding the exact limitations of Pin Change Interrupts, respecting voltage logic levels, and structuring your listen() loops efficiently, you can reliably integrate Arduino Software Serial into your next multi-node sensor network without falling victim to silent data corruption.