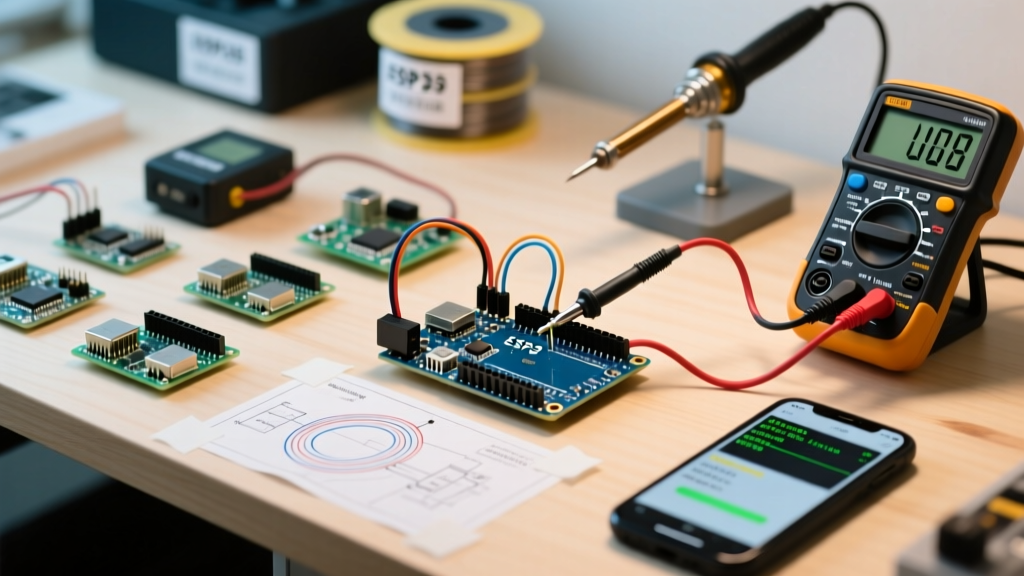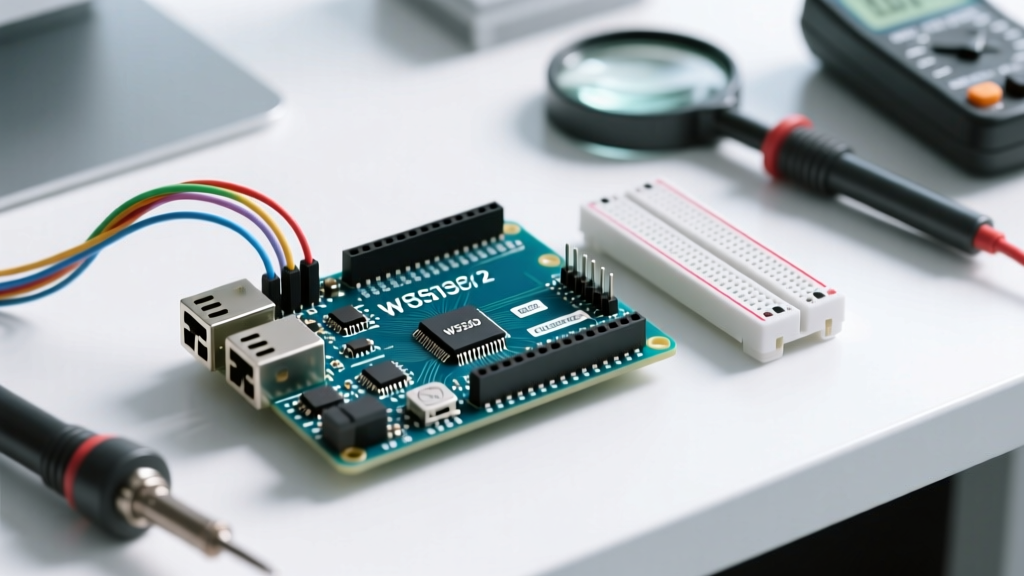

The Case for Upgrading: W5100 vs. W5500 Architecture
For years, the original W5100-based Ethernet shield was the default networking solution for Arduino projects. However, as IoT demands have scaled in 2026, the limitations of the W5100 chip—specifically its 14MHz SPI ceiling and 4-socket limit—have become severe bottlenecks. Migrating to the Arduino Shield Ethernet 2, which is built around the Wiznet W5500 chip, is no longer just an optional upgrade; it is a necessity for reliable, high-throughput MCU networking.
The W5500 embeds a full TCP/IP stack, MAC, and PHY, offloading the network processing from your microcontroller. According to the official Wiznet W5500 specifications, the chip supports up to 8 independent hardware sockets and SPI clock speeds up to 80MHz, yielding a theoretical throughput increase of over 400% compared to the legacy W5100.
Hardware Comparison Matrix
| Feature | Legacy Ethernet Shield (W5100) | Arduino Shield Ethernet 2 (W5500) |
|---|---|---|
| Hardware Sockets | 4 | 8 |
| Max SPI Clock Speed | 14 MHz | 80 MHz |
| Internal TX/RX Buffer | 16 KB total | 32 KB total (configurable per socket) |
| Active Power Consumption | ~150 mA | ~130 mA (with advanced sleep modes) |
| Typical 2026 Market Price | $25 - $35 (Used/NOS) | $45 - $60 (Official Rev3) |
Hardware Migration: Pinout and ICSP Header Realities
When physically migrating your stack to the Arduino Shield Ethernet 2, the most critical hardware change to understand is the shift to the 6-pin ICSP (In-Circuit Serial Programming) header for SPI communication. Unlike early shields that hardwired SPI to pins 11, 12, and 13, the Shield 2 routes MISO, MOSI, and SCK exclusively through the ICSP cluster. This ensures native compatibility with the Arduino Mega 2560 and the newer Uno R4 Minima/WiFi boards without requiring jumper wire hacks.
The Slave Select (SS) Pin Requirement
While the SPI data lines use the ICSP header, the Chip Select (CS) pin remains dependent on your specific board architecture:
- Arduino Uno R3/R4: Pin 10 is hardcoded as the W5500 CS pin.
- Arduino Mega 2560: Pin 53 acts as the W5500 CS pin.
- MicroSD Card Slot: Pin 4 is universally used for the onboard SD card CS.
Expert Hardware Tip: If you are using an Arduino Mega, you must manually configure Pin 53 as an OUTPUT in your setup() function. If Pin 53 is left as an INPUT, the ATmega2560's hardware SPI interface will automatically drop into slave mode, causing the W5500 initialization to silently fail.
Software Migration: Updating Libraries for the W5500
The most common point of failure during migration is software. Historically, developers used the deprecated Ethernet2 library to talk to the W5500. As of 2026, the Ethernet2 library is entirely obsolete and unsupported. The modern Arduino Ethernet Library (v2.0.0+) natively supports the W5500, but it requires explicit initialization to differentiate it from older chips.
Code Refactoring Steps
To migrate your sketch, remove any #include <Ethernet2.h> directives and replace them with the standard Ethernet library. You must also define the CS pin explicitly using Ethernet.init() before calling Ethernet.begin().
#include <SPI.h>

#include <Ethernet.h>


byte mac[] = { 0xDE, 0xAD, 0xBE, 0xEF, 0xFE, 0xED };

IPAddress ip(192, 168, 1, 177);


void setup() {

  // Explicitly initialize W5500 CS pin

  Ethernet.init(10); // Use 53 for Mega


  // Disable SD card SPI to prevent bus conflicts

  pinMode(4, OUTPUT);

  digitalWrite(4, HIGH);


  Ethernet.begin(mac, ip);

}
Adding Power over Ethernet (PoE) to the Shield 2
One of the most powerful features of the Arduino Shield Ethernet 2 is the onboard footprint for an isolated PoE module. This allows you to power remote sensors, weather stations, or access control nodes entirely through the CAT6 cable, eliminating the need for local DC wall adapters.
Step-by-Step PoE Module Integration
The Shield 2 Rev3 is designed to accept standard 10-pin SIP isolated PoE DC-DC converters (such as the Ag9120 or compatible Wiznet 5V/12V modules). Follow these precise steps to enable PoE:
- Module Selection: Source a 5V isolated PoE module rated for at least 800mA. Ensure the pinout matches the 10-pin SIP footprint labeled 'PoE' on the shield's silkscreen.
- Soldering the Pads: On the top side of the shield, locate the two unpopulated jumper pads labeled
PoE_EN. Solder a 0.1-inch jumper pin header or bridge the pads directly with solder to enable the PoE power rail. - Voltage Selection: If your module outputs 9V or 12V, you must route it through the shield's onboard linear regulator. However, for maximum efficiency and to prevent the linear regulator from overheating, use a 5V PoE module and bridge the
5V_BYPASSpads on the reverse side of the PCB. - Isolation Verification: Before connecting to a live PoE switch, use a multimeter to verify continuity between the PoE module's ground and the shield's main GND plane to ensure the isolated DC-DC converter is properly seated.
Common Failure Modes and Troubleshooting Edge Cases
Even with the official Arduino Ethernet Shield 2 documentation in hand, makers frequently encounter specific edge cases during deployment. Here is how to diagnose the most common W5500 migration failures:
- Symptom:
Ethernet.begin()hangs indefinitely or returns 0.
Root Cause: SPI bus contention with the onboard MicroSD card. If Pin 4 (SD CS) is not driven HIGH, the SD card's level shifter will corrupt the MISO line.
Fix: Always addpinMode(4, OUTPUT); digitalWrite(4, HIGH);in your setup routine, even if you are not using the SD card. - Symptom: Intermittent TCP drops under heavy payload transmission (>1KB packets).
Root Cause: SPI clock speed is set too high for the physical trace length, or the W5500 is experiencing brownouts during TX bursts.
Fix: Add a 100µF low-ESR tantalum capacitor across the 5V and GND pins on the shield's ICSP header to handle transient current spikes. If drops persist, manually throttle the SPI speed in the library source by modifyingSPI.setClockDivider(SPI_CLOCK_DIV4). - Symptom: Shield fails to initialize on Arduino Uno R4 WiFi.
Root Cause: The Uno R4 WiFi uses a different internal SPI routing architecture than the R3.
Fix: Ensure you are using the latest Renesas core for Arduino (v1.2.0 or newer) which correctly maps the ICSP header to the RA4M1 microcontroller's SPI peripheral.
Cost Analysis: Shield 2 vs. Standalone W5500 Breakouts
While the official Arduino Shield Ethernet 2 retails between $45 and $60, budget-conscious makers often look at standalone W5500 SPI breakout modules, which cost roughly $4 to $7 on the open market. If your project is a permanent, enclosed deployment where stackable headers and SD card slots are unnecessary, a standalone W5500 module wired directly to the ICSP header is electrically identical and highly cost-effective. However, for rapid prototyping, PoE integration, and guaranteed signal integrity without flying wires, the Shield 2 remains the definitive upgrade path for professional MCU networking in 2026.