
The Evolution of Native Data Visualization
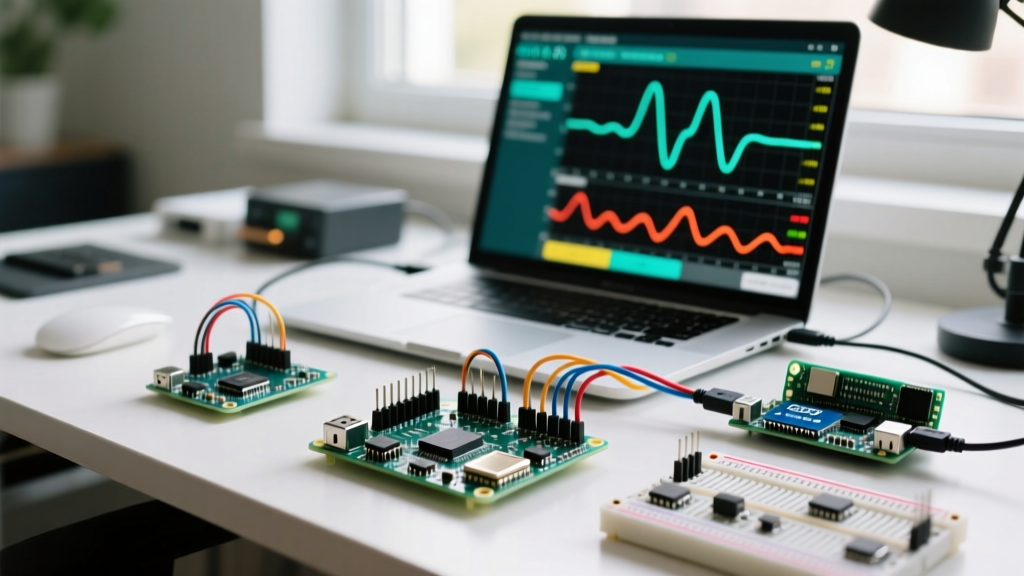
The Arduino Serial Plotter has transitioned from a rudimentary debugging window in IDE 1.8.x to a robust, multi-variable graphing engine in the Arduino IDE 2.3.x ecosystem. However, treating the plotter as a universal plug-and-play tool is a common pitfall for embedded systems engineers and makers. True compatibility depends on a complex interplay between your microcontroller's USB architecture, the serial-to-UART bridge chipset, your operating system's driver stack, and the precise string formatting expected by the IDE's rendering engine.
This comprehensive compatibility guide dissects the hardware and software boundaries of the Arduino Serial Plotter, ensuring you can stream high-frequency sensor data without frame drops, encoding errors, or silent handshake failures.
Microcontroller Board Compatibility Matrix
Not all "Arduino-compatible" boards interact with the Serial Plotter equally. The underlying USB architecture dictates maximum stable baud rates and multi-variable throughput. Below is a compatibility matrix tested under Arduino IDE 2.3.2 on a Windows 11 host.
| Board Family / Model | USB Interface Type | Max Stable Plotter Baud | Multi-Variable Support | IDE 2.x Stability |
|---|---|---|---|---|
| AVR (Arduino Uno R3 / Nano) | Hardware UART via ATmega16U2 | 115,200 bps | Excellent (up to 5 vars) | Flawless |
| AVR (Arduino Uno R4 Minima) | Native USB CDC (Renesas RA4M1) | 2,000,000+ bps | Excellent (up to 10 vars) | Flawless |
| ESP32 (ESP32-S3-DevKitC) | Native USB CDC / JTAG | 921,600 bps | Good (requires explicit flushing) | Occasional port ghosting |
| RP2040 (Raspberry Pi Pico W) | Native USB CDC (TinyUSB) | 2,000,000+ bps | Excellent | Flawless |
| STM32 (Generic 'Black Pill') | Hardware UART via CH340G | 500,000 bps | Poor (frame drops > 3 vars) | Requires manual reset |
The Baud Rate Bottleneck: UART Bridges vs. Native USB
One of the most misunderstood aspects of Arduino Serial Plotter compatibility is the baud rate ceiling. When you set Serial.begin(2000000) in your sketch, the behavior changes drastically depending on your board's physical USB implementation.
Hardware UART Bridges (CH340G, CP2102, ATmega16U2)
Boards like the classic Uno R3, NodeMCU ESP8266, and generic STM32 clones rely on a secondary chip to convert USB signals to hardware UART (TX/RX pins). These bridges have strict hardware buffers. The CH340G, for instance, features a small internal FIFO buffer. If you attempt to stream 6 variables at 1,000,000 baud, the bridge will overflow, resulting in corrupted bytes. The IDE's plotter will either freeze, display erratic spikes, or drop the connection entirely. Rule of thumb: Cap hardware UART bridge boards at 115,200 baud for reliable plotting.
Native USB CDC (RP2040, SAMD21, ESP32-S3)
Boards with native USB implement the Communications Device Class (CDC) Abstract Control Model (ACM). Here, the baud rate specified in Serial.begin() is largely ignored by the hardware layer; data is transferred in USB packets (typically 64-byte or 512-byte blocks depending on Full-Speed vs. High-Speed USB). The RP2040 and Arduino Uno R4 Minima can easily sustain 2,000,000+ baud equivalents, limited only by the host PC's CPU and the IDE's rendering framerate.
Expert Insight: When using Native USB CDC boards, calling
Serial.begin()without waiting for the host to open the port can cause early boot data to vanish. Always usewhile(!Serial) { delay(10); }immediately after initialization to ensure the IDE's plotter is ready to receive the initial handshake.
Data String Formatting for IDE 2.x
The Arduino IDE 2.x plotter utilizes a specific parsing engine to interpret serial strings. If your data format deviates from the expected schema, the plotter will silently fail to render the graph. According to the official Arduino IDE 2 Serial Plotter documentation, the parser relies on newline characters to denote the end of a data frame.
Single vs. Multi-Variable Plotting
- Single Variable: A simple
Serial.println(analogRead(A0));outputs an integer followed by a carriage return and newline (\r\n). The plotter maps this to a single Y-axis line. - Multi-Variable (Anonymous): To plot multiple lines, separate values with a comma, space, or tab.
Serial.printf("%d,%d\n", val1, val2);will generate two distinct colored lines. However, they will be labeled generically as "val-1" and "val-2" in the legend. - Multi-Variable (Named): To force specific legend names, prefix the value with a string and a colon.
Serial.print("Temp:"); Serial.print(dht.readTemp()); Serial.print(",Hum:"); Serial.println(dht.readHumidity());This is fully compatible with IDE 2.3.x and provides a professional, readable legend.
The Hidden Trap: Debugging Text
The plotter's parser is strictly numerical. If your sketch outputs debugging text alongside data (e.g., Serial.println("Sensor reading: 45");), the parser will choke on the alphabetical characters and drop the frame. To maintain compatibility, isolate your debugging outputs using a boolean flag or a secondary software serial port, reserving the primary Serial object exclusively for plotter-compatible CSV-style data.
Operating System & Driver Quirks
Host OS environments introduce unique compatibility layers that can block the Serial Plotter from accessing the data stream.
Linux: The Dialout Group & ModemManager
On Ubuntu and Debian-based systems, the Arduino IDE requires read/write permissions to the /dev/ttyACM* or /dev/ttyUSB* ports. If your user is not in the dialout group, the plotter will show a blank screen. Furthermore, the Linux ModemManager service frequently intercepts CDC ACM devices (like the RP2040 or Uno R4), probing them for AT commands. This causes a 3-5 second delay on connection and can corrupt the first few frames of plotted data. Disabling ModemManager via systemctl stop ModemManager is highly recommended for uninterrupted plotting.
macOS: /dev/cu.* vs /dev/tty.*
macOS exposes serial devices twice in the /dev/ directory. The Arduino IDE's plotter must connect to the /dev/cu.* (Call-Up) device, not the /dev/tty.* (Teletype) device. Attempting to plot via the TTY endpoint often results in a blocked handshake, as the TTY port waits for a carrier detect signal that USB-CDC bridges do not provide.
Windows: COM Port Ghosting
When rapidly swapping between different native USB boards (e.g., unplugging a Pico W and plugging in an ESP32-S3), Windows may assign them to different virtual COM ports (COM3, COM4, COM5). The Arduino IDE GitHub repository contains numerous issue threads regarding "ghost ports" where the IDE attempts to open a stale COM port, causing the plotter to hang. Always verify the active COM port in the Windows Device Manager before initiating a high-speed data stream.
When Native Fails: Third-Party Plotter Alternatives
While the native Arduino Serial Plotter is excellent for quick visualization, it lacks advanced features like data logging to CSV, FFT analysis, and binary protocol support. If your project exceeds the native tool's compatibility limits, consider these alternatives:
- SerialPlot (Open Source): Ideal for high-frequency data. Unlike the Arduino IDE, SerialPlot supports custom binary framing (e.g., sending raw 16-bit integers instead of ASCII strings). This reduces serial payload size by 60%, completely eliminating baud-rate bottlenecks on CH340G bridges.
- Meguno (Commercial): A premium Windows application that offers advanced filtering, PID tuning overlays, and automated CSV exports. It is highly compatible with complex JSON serial outputs, which the native plotter cannot parse.
- Processing / Python (Matplotlib): For absolute control, writing a custom host script using Python's
pyserialandmatplotliblibraries bypasses all IDE limitations. This is the standard approach in university labs and professional R&D environments where data must be simultaneously plotted and written to an SQL database.
Troubleshooting Checklist
Before tearing apart your circuit, run through this compatibility checklist if your Serial Plotter is rendering a blank or frozen grid:
- Check the Baud Match: Ensure the dropdown in the top-right corner of the plotter exactly matches the
Serial.begin()value in your sketch. - Verify Line Endings: Use
Serial.println()or explicitly send\n. Data without a newline character will buffer indefinitely and never render. - Disable Verbose Output: Turn off "Show verbose output during compilation/upload" in IDE preferences, as background Java logging can sometimes interfere with the serial monitor thread on low-end host machines.
- Inspect Cable Quality: High-speed CDC plotting (1M+ baud) is highly susceptible to EMI. Use a shielded, high-quality USB-C or Micro-USB data cable. Charge-only cables will fail entirely, while poor-quality data cables will cause cyclic redundancy check (CRC) failures, manifesting as random vertical spikes on your graph.
By aligning your hardware selection, baud rate strategy, and string formatting with the specific requirements of the Arduino IDE 2.x rendering engine, you can transform the native Serial Plotter from a basic debugging toy into a reliable, high-speed data acquisition interface.