
Diagnosing the Architecture Mismatch in Failed Builds
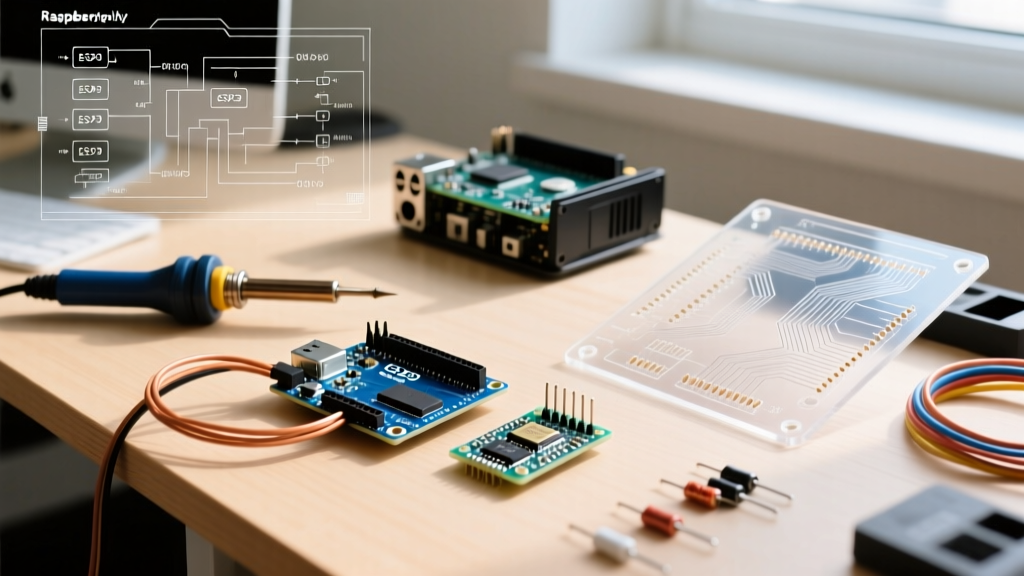
When a complex DIY electronics project fails under load, the wiring is often blamed first. However, the root cause is frequently a fundamental misunderstanding of hardware architecture. Makers frequently ask what is the difference between arduino and raspberry pi when starting out, but this question becomes a critical troubleshooting diagnostic when systems freeze, drop sensor data, or experience unexplained reboots.
An Arduino is a microcontroller (MCU) executing bare-metal C++ instructions in a continuous loop. A Raspberry Pi is a single-board computer (SBC) running a full Linux operating system. Treating them as interchangeable components is the leading cause of latency, memory, and power failures in maker projects. This guide will help you diagnose architecture-induced bugs and apply the correct hardware fixes.
The Failure Diagnostic Matrix
Before rewriting code or swapping components, match your project's failure symptom to the architectural limitations of the platform you are currently using.
| Failure Symptom | Platform Used | Root Cause | The Fix |
|---|---|---|---|
| Missed rotary encoder pulses or jittery PWM | Raspberry Pi | Linux kernel scheduling latency disrupts microsecond timing. | Offload real-time sensor reading to an Arduino via UART/I2C. |
| Silent reboots or random variable corruption | Arduino | SRAM stack overflow (exceeding 2KB-32KB limits). | Move heavy data processing (e.g., image arrays) to a Pi. |
| I2C bus locks up during system startup | Raspberry Pi (Master) | Pi pulls SDA low during Linux boot sequence. | Use Arduino as I2C Master, or add hardware pull-up resistors. |
| Motor failsafe triggers too late during crash | Raspberry Pi | OS boot time takes 15-30 seconds; GPIO states are undefined. | Implement a hardware watchdog on an Arduino to monitor the Pi. |
Deep Dive 1: Real-Time Interrupts vs. OS Scheduling
One of the most frustrating bugs to troubleshoot is intermittent data loss from high-speed sensors. If you are reading a quadrature rotary encoder at 10,000 pulses per second on a Raspberry Pi 5, you will inevitably miss steps.
Why the Pi Fails at Microsecond Timing
The Raspberry Pi runs Linux, a non-real-time operating system (RTOS). Even if you elevate your Python or C++ script to SCHED_FIFO priority, the kernel will still pause your process to handle network stacks, USB polling, and memory management. This introduces jitter ranging from 50 microseconds to several milliseconds, which is catastrophic for high-speed hardware interrupts.
The Bare-Metal Fix
Move the time-critical sensor to an Arduino. For example, the Arduino Uno R4 Minima utilizes a Renesas RA4M1 Cortex-M4 processor clocked at 48MHz. When you attach a hardware interrupt via attachInterrupt(), the MCU drops everything within a single clock cycle (under 1 microsecond) to read the pin state.
Actionable Fix: Wire the encoder directly to the Arduino's digital pins 2 and 3. Use the Arduino to calculate the position, then send the final integer value to the Raspberry Pi over a 115200 baud UART serial connection.
Deep Dive 2: Memory Management and OOM Kills
Memory failures manifest entirely differently on MCUs versus MPUs, leading many makers down the wrong debugging path.
Arduino SRAM Stack Corruption
Standard AVR-based Arduinos (like the Uno R3) possess only 2KB of SRAM. If you attempt to store a 50x50 pixel grayscale image buffer (2,500 bytes) for basic edge detection, you will exceed the physical memory. Because the Arduino lacks a Memory Management Unit (MMU) and an OS, the stack will collide with the heap. The microcontroller won't throw an "Out of Memory" error; it will simply overwrite critical execution pointers and silently reset or lock up.
- Diagnostic Tool: Use the
avr-sizecommand in your terminal after compilation to check your exact SRAM footprint. - The Fix: If your project requires large buffers, arrays, or string manipulation, migrate the logic to a Raspberry Pi Zero 2 W ($15) which features 512MB of LPDDR2 RAM and virtual memory swapping.
Raspberry Pi OOM (Out of Memory) Killer
Conversely, if you run a heavy OpenCV computer vision script on a Pi, the Linux kernel will invoke the OOM Killer when RAM is exhausted. This forcefully terminates your Python process without warning, leaving your GPIO pins in their last active state (which could mean leaving a relay closed and a motor running).
- Diagnostic Tool: Run
dmesg -T | grep -i oomin the Pi terminal to check if the kernel assassinated your script. - The Fix: Increase the Pi's swap file size via
sudo nano /etc/dphys-swapfile, or optimize your code to process camera frames in chunks rather than loading entire arrays into memory.
Deep Dive 3: Voltage Logic and Fried GPIO Pins
A hardware-level misunderstanding of what is the difference between arduino and raspberry pi often results in permanent silicon damage. This is a troubleshooting scenario where the "fix" requires replacing a fried board.
Critical Warning: The Raspberry Pi operates strictly at 3.3V logic. Feeding 5V into any Pi GPIO pin will instantly destroy the BCM2712 processor. Most classic Arduinos operate at 5V logic.
Troubleshooting the I2C Bus Lockup
When connecting a 5V Arduino to a 3.3V Pi via I2C, makers often use a simple voltage divider on the SDA/SCL lines. This is a flawed fix. Voltage dividers slow down the rise time of the signal edges, causing I2C clock stretching to fail and the bus to lock up.
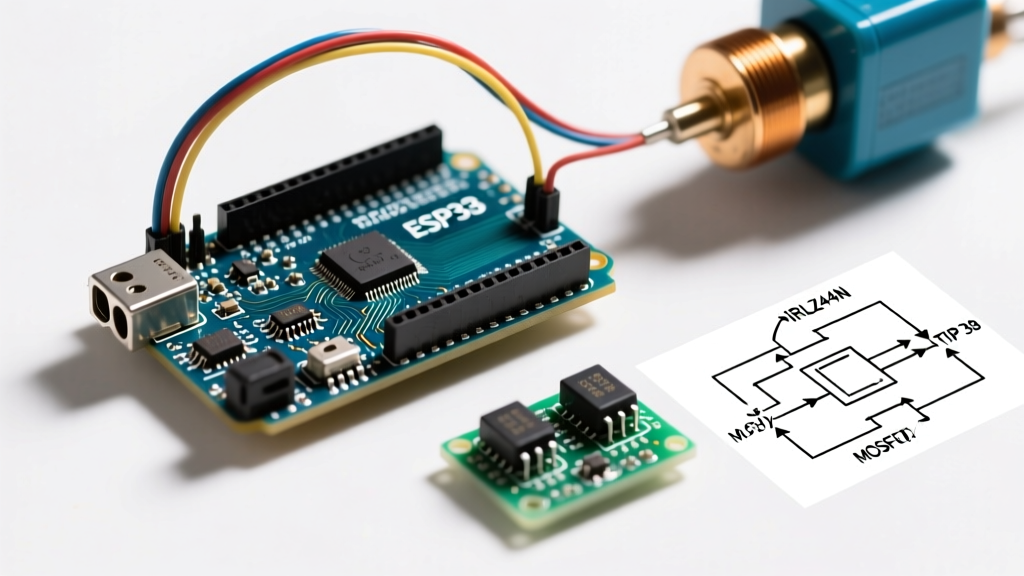
The Proper Fix: Use a dedicated bidirectional logic level converter based on BSS138 MOSFETs (available for under $3). This ensures clean, fast signal transitions while safely isolating the 5V and 3.3V domains. Furthermore, always ensure the Raspberry Pi is configured as the I2C Master, as the Pi's hardware I2C peripheral struggles with the timing requirements of acting as a slave to an Arduino master.
Deep Dive 4: Boot Sequences and Power Brownouts
Safety-critical projects (e.g., CNC routers, robotic arms, or automated heating systems) require predictable boot sequences.
The Boot-Time Discrepancy
An Arduino executes its setup() function within 5 milliseconds of receiving power. A Raspberry Pi must initialize the bootloader, mount the file system, load the Linux kernel, and start user-space services—a process taking 15 to 45 seconds. During this window, the Pi's GPIO pins are floating and undefined.
Designing a Hardware Watchdog Fix
If your project uses a Pi to control high-power relays, a sudden power flicker or SD card corruption will leave the system dead, potentially with relays stuck in the "ON" position.
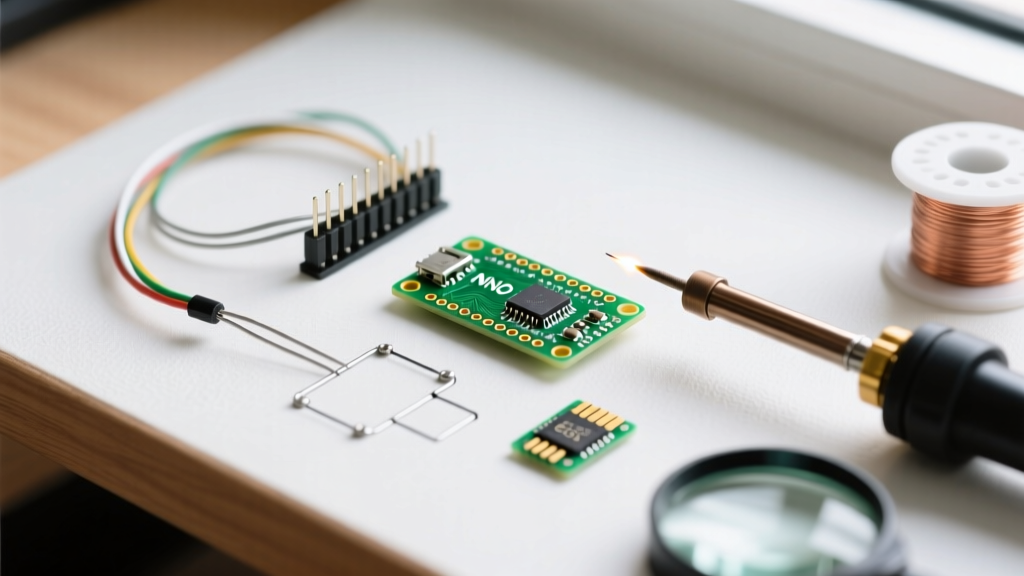
- Step 1: Wire an Arduino Nano ($20 clone or $22 official) to act as the primary safety controller.
- Step 2: Connect the Pi's "Run" or GPIO heartbeat pin to the Arduino.
- Step 3: Program the Arduino to expect a 1Hz pulse from the Pi. If the pulse stops (due to Pi crash or boot delay), the Arduino instantly cuts power to the main contactors.
- Step 4: Use the Arduino to safely hold all outputs LOW until the Pi sends an "All Clear" serial command post-boot.
Storage Degradation: SD Cards vs. Flash Memory
Finally, troubleshooting long-term reliability requires understanding storage architecture. The Raspberry Pi Documentation frequently warns about SD card corruption. Linux writes extensive logs and temporary files in the background. If power is cut without a proper sudo shutdown, the FAT32/ext4 file system will corrupt, resulting in a kernel panic on the next boot.
Arduino microcontrollers store data in internal Flash or EEPROM. While immune to file system corruption, EEPROM has a strict write limit (typically 100,000 cycles). If your Arduino sketch is written to log sensor data to EEPROM inside the main loop() without a delay, you will burn out the memory sector in minutes, leading to permanent data write failures.
The Fix: For Pi projects requiring high reliability, boot from an NVMe SSD via the PCIe lane on the Pi 5, or use a read-only root file system overlay. For Arduino logging, use an external FRAM (Ferroelectric RAM) breakout board, which offers virtually unlimited write cycles and I2C compatibility.
Summary: Choosing the Right Tool for the Fix
Ultimately, answering what is the difference between arduino and raspberry pi is about recognizing the boundary between physical control and computational processing. Use the Arduino to interface directly with the physical world—reading raw voltages, generating precise PWM, and handling microsecond interrupts. Use the Raspberry Pi to act as the brain—running machine learning models, hosting web servers, and managing complex databases. By splitting your architecture along these natural hardware boundaries, you will eliminate 90% of the latency, memory, and timing bugs in your DIY builds.