
The Invisible Enemy: Debugging Arduino Radio Modules
Integrating wireless communication into a microcontroller project is a rite of passage for makers, but it is also one of the most frustrating hurdles in embedded systems. When an arduino radio setup fails, the issue is rarely a simple coding typo. RF (Radio Frequency) debugging involves navigating a minefield of power starvation, logic level mismatches, SPI bus contention, and antenna impedance faults. As of 2026, the maker market is saturated with ultra-cheap clone modules that often ship with marginal voltage regulators and poorly tuned trace antennas, making hardware-level error diagnosis an essential skill.
This guide bypasses generic 'check your wiring' advice and dives deep into the specific failure modes of the three most popular Arduino radio platforms: the 2.4GHz nRF24L01+, the Sub-GHz LoRa SX1278, and the 433MHz HC-12 UART transceiver.
Rapid Diagnostic Matrix: Symptom to Root Cause
Before grabbing a multimeter, cross-reference your specific failure symptom with this diagnostic matrix to isolate the subsystem at fault.
| Symptom | Module | Probable Root Cause | Immediate Hardware Fix |
|---|---|---|---|
radio.begin() returns 0 / False |
nRF24L01+ | SPI bus dead or 3.3V LDO thermal shutdown | Add 100µF cap across VCC/GND; verify CSN pin |
| TX succeeds, but RX drops packets | nRF24L01+ (PA+LNA) | Power starvation during 120mA TX burst | Bypass Arduino LDO with external 3.3V buck converter |
LoRa.begin() fails or hangs |
SX1278 (Ra-02) | Incorrect SPI Reset pin mapping or floating RST | Verify LoRa.setPins() and add 10kΩ pull-up to RST |
| Receiver gets 'garbage' serial data | HC-12 (SI4438) | Baud rate mismatch or SoftwareSerial overflow | Enter AT mode to force 9600 baud; use HardwareSerial |
| Range limited to < 5 meters | All Modules | Antenna VSWR mismatch or coiled pigtail wire | Deploy tuned whip antenna; keep coaxial pigtails straight |
Deep Dive 1: nRF24L01+ Power Starvation (The #1 Killer)
The Nordic Semiconductor nRF24L01+ is the undisputed king of hobbyist 2.4GHz RF. However, the most common error—where the module initializes but fails to transmit reliably—is almost always a power delivery issue, not a software bug.
The AMS1117-3.3 Trap
Most standard Arduino Uno R3 clones utilize an AMS1117-3.3 linear voltage regulator to provide 3.3V power. While rated for 800mA on paper, these cheap LDOs suffer from severe thermal throttling and dropout voltage issues. When a high-power nRF24L01+ module with a PA+LNA (Power Amplifier/Low Noise Amplifier), such as the popular Ebyte E01-ML01DP5 (typically $7.50), initiates a transmission, it draws a sudden spike of 115mA to 130mA. This transient load causes the clone board's 3.3V rail to sag below 1.9V for milliseconds. The nRF24L01+ internal state machine interprets this brownout as a reset condition, dropping the packet and locking up the SPI interface.
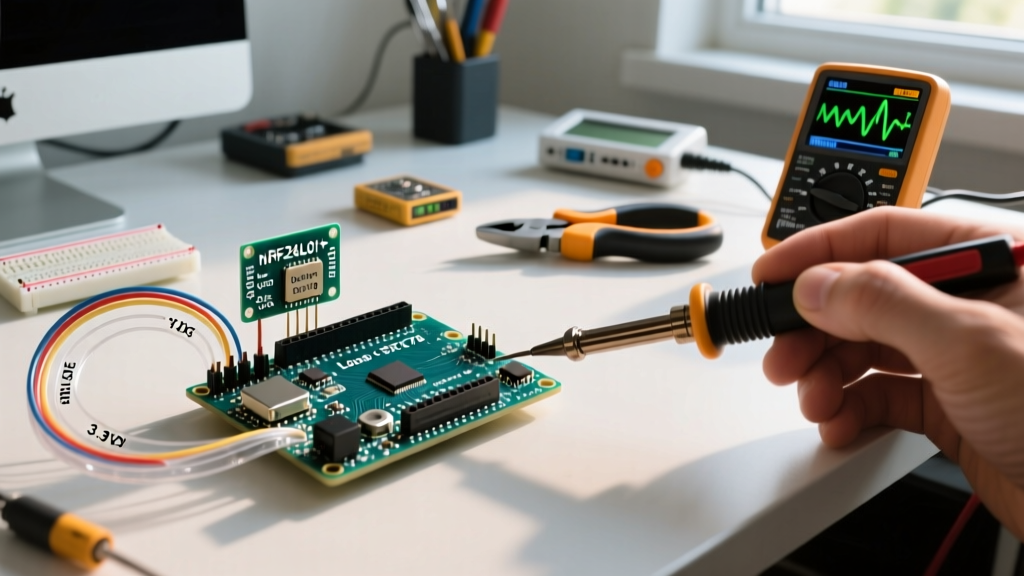
Expert Fix: Never rely on the Arduino's onboard 3.3V pin for high-power RF modules. Solder a low-ESR 100µF electrolytic capacitor directly across the module's VCC and GND header pins to absorb transient spikes. For PA+LNA modules, use an external LM2596 buck converter set precisely to 3.28V, feeding the module directly from the Arduino's 5V VIN pin.
Deep Dive 2: SPI Logic Level Shifting & Silicon Degradation
The ATmega328P (Arduino Uno/Nano) operates at 5V logic. The nRF24L01+ SPI pins (MOSI, SCK, CSN) are strictly 3.3V tolerant. While many tutorials claim the module is '5V tolerant' because it survives initial testing, feeding 5V into the MISO/MOSI lines causes slow silicon degradation. Over a few weeks, the module's SPI registers will begin returning 0xFF or 0x00 due to damaged input buffers.
To prevent this, you must implement proper logic level shifting. Avoid resistor voltage dividers for SPI buses running at 4MHz or higher; the parasitic capacitance of the resistors rounds off the square wave edges, causing clock synchronization errors.
- Best Solution: Use a Texas Instruments TXB0108 bidirectional level shifter ($2.50) which handles high-speed SPI edge rates perfectly.
- Budget Solution: Use a CD4050BE hex non-inverting buffer ($0.50) to step down the 5V MOSI, SCK, and CSN signals to 3.3V. MISO can safely route directly to the Arduino, as the 3.3V HIGH output from the nRF24L01+ is sufficient to trigger the ATmega328P's 2.0V
V_IHthreshold.
For comprehensive wiring schematics, refer to the SparkFun nRF24L01 Transceiver Hookup Guide, which details the exact SPI bus topology required for stable operation.
Deep Dive 3: LoRa SX1278 'Timeout' and Interrupt Mapping
When moving to long-range Sub-GHz frequencies, the Semtech SX1278 (commonly found on the Ai-Thinker Ra-02 breakout for ~$4.00) is the standard. A pervasive error when using the Arduino LoRa library is the endless 'Timeout' loop during LoRa.parsePacket(), even when the transmitter is actively broadcasting.
The DIO0 Interrupt Bottleneck
The SX1278 does not continuously push data over SPI. Instead, it relies on the DIO0 pin to send a hardware interrupt to the microcontroller when a valid packet CRC passes. If you wire DIO0 to a pin on the Arduino Mega2560 that does not support hardware interrupts (e.g., Pin 4 or Pin 8), the receiver will never wake up to read the FIFO buffer.
Furthermore, the SX1278 requires a strict hardware reset sequence on boot. If the RST pin is left floating, the module's 127 internal registers may initialize in an undefined state. Always use LoRa.setPins(csPin, resetPin, dio0Pin) before calling LoRa.begin(), and ensure the reset pin is driven LOW for exactly 10ms, then HIGH for 10ms before SPI initialization begins.
Deep Dive 4: HC-12 UART Garbage Data & AT Command Timing
The HC-12 module, based on the Silicon Labs SI4438 chip, bridges 433MHz RF to a simple UART serial interface. The most frequent error diagnosis involves receiving unreadable 'garbage' characters in the Arduino Serial Monitor.
This is rarely a baud rate mismatch in the traditional sense. The HC-12 defaults to 9600 baud, but if the module was previously configured to a different air data rate (e.g., FU4), the internal UART buffering can overflow when paired with Arduino's SoftwareSerial library, which is highly susceptible to interrupt jitter.
- Ditch SoftwareSerial: If using an Arduino Mega or Leonardo, route the HC-12 to hardware serial pins (Serial1, Serial2) to eliminate CPU timing jitter.
- AT Command Timing: To force the module back to defaults, pull the SET pin LOW. You must wait a minimum of 100 milliseconds before sending the
AT+DEFAULTstring. Sending the string immediately after pulling SET LOW will result in the SI4438 chip ignoring the command, leaving the baud rate mismatch unresolved.
Advanced Debugging: Using a Logic Analyzer on the SPI Bus
When radio.begin() fails and power/wiring seems correct, it is time to inspect the SPI bus directly. Using a standard $12 USB 24MHz 8-channel logic analyzer with the open-source PulseView software, you can decode the SPI traffic in real-time.
Connect the analyzer probes to MOSI, MISO, SCK, and CSN. Set the SPI decoder to Mode 0 (CPOL=0, CPHA=0), which is the standard for both the nRF24L01+ and SX1278. Trigger a capture on the falling edge of CSN.
- Healthy Bus: You should see MOSI transmit
0x20(Write to CONFIG register) followed by0x0E. MISO should simultaneously return the previous status byte (usually0x0Eor0x00). - Fault - MISO is all 0xFF: The MISO line is floating. Check for cold solder joints on the module header or a broken jumper wire.
- Fault - MISO is all 0x00: The module is completely unpowered, or the 3.3V LDO has entered thermal shutdown.
Mastering the Arduino SPI protocol at the signal level separates temporary hobbyists from embedded engineers. By systematically isolating power delivery, logic levels, and interrupt mapping, you can transform an unreliable Arduino radio link into a robust, production-ready telemetry system.