
Outgrowing the Classic Arduino IDE: The 2026 Migration Imperative
For over a decade, the Arduino IDE 1.8.x served as the gateway into embedded systems. However, as projects scale from simple LED blink sketches to complex IoT nodes utilizing the ESP32-S3 or dual-core Teensy 4.1, the limitations of the legacy environment become glaring. The lack of true IntelliSense, poor version control integration, and the single-file 'sketch' paradigm severely bottleneck professional firmware development. If you are searching for a better editor for Arduino development, migrating to a modern, multi-file environment is no longer optional—it is essential for maintainable code.
This guide provides a comprehensive migration pathway from the legacy Arduino IDE to modern powerhouses like Visual Studio Code with PlatformIO, and Arduino IDE 2.3.x, detailing exact configuration steps, hardware debugging integration, and common failure modes encountered during the transition.
Comparative Matrix: Choosing Your Next Editor for Arduino
Before ripping up your legacy installation, evaluate which environment aligns with your current project complexity and team size. The table below contrasts the most viable options available in 2026.
| Feature | Arduino IDE 1.8.x (Legacy) | Arduino IDE 2.3.x | VS Code + PlatformIO | JetBrains CLion |
|---|---|---|---|---|
| Code Completion | None (Basic syntax highlighting) | Good (clangd based) | Excellent (Full IntelliSense) | Exceptional (Deep semantic analysis) |
| Project Structure | Single .ino file + tabs | Single .ino file + tabs | Multi-file C/C++ standard | CMake-based multi-file |
| Hardware Debugging | Serial.println only | Basic GDB integration | Full SWD/JTAG GDB UI | Advanced visual GDB / Peripherals |
| Memory Footprint | ~350 MB RAM | ~800 MB RAM | ~1.2 GB RAM (with extensions) | ~2.5 GB RAM |
| Licensing Cost | Free (Open Source) | Free (Open Source) | Free (Core) / $15/mo (Pro) | $99/year (Individual) |
Phase 1: The Stepping Stone (Arduino IDE 2.x)
If your primary hurdle is the lack of autocomplete and a dark theme, the official Arduino IDE 2.x is the lowest-friction upgrade. Built on the Eclipse Theia framework, it introduces a real language server (clangd) and a dedicated debugging pane.
What Changes in 2.x?
- Board Manager Overhaul: JSON-based package indexing is now handled via a dedicated GUI panel, eliminating the messy 'Additional Boards Manager URLs' text box.
- Serial Monitor Detachment: The serial monitor and plotter now open in dedicated bottom panels, preventing the UI lock-ups common in 1.8.x when high baud rates (e.g., 2000000 baud for ESP32 logging) flooded the buffer.
Expert Insight: While IDE 2.x is a massive improvement for educators and hobbyists, it still enforces the
.inofile extension and the hidden prototype generation. For enterprise firmware or complex libraries, you must move to a standard C/C++ build system.
Phase 2: The Professional Standard (VS Code + PlatformIO)
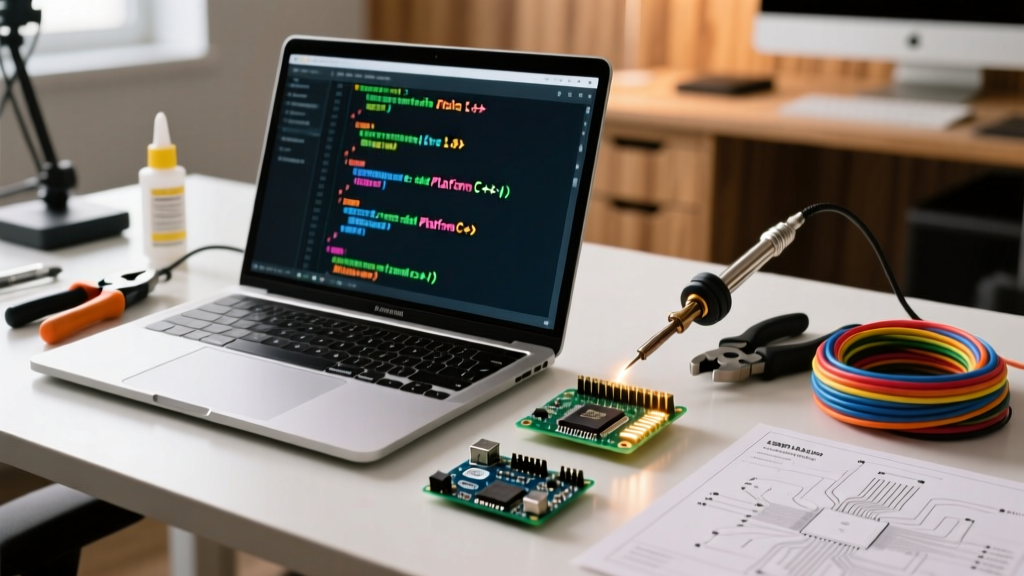
For 90% of professional embedded engineers and advanced makers, Visual Studio Code paired with the PlatformIO extension is the undisputed best editor for Arduino ecosystems. PlatformIO abstracts the toolchain management, downloading the exact GCC ARM or Xtensa compiler versions required for your specific board.
Step-by-Step Migration Workflow
Migrating a legacy sketch to PlatformIO requires structural changes. The Arduino IDE automatically injects headers and generates function prototypes. PlatformIO expects standard C++ compliance.
- Initialize the Project: Open VS Code, click the PlatformIO Home icon, and select 'New Project'. Name your project, select your board (e.g.,
esp32-s3-devkitc-1), and choose 'Arduino' as the framework. - Convert .ino to .cpp: Move your main sketch file into the
src/directory and rename it tomain.cpp. - Inject the Core Header: You must manually add
#include <Arduino.h>at the very top ofmain.cpp. Failure to do so will result inerror: 'Serial' was not declared in this scope. - Declare Prototypes: If you have custom functions defined below your
loop()function, you must either move them abovesetup()or manually write C++ forward declarations at the top of the file.
Configuring platformio.ini
The platformio.ini file replaces the GUI dropdowns of the legacy IDE. Here is a robust configuration for an ESP32-S3 project utilizing custom build flags and external libraries:
[env:esp32s3]
platform = espressif32
board = esp32-s3-devkitc-1
framework = arduino
monitor_speed = 115200

; Enable USB CDC for native serial output on ESP32-S3
build_flags =
    -DARDUINO_USB_MODE=1
    -DARDUINO_USB_CDC_ON_BOOT=1
    -DCORE_DEBUG_LEVEL=4

lib_deps =
    bblanchon/ArduinoJson@^7.0.0
    knolleary/PubSubClient@^2.8.0
For advanced memory optimization, you can pass specific linker flags via the PlatformIO build flags documentation to strip unused sections or enable link-time optimization (LTO) using -flto.
Integrating Hardware Debugging (SWD/JTAG)
The most significant advantage of upgrading your editor is the ability to ditch Serial.println() debugging. Hardware debugging allows you to set breakpoints, inspect registers, and step through memory in real-time without halting the MCU's hardware timers or interrupts.
Required Hardware and Setup
To debug ARM-based Arduino boards (like the Arduino Nano 33 IoT, Portenta H7, or Adafruit Feather M4), you need an SWD probe.
- ST-Link V2: The $12 clone dongles work adequately for basic flashing, but for reliable 2026 debugging, invest in the official ST-Link V3MINI (~$35).
- Segger J-Link EDU Mini: Priced around $60, this is the gold standard for academic and hobbyist debugging, offering vastly superior flash download speeds and RTOS thread awareness.
In PlatformIO, enabling debugging requires adding your probe to the platformio.ini file:
debug_tool = jlink
upload_protocol = jlink
Pressing the 'Start Debugging' button in VS Code will compile the binary with -Og -g3 flags, flash the target, and halt execution at your first breakpoint, opening the Variables, Watch, and Call Stack panels natively within the PlatformIO VS Code interface.
Common Migration Failure Modes & Edge Cases
When transitioning from the forgiving legacy IDE to a strict C/C++ build environment, developers frequently encounter specific compilation errors. Here is how to resolve them:
1. 'String' Class Ambiguity
In legacy Arduino, the String object is globally available. In PlatformIO, if you forget #include <Arduino.h> in secondary .cpp files (like a custom sensor driver), the compiler will throw a fatal error: String: No such file or directory or treat String as an undeclared identifier. Fix: Always include the Arduino core header in every .cpp file, or better yet, migrate to standard C++ std::string or fixed-size char arrays to prevent heap fragmentation.
2. Library Path Mismatches
The legacy IDE stores libraries in a global Documents/Arduino/libraries folder. PlatformIO isolates libraries per project via the lib_deps registry. If you have a heavily modified local library, do not copy it into the global folder. Instead, place it in your project's lib/ directory, or use the lib_extra_dirs parameter in your INI file to point to a centralized external repository.
3. F() Macro Failures in ESP32
AVR developers rely on the F("string") macro to store strings in Flash memory rather than RAM. When migrating an AVR codebase to the ESP32 or RP2040 in PlatformIO, the F() macro is often defined as a no-op (returning the string directly) because these architectures utilize memory-mapped flash. While this won't break compilation, it can cause confusion if you are inspecting memory addresses during debugging.
Summary: Making the Leap
Sticking with the legacy 1.8.x IDE in 2026 is akin to writing a novel on a typewriter when a modern word processor is available. By migrating to VS Code and PlatformIO, you unlock multi-file architecture, true version control via Git, automated CI/CD pipelines, and hardware-level debugging. The initial learning curve of understanding platformio.ini and standard C++ file structures pays immediate dividends in code stability, compilation speed, and developer sanity.