
The Intersection of Arduino and Qualcomm Silicon in 2026
As the Internet of Things (IoT) matures, the boundary between rapid prototyping and enterprise-grade deployment has blurred. Makers and embedded engineers frequently search for Arduino Qualcomm compatibility to bridge the gap between the Arduino ecosystem's accessible hardware abstraction and Qualcomm's high-performance silicon. Whether you are attempting to mount standard Arduino shields onto a Snapdragon-based DragonBoard, interfacing an Arduino Mega with a Qualcomm QMI-series LTE modem, or deploying Zephyr RTOS on a QCA4020 IoT SoC, understanding the electrical and software handshakes is critical.
This comprehensive compatibility guide details the exact hardware translations, power delivery topologies, and software bridges required to successfully integrate Arduino frameworks with Qualcomm architectures in 2026.
Hardware Compatibility: Arduino Shields on Snapdragon (96Boards)
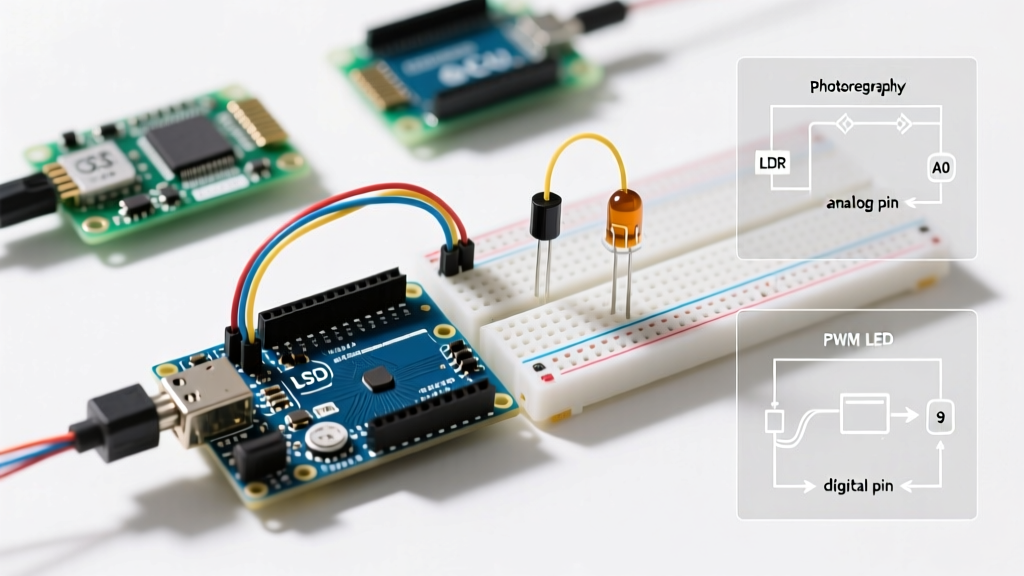
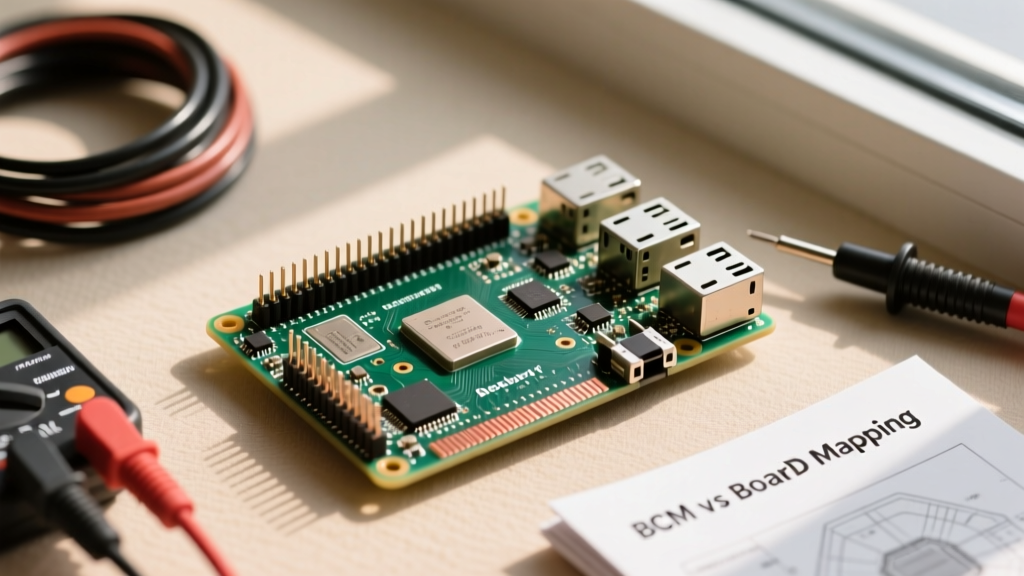
The 96Boards Consumer Edition (CE) specification defines the Low-Speed Expansion Header found on Qualcomm Snapdragon development boards like the DragonBoard 410c and 820c. While this 40-pin header is physically and functionally inspired by the Arduino Uno's GPIO layout, a direct electrical connection is a catastrophic mistake.
The 1.8V vs. 5V Logic Level Hazard
Qualcomm Snapdragon SoCs and their accompanying Power Management ICs (PMICs) operate natively at 1.8V logic. Standard legacy Arduino shields operate at 5V, while modern 3.3V variants (like those designed for the Arduino Due or Portenta) still exceed the 1.8V threshold. Forcing 5V or 3.3V into a Snapdragon GPIO pin will instantly destroy the PMIC or the SoC's I/O ring.
CRITICAL WARNING: Never connect a 5V or 3.3V Arduino shield directly to a 96Boards Low-Speed Expansion Header. You must use a bidirectional logic level translator capable of handling high-speed SPI and I2C buses without introducing fatal propagation delays.
Recommended Translation Topologies
To safely use Arduino shields with Qualcomm Snapdragon boards, integrate a bidirectional voltage-level translator. The Texas Instruments TXB0108 or NXP NXB0106 are industry standards for this task. They feature auto-direction sensing and built-in 10kΩ pull-up resistors, which are essential for I2C compatibility.
| Platform | Native Logic Level | Arduino Shield Compatibility | Required Translation IC | Max Safe SPI Clock |
|---|---|---|---|---|
| DragonBoard 410c | 1.8V | Requires Level Shifter | TI TXB0108 / NXP NXB0106 | ~12 MHz (with translator) |
| Arduino Mega 2560 | 5.0V | Native | None | 8 MHz (Hardware SPI) |
| Arduino Portenta H7 | 3.3V | Native (3.3V Shields) | None | Up to 50 MHz |
Cellular Integration: Arduino MCUs and Qualcomm Modems
A common enterprise IoT architecture involves using a robust microcontroller (like the STM32-based Arduino Portenta H7 or the AVR-based Mega 2560) as the host processor, while offloading cellular connectivity to a Qualcomm LTE/5G modem module (such as the QMI9x15 series or Snapdragon X-series evaluation kits). The Qualcomm Developer Network provides extensive AT command documentation for these modules, but the physical layer integration requires strict adherence to power and timing constraints.
Power Delivery Topologies for Cellular Burst Currents
The most frequent point of failure in Arduino-to-Qualcomm modem integration is inadequate power delivery. During RF transmission (especially on LTE Cat-M1 or 5G networks), Qualcomm modems can draw burst currents exceeding 2.5 Amps for several milliseconds. The onboard 5V or 3.3V voltage regulators of an Arduino board will instantly brown out or trigger thermal shutdown under this load.
- Dedicated Buck Converter: Use a high-current switching regulator (e.g., LM2596 or TPS5430) configured to output exactly 3.8V (the nominal VCC for most Qualcomm cellular modules).
- Bulk Decoupling: Place a 100µF low-ESR tantalum capacitor in parallel with a 0.1µF ceramic capacitor as close to the modem's VCC and GND pins as possible. This absorbs the microsecond-level RF transmission spikes.
- Common Ground: Ensure the ground plane of the Arduino MCU and the modem power supply share a single, low-impedance star ground to prevent UART data corruption.
UART Handshakes and AT Command Routing
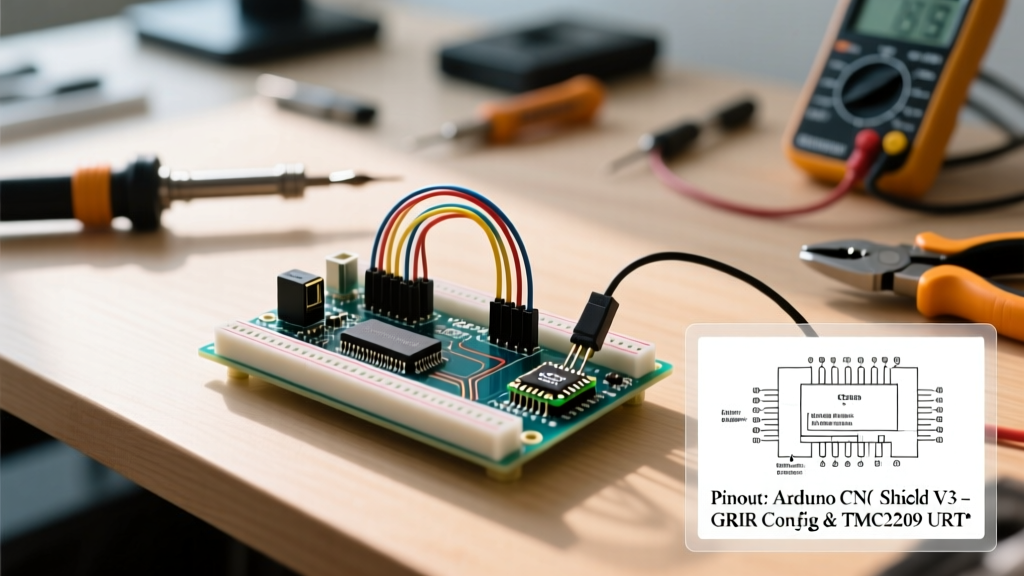
Qualcomm modems utilize standard UART for AT command interfaces (often mapped to `/dev/ttyUSB0` or `/dev/ttyUSB2` in Linux, or `Serial1`/`Serial2` on Arduino). Configure your Arduino hardware serial port to 115200 baud, 8 data bits, no parity, 1 stop bit (115200 8N1). Use the `AT+QCCID` command to verify SIM communication and `AT+CGATT?` to check network attachment status before attempting TCP/IP socket initialization.
Software Bridging: Qualcomm QCA IoT SoCs and Zephyr RTOS
For developers looking to move beyond external modems and run code directly on Qualcomm silicon, the QCA4020 and QCA4024 IoT SoCs offer integrated Wi-Fi, Bluetooth 5.0, and 802.15.4 (Zigbee/Thread) radios. While there is no native "Arduino IDE" board package for the QCA4020, the ecosystem has standardized around the Zephyr RTOS.
By leveraging the Zephyr Project, developers can write C++ applications that mimic Arduino's `setup()` and `loop()` paradigms while utilizing Qualcomm's proprietary Wi-Fi and BLE stacks. Zephyr's POSIX API layer allows you to port existing Arduino networking libraries (like `PubSubClient` for MQTT) with minimal refactoring, replacing Arduino's `Client.h` calls with Zephyr's BSD socket equivalents.
Troubleshooting Common Arduino-Qualcomm Edge Cases
Even with correct wiring, firmware-level incompatibilities frequently stall development. Below is a diagnostic matrix for common integration failures.
| Symptom | Root Cause | Engineering Solution |
|---|---|---|
| Modem returns 'ERROR' to basic AT commands | UART baud rate mismatch or missing hardware flow control (RTS/CTS). | Verify modem firmware defaults. If hardware flow control is enabled on the Qualcomm module, tie RTS to CTS locally to force transparent mode, or implement flow control on the Arduino. |
| Arduino resets when modem transmits data | Ground bounce or VCC sag pulling the MCU's RESET pin low. | Isolate the modem's RF ground from the MCU's digital ground using a 0-ohm resistor or ferrite bead at a single star point. Add a 10µF capacitor to the MCU's VCC rail. |
| 96Boards SPI peripheral not detected by Arduino Shield | Propagation delay from level shifter violating SPI setup/hold times. | Reduce SPI clock speed to 4MHz. Alternatively, replace the TXB0108 with a faster N-channel MOSFET-based translator like the BSS138 for open-drain I2C, or use dedicated SPI buffers. |
| USB-OTG enumeration fails between Portenta and Snapdragon | Missing USB ID pin grounding or VBUS negotiation failure. | Ensure the OTG cable correctly grounds the ID pin on the host side. Use a powered USB hub if the Snapdragon board cannot source the required 500mA VBUS current. |
Expert Verdict: Architecting Your IoT Stack
When designing an IoT product in 2026, the decision to pair Arduino hardware with Qualcomm silicon should be driven by your deployment environment. If you require rapid field-deployable cellular connectivity, pairing an Arduino Portenta H7 with a Qualcomm QMI-series LTE-M module offers the best balance of low-power MCU sleep states and robust wide-area networking. Conversely, if you are building a high-bandwidth edge gateway requiring local AI inference, utilizing a Snapdragon-based 96Boards SBC as the host, while treating an attached Arduino Nano as a dedicated real-time sensor polling node via I2C, provides a highly resilient, multi-threaded architecture.
Always respect the electrical boundaries—specifically the 1.8V logic limits of Snapdragon SoCs and the high-current RF burst profiles of Qualcomm modems. By implementing proper logic translation and isolated power delivery topologies, you can seamlessly bridge the maker-friendly Arduino ecosystem with enterprise-grade Qualcomm silicon.