
Introduction to the Barebones Workhorse
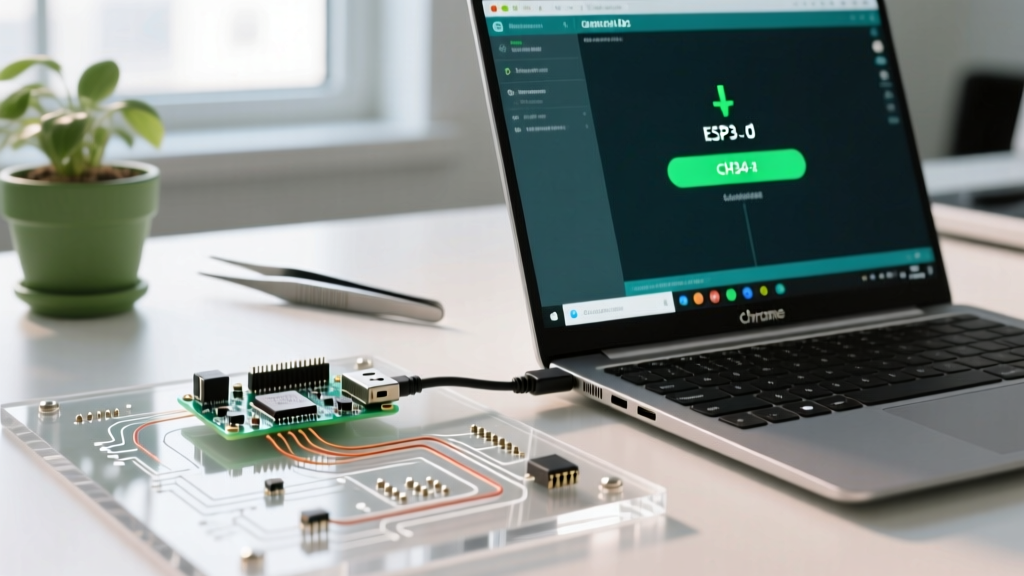
The Arduino Pro Mini is the go-to microcontroller board for makers who need a compact, low-cost, and low-power solution without the bulky USB-to-Serial hardware found on the Arduino Uno. Based on the ATmega328P (or ATmega168 on older revisions), it offers the exact same processing capabilities as its larger siblings but strips away the onboard programmer to save space and reduce quiescent current draw. Because it lacks a native USB port, programming the Arduino Pro Mini requires an external USB-to-Serial adapter, commonly referred to as an FTDI adapter. This tutorial provides a comprehensive, step-by-step guide to wiring, flashing, and optimizing the Pro Mini for battery-powered embedded projects in 2026.
Hardware Requirements and Bill of Materials
Before beginning, ensure you have the correct voltage-matched components. The Pro Mini is manufactured in two primary variants: 5V/16MHz and 3.3V/8MHz. Mixing these up with your FTDI adapter is the most common cause of fatal board damage.
| Component | Model / Part Number | Voltage | Approx. 2026 Price |
|---|---|---|---|
| SparkFun Arduino Pro Mini 328 | DEV-11113 | 5V / 16MHz | $14.95 |
| SparkFun Arduino Pro Mini 328 | DEV-11114 | 3.3V / 8MHz | $14.95 |
| Generic Clone Pro Mini | Various (AliExpress/Amazon) | 3.3V or 5V | $1.50 - $3.00 |
| SparkFun FTDI Basic Breakout | DEV-09873 (FT232RL) | 5V or 3.3V | $17.95 |
| Generic USB-to-Serial Adapter | CH340G or CP2102 based | Switchable | $1.80 - $4.00 |
Step-by-Step Wiring Guide
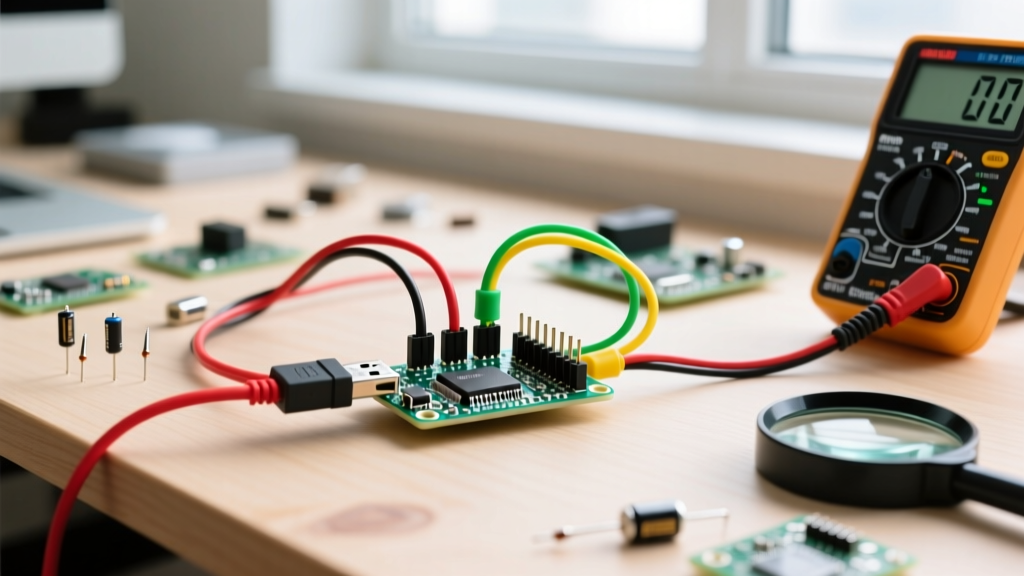
Connecting the FTDI adapter to the Pro Mini requires crossing the transmit and receive lines. Most Pro Mini boards feature a 6-pin header on the edge labeled TXO, RXI, GND, GND, VCC, and DTR (or GRN/BLK depending on the silkscreen).
The Wiring Matrix
- FTDI GND → Pro Mini GND (Use the one closest to the RAW pin)
- FTDI VCC → Pro Mini VCC (CRITICAL: Must match voltages!)
- FTDI TXI (Transmit) → Pro Mini RXI (Receive)
- FTDI RXO (Receive) → Pro Mini TXO (Transmit)
- FTDI DTR → Pro Mini DTR/GRN (Required for automatic reset during upload)
⚠ Voltage Mismatch Warning: Supplying 5V from an FTDI adapter into the VCC pin of a 3.3V/8MHz Pro Mini will instantly overvolt the ATmega328P and the onboard MIC5205 regulator, permanently destroying the microcontroller. Always verify the silkscreen on both boards before applying power.
IDE Configuration and the Manual Reset Trick
To program the board, open the Arduino IDE and navigate to Tools > Board. Select Arduino Pro or Pro Mini. Next, go to Tools > Processor and select the exact variant matching your hardware (e.g., ATmega328P (3.3V, 8 MHz)). Select the correct COM port assigned to your FTDI adapter.
Handling the Auto-Reset (DTR) Pin
If your FTDI adapter has a DTR pin wired to the Pro Mini's DTR/GRN pin, the IDE will automatically pulse the reset line right before uploading the sketch. However, many cheap CH340G adapters omit the DTR pin or route it incorrectly. If your upload fails with a sync error, you must perform the Manual Reset Trick:
- Click the Upload button in the Arduino IDE.
- Watch the black console window at the bottom of the IDE.
- Wait for the compilation to finish and the text
Sketch uses X bytes...to appear. - The exact millisecond that text appears, press and release the tiny tactile reset button on the Pro Mini.
- The bootloader will catch the serial handshake and begin flashing.
For a deeper dive into IDE upload errors, refer to the official Arduino IDE Troubleshooting Documentation.
Advanced: Slashing Power Consumption for Battery Projects
The primary reason makers choose the Pro Mini over the Nano or Uno is its potential for ultra-low power consumption. Out of the box, a 3.3V Pro Mini draws roughly 15-20mA. By applying specific hardware and software modifications, you can reduce this to under 0.005mA (5µA) in sleep mode, allowing a single CR2032 coin cell to last for years.
Hardware Modifications
- Remove the Power LED: The onboard green LED and its current-limiting resistor draw approximately 3mA to 5mA continuously. Desoldering the LED or scratching the trace connecting it saves a massive percentage of your power budget.
- Bypass the Voltage Regulator: The onboard MIC5205 3.3V regulator has a quiescent current draw of roughly 1mA to 2mA. If you are powering your project directly from a 3.3V battery (like 3x AAA or a LiPo with a dedicated external LDO), you can desolder the regulator entirely or sever the VCC-RAW trace, feeding 3.3V directly into the
VCCpin.
Software Sleep Modes
To achieve micro-amp current draws, you must utilize the ATmega328P's hardware sleep modes. The community-standard resource for this is Nick Gammon's Power Saving Guide, which details how to disable internal peripherals. Before entering power_down sleep, you must disable the ADC (Analog-to-Digital Converter) and the Brown-Out Detector (BOD).
// Disable ADC
ADCSRA = 0;

// Disable internal pull-ups to prevent ghost currents
for (byte i = 0; i <= 21; i++) {
  pinMode(i, INPUT);
  digitalWrite(i, LOW);
}

// Enter deep sleep (requires external interrupt or watchdog to wake)
set_sleep_mode(SLEEP_MODE_PWR_DOWN);
sleep_enable();
sleep_bod_disable();
sleep_cpu();
Troubleshooting Matrix: Common Pro Mini Failures
When working with barebones boards, serial communication errors are inevitable. Use this matrix to diagnose your specific failure mode.
| Error Message / Symptom | Root Cause | Actionable Fix |
|---|---|---|
avrdude: stk500_recv(): programmer is not responding |
TX/RX lines are not crossed, or the bootloader missed the reset handshake. | Swap TX and RX wires. If using a DTR-less adapter, execute the Manual Reset Trick detailed above. |
avrdude: Yikes! Invalid device signature. |
Wrong processor variant selected in the IDE, or the chip is bricked. | Verify if your board is 168 or 328P, and 5V or 3.3V. Check the physical text printed on the ATmega chip. |
| FTDI Adapter not showing up in Device Manager | Missing CH340 or CP2102 drivers (common on Windows 10/11 with older clone chips). | Download the official WCH CH340 drivers or Silicon Labs CP210x drivers depending on the black IC on your adapter. |
| Board gets extremely hot to the touch | Voltage mismatch (5V FTDI plugged into 3.3V Pro Mini VCC pin). | Disconnect immediately. The ATmega328P and MIC5205 are likely destroyed and the board must be replaced. |
Conclusion
Mastering the Arduino Pro Mini requires a slight learning curve regarding external serial adapters and manual reset timing, but the payoff in project miniaturization and battery life is unmatched. By carefully matching your FTDI adapter voltages, utilizing the DTR pin for seamless uploads, and applying aggressive hardware and software sleep optimizations, you can build robust, long-lasting embedded systems. For further reading on initial setup and pinout diagrams, the SparkFun Pro Mini Hookup Guide remains an excellent visual companion to this tutorial.