
Understanding How Arduino Convert Analog to Digital Signals
In the realm of microcontroller interfacing, bridging the gap between real-world continuous voltages and discrete binary logic is a fundamental requirement. When makers and engineers ask how Arduino convert analog to digital data, they are referring to the Analog-to-Digital Converter (ADC) subsystem. As of 2026, the Arduino ecosystem has expanded far beyond the legacy 10-bit ATmega328P architecture, introducing 14-bit, 16-bit, and even 24-bit conversion capabilities across various form factors. However, hardware compatibility, source impedance matching, and voltage reference stability remain critical bottlenecks that can ruin sensor accuracy if ignored.
This compatibility guide breaks down the internal ADC architectures of modern Arduino boards, identifies their limitations, and provides actionable integration matrices for external ADC integrated circuits (ICs) when internal peripherals fall short.
Internal ADC Compatibility Across the 2026 Arduino Ecosystem
The internal ADC is the first point of call for most prototyping. However, not all analogRead() functions are created equal. The underlying Successive Approximation Register (SAR) or Sigma-Delta architectures dictate your maximum sample rate, resolution, and linearity. Below is a compatibility and specification matrix for the most popular boards used in modern sensor networks.
| Board Model (2026) | MCU Core | ADC Resolution | Max Sample Rate | VREF Options | Best Use Case |
|---|---|---|---|---|---|
| Arduino Uno R4 Minima ($19.50) | Renesas RA4M1 (Arm Cortex-M4) | 14-bit (16,384 steps) | 1 MSPS | 1.4V, 2.0V, 2.5V, VDD | High-speed audio, precision environmental sensing |
| Arduino Nano 33 IoT ($34.00) | Microchip SAMD21 (Arm Cortex-M0+) | 12-bit (4,096 steps) | 350 kSPS | 1.0V, 1.65V, 2.2V, VDD | Battery-powered IoT nodes, wearable biometrics |
| Generic ESP32 DevKit V1 ($6.00) | Xtensa LX6 (Dual-Core) | 12-bit (Notoriously non-linear) | Varies by attenuation | Internal 1.1V (with attenuation dividers) | Wi-Fi telemetry where absolute precision is secondary |
| Teensy 4.1 ($32.95) | NXP i.MX RT1062 (Cortex-M7) | 12-bit | 1 MSPS (dual ADCs) | 1.2V, 3.3V | DSP, software-defined radio, fast oscilloscope builds |
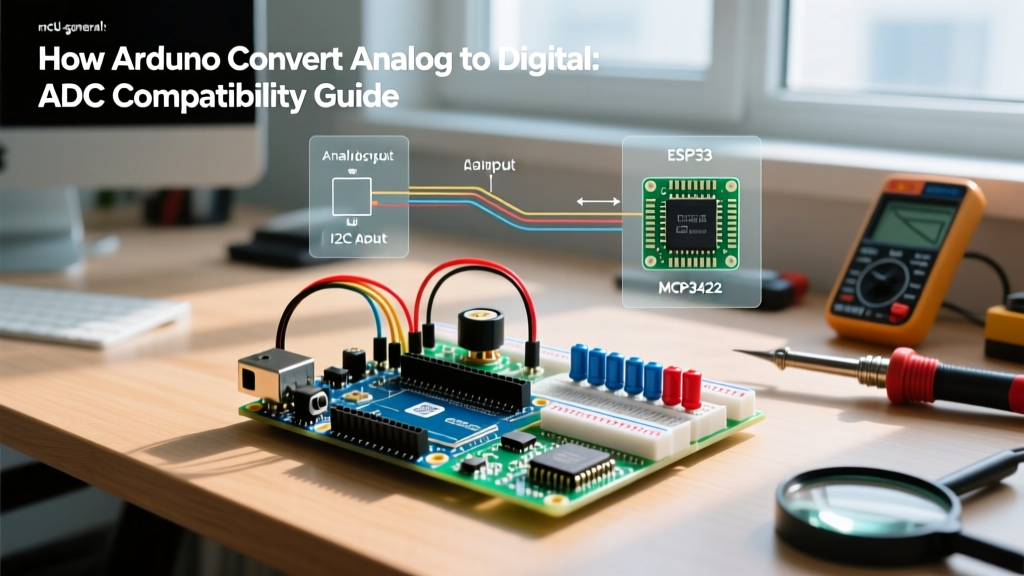
Expert Insight on ESP32 ADCs: If your project requires precise absolute voltage measurements, avoid the native ESP32 ADC pins. The internal Wi-Fi/Bluetooth RF circuitry introduces severe non-linearity and noise floor spikes. For ESP32-based precision analog work, bypassing the internal ADC in favor of an external I2C chip is mandatory.
The Voltage Reference (VREF) Bottleneck
A common failure mode when users attempt to let an Arduino convert analog to digital values accurately is relying on the default 5V or 3.3V VDD rail as the voltage reference. USB power from a standard PC or wall-wart routinely fluctuates between 4.75V and 5.25V. Because the ADC calculates the digital step size by dividing VREF by the resolution (e.g., 5V / 16,384 for a 14-bit ADC), a 100mV fluctuation in VREF introduces massive quantization errors.
Compatibility Fix: Always use a dedicated voltage reference IC, such as the Texas Instruments REF5025 ($3.20), or utilize the internal bandgap references available on the Uno R4 and SAMD21 boards via the analogReference() function. According to the Arduino analogRead() Reference, configuring the correct internal VREF is essential before executing your first conversion loop.
External ADC Integration: When Internal Isn't Enough
Internal ADCs are excellent for general-purpose potentiometer reading or basic light sensing. However, industrial applications, load cells, and high-fidelity audio require external ADCs. Here is a compatibility breakdown of the three most common external ADC architectures used with Arduino in 2026.
1. Texas Instruments ADS1115 (I2C, 16-Bit)
The ADS1115 is the undisputed king of maker-grade precision. It features a 16-bit Sigma-Delta architecture, an integrated Programmable Gain Amplifier (PGA), and an I2C interface. As detailed in the Texas Instruments ADS1115 Product Data, it supports data rates from 8 to 860 SPS (samples per second). Breakout boards from Adafruit or SparkFun cost around $4.50, while bare chips for custom PCBs run about $1.80 in single quantities.
- Pros: Extreme precision, built-in PGA (gain up to 16x), low I/O pin requirement (only 2 pins).
- Cons: Slow sample rate (860 SPS max) makes it unsuitable for audio or vibration analysis.
2. Microchip MCP3008 (SPI, 10-Bit)
If you need to read eight channels simultaneously at a much faster rate than the ADS1115 allows, the MCP3008 is the standard SPI solution. It offers 10-bit resolution at up to 200 kSPS. It is highly compatible with Arduino SPI libraries and costs roughly $2.80 per chip.
3. Texas Instruments ADS1256 (SPI, 24-Bit)
For load cells and strain gauges, 24-bit resolution is required. The ADS1256 provides 30 kSPS at 24 bits. Compatibility requires careful SPI clock management (max 1.9 MHz SCLK) and strict timing on the DRDY (Data Ready) pin. Breakouts cost around $12.00 to $18.00.
Step-by-Step: Wiring an External 16-Bit ADC to an Arduino Uno R4
To demonstrate practical compatibility, here is the exact wiring protocol for connecting an ADS1115 breakout to the modern Arduino Uno R4 Minima. This setup bypasses the 14-bit internal ADC to achieve true 16-bit differential measurements.
- Power Routing: Connect the ADS1115 VDD to the Uno R4 3.3V pin. Do not use 5V, as the I2C pull-up resistors on most breakouts will pull the SDA/SCL lines to 3.3V, which is perfectly compatible with the RA4M1's I2C tolerances.
- I2C Bus: Connect SDA to the Uno R4 SDA pin (Pin A4 on the legacy header, or the dedicated SDA pin near the USB-C port). Connect SCL to SCL (A5).
- Address Configuration: The ADDR pin dictates the I2C address. Tie ADDR to GND for the default address
0x48. If you need a second ADS1115 on the same bus, tie the second chip's ADDR to VDD for0x49. - Signal Input: Connect your analog sensor to A0 on the ADS1115. Ensure the sensor's ground is tied to the ADS1115 GND to establish a common reference plane.
For software compatibility, utilize the Adafruit ADS1X15 Breakout Guide library, which abstracts the complex I2C register mapping and PGA configuration into simple readADC_SingleEnded(0) function calls.
Common Failure Modes & Edge Cases in ADC Conversion
Even with the correct hardware compatibility, analog-to-digital conversion is highly susceptible to physical layer errors. Watch out for these specific edge cases:
Source Impedance Mismatch
The internal SAR ADC of most microcontrollers uses a sample-and-hold (S&H) capacitor, typically around 14pF. During the sampling phase, this capacitor must charge to the input voltage level. If your sensor's output impedance is greater than 10kΩ, the capacitor will not fully charge within the ADC clock cycle, resulting in artificially low and unstable readings. Fix: Buffer high-impedance sensors (like piezoelectric elements or high-value voltage dividers) with an op-amp configured as a unity-gain voltage follower before feeding them to the Arduino.
ADC Ghosting (Crosstalk)
When multiplexing between multiple analog pins rapidly (e.g., reading A0, then immediately reading A1), the residual charge from A0 can bleed into A1's conversion. Fix: Perform a dummy read. Read the pin twice in succession and discard the first value. This gives the internal multiplexer and S&H capacitor time to settle on the new channel's voltage.
Floating Pin Noise
Unconnected analog pins act as antennas, picking up 50Hz/60Hz mains hum and RF interference. This noise can couple into adjacent pins through internal silicon parasitic capacitance. Always tie unused analog pins to GND via a 10kΩ resistor or configure them as digital outputs driven LOW in your setup() function.
Frequently Asked Questions (FAQ)
Can I increase the sample rate of the Arduino Uno R4 ADC?
Yes. The default analogRead() function on the Uno R4 is configured for maximum compatibility and stability, not speed. By directly manipulating the Renesas RA4M1 ADC control registers to reduce the sampling time and increase the ADC clock divider, you can push the 14-bit ADC well beyond its default throughput, approaching the theoretical 1 MSPS hardware limit.
Is the 5V pin on the Arduino Nano 33 IoT compatible with analog sensors?
Be extremely cautious. The Nano 33 IoT is a 3.3V logic and 3.3V ADC reference board. Feeding a 5V analog signal into an A-pin will not only saturate the ADC (yielding a maximum reading of 4095) but can permanently damage the SAMD21 silicon. Always use a voltage divider to step 5V sensor outputs down to a safe 0-3.3V range.
What is the actual cost difference between internal and external ADC solutions?
In 2026, relying on the internal ADC costs $0 in BOM (Bill of Materials) but may cost hours in software filtering and calibration. Adding an ADS1115 adds roughly $1.80 (bare chip) to $4.50 (breakout) to your BOM, but guarantees 16-bit linearity and eliminates the need for complex software oversampling routines, making it highly cost-effective for commercial prototyping.