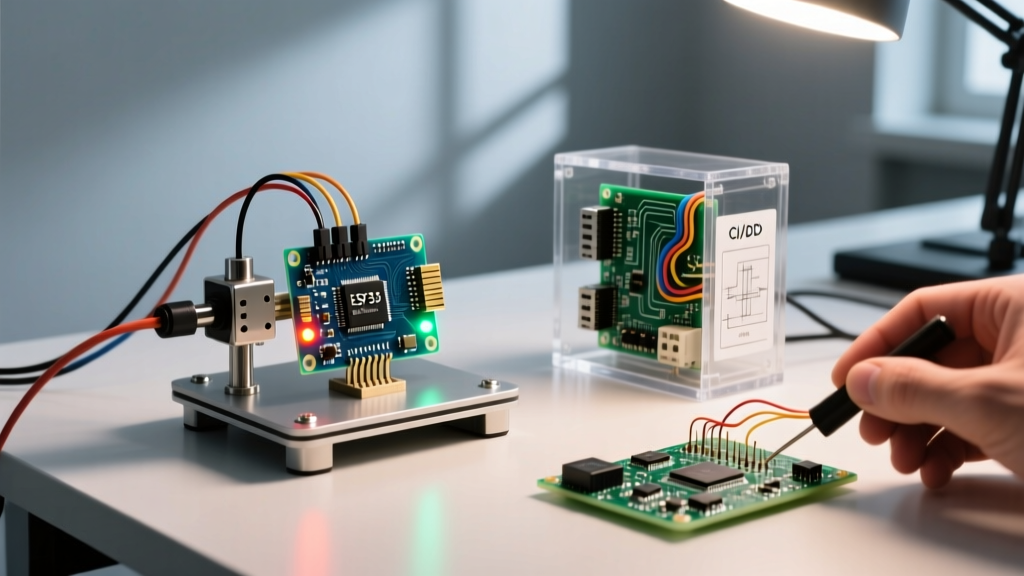

Beyond Blinking LEDs: Professional Arduino Uses in 2026
When most makers and junior engineers search for arduino uses, they are typically met with endless tutorials on smart mirrors, automated plant waterers, and basic weather stations. While these projects are excellent for learning syntax and basic circuit design, professional electrical engineers and advanced product teams require a completely different perspective. In 2026, the most valuable Arduino uses are not found in the final consumer product, but rather in workflow optimization—leveraging these microcontrollers as the underlying tooling that accelerates hardware development, automated testing, and continuous integration pipelines.
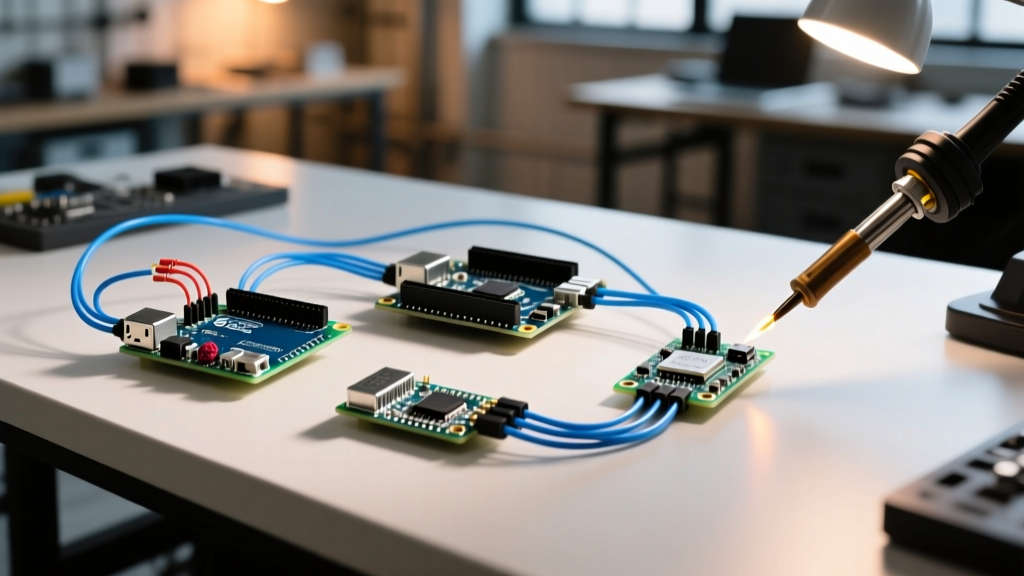
By repurposing development boards as factory test jigs, hardware-in-the-loop (HIL) simulators, and protocol sniffers, engineering teams can slash prototyping costs and reduce time-to-market. Below, we explore the highest-ROI Arduino uses for optimizing professional hardware workflows.
The Shift from Hobbyist Projects to Engineering Tooling
To understand the professional value proposition, we must contrast standard hobbyist applications with workflow-optimizing engineering applications. The table below illustrates this paradigm shift.
| Category | Standard Hobbyist Uses | Workflow Optimization Uses (Engineering) | ROI Impact |
|---|---|---|---|
| I/O Expansion | Controlling relays for home automation | Driving bed-of-nails pogo pins for PCB continuity testing | Replaces $5,000+ NI PXI test rigs |
| Serial Comms | Printing debug logs to the IDE monitor | Acting as a UART/SPI bridge for automated CI/CD firmware flashing | Enables zero-touch hardware regression testing |
| Signal Capture | Reading a single DHT22 temperature sensor | Functioning as a multi-channel logic analyzer for protocol debugging | Provides instant visibility into bus contention issues |
Top 3 Workflow-Optimizing Arduino Uses for Engineering Teams
1. Automated PCB Test Jigs (Bed-of-Nails Controllers)
One of the most critical bottlenecks in hardware manufacturing and rapid prototyping is verifying assembled PCBs. Commercial Automated Test Equipment (ATE) from vendors like National Instruments or Teradyne can easily exceed $10,000. A highly effective, low-cost alternative is using high-performance Arduino boards as the brains of a custom bed-of-nails test jig.
For complex boards requiring high-speed I/O and parallel processing, the Arduino Portenta H7 (retailing around $115) is the optimal choice. The Portenta features a dual-core STM32H747XI microcontroller (a 480MHz Cortex-M7 and a 240MHz Cortex-M4). In a test jig workflow, you can assign the M4 core to handle deterministic, real-time GPIO toggling to simulate sensor inputs and verify continuity through 1.02mm pitch pogo pins. Simultaneously, the M7 core can handle high-level tasks like logging test results to an MQTT broker or pushing pass/fail metrics to a factory dashboard via Ethernet.
Edge Case & Failure Mode: When driving inductive loads (like relays used to switch power to the Device Under Test), back-EMF can reset the microcontroller. Always use optocouplers (such as the TLP281) or flyback diodes on your test jig's driver board to isolate the Portenta's logic-level GPIOs from the 12V/24V switching circuits.
2. CI/CD Hardware Deployment Nodes
Modern firmware development relies on Continuous Integration and Continuous Deployment (CI/CD). However, testing firmware purely in simulation often misses hardware-specific bugs. By integrating an Arduino into a GitHub Actions or GitLab CI runner, teams can achieve true Hardware-in-the-Loop (HIL) testing. Whenever a developer pushes code, the CI pipeline compiles the firmware, flashes it to the physical Arduino connected to the server, and runs a suite of PyTest scripts via serial to verify the hardware's physical responses.
The arduino-cli official documentation provides the exact headless toolchain required for this. Using commands like arduino-cli compile --fqbn arduino:mbed_portenta:envie_m7 allows build servers to compile without the overhead of the Java-based IDE.
Expert Troubleshooting Tip: The 1200bps Reset Race Condition
When automating uploads on Linux CI runners, you will frequently encounter theavrdude: ser_open(): can't open deviceerror. This occurs because the CLI opens the serial port at 1200bps to trigger the bootloader reset, but the Linuxudevrules take 2-3 seconds to assign permissions to the newly enumerated bootloader port (e.g.,/dev/ttyACM1). To fix this, implement a custom udev rule withMODE="0666"for your specific VID/PID, and inject asleep 4command in your YAML pipeline between the compile and upload steps.
3. Custom Logic Analyzers and Protocol Sniffers
Dedicated logic analyzers from Saleae or Keysight are phenomenal but represent a significant capital expenditure ($300 to $5,000+). For debugging standard SPI, I2C, or UART bus contention issues on a budget, specific Arduino boards can be repurposed as high-speed protocol sniffers using the open-source Sigrok supported hardware wiki ecosystem.
The Arduino Zero ($45), powered by the Microchip SAMD21G18 (ARM Cortex-M0+), is uniquely suited for this. Because it features a native USB interface separate from the programming UART, it can stream captured data to a host PC running PulseView (the Sigrok GUI) without bottlenecking. You can reliably sample at 500kHz across multiple channels.
Limitation to Note: The SAMD21 only possesses 32KB of SRAM. At a 500kHz sampling rate, your capture depth is strictly limited to roughly 64 milliseconds before the buffer overflows. For deep-memory captures required in complex DMA debugging, you must upgrade to a Teensy 4.1 ($75), which boasts 1MB of RAM and can capture significantly longer bus transactions before streaming via its 480Mbps USB interface.
Optimizing the Toolchain: Speeding Up Compilation and Upload
Regardless of your specific Arduino uses, waiting for the IDE to compile and upload is a universal workflow killer. As sketches grow to include heavy libraries (like TensorFlow Lite for Microcontrollers or AWS IoT SDKs), compilation times can stretch past 60 seconds. Here is how to optimize your local and CI toolchain:
- Implement ccache: By routing your compiler through
ccachevia thearduino-cliconfiguration file, subsequent builds that only modify a single.cppfile will drop from 45 seconds to under 3 seconds. - Disable Verbose Output: In CI pipelines, logging every GCC command to standard output creates massive I/O bottlenecks. Ensure
--verboseis stripped from your build scripts unless a build fails. - Use Parallel Builds: If using PlatformIO or custom Makefiles wrapping the Arduino core, ensure the
-jflag is passed tomaketo utilize all available CPU cores during the linking phase.
Frequently Asked Questions (FAQ)
Why does my Arduino test jig fail intermittently on power-up?
This is almost always caused by GPIO pin floating during the microcontroller's boot sequence. Before the setup() function initializes the pinMode, the pins are in a high-impedance state. If your test jig connects these pins to sensitive MOSFET gates or reset lines on the Device Under Test (DUT), the DUT may experience erratic behavior. Always use pull-down resistors (10kΩ to 100kΩ) on critical control lines to hold them in a known LOW state until the Arduino takes control.
Can I use standard Arduino Unos for professional CI/CD workflows?
While the Arduino CLI GitHub repository supports the classic Uno (ATmega328P), it is not recommended for modern CI/CD. The Uno lacks native USB, relying on a secondary ATmega16U2 chip for serial-to-USB conversion. This architecture makes the 1200bps bootloader reset trick unreliable on virtualized CI runners. Always opt for native USB boards like the Leonardo, Zero, or Portenta for automated hardware testing.
How do I power a bed-of-nails test jig safely?
Never power a test jig's pogo pins directly from the Arduino's 5V or 3.3V regulator. The onboard regulators are typically limited to 500mA-800mA and lack short-circuit protection for industrial environments. Use an external, isolated DIN-rail power supply (like a Mean Well HDR-30-24) paired with adjustable buck converters and polyfuses (PTC resettable fuses) on every power line touching the DUT to prevent catastrophic damage if a jig pin misaligns.