
The Onboard Regulator Bottleneck
Every maker eventually hits the thermal wall of the classic Arduino Uno's onboard AMS1117-5.0 linear regulator. While the official Arduino power documentation states the board can accept 7-12V via the barrel jack, the reality of thermodynamics tells a different story. In 2026, with projects increasingly integrating power-hungry WiFi modules, stepper motors, and high-brightness LED arrays, relying on the stock linear regulator is a recipe for thermal throttling and melted solder masks.
The 'Magic Smoke' Warning: Feeding 12V into the barrel jack while drawing just 500mA from the 5V pin forces the onboard regulator to dissipate 3.5W of heat. The SOT-223 package lacks a heatsink, leading to junction temperatures exceeding 125°C in seconds, triggering thermal shutdown or permanent silicon death.
Linear vs. Switching: The Community Consensus
The maker community has largely bifurcated into two camps: those who need ultra-low noise for sensitive analog sensors, and those who need high efficiency for battery-powered or high-current deployments. Here is how the community weighs the options.
| Regulator Type | Efficiency | Heat Generation | Output Noise | Cost (2026 Avg) | Best Application |
|---|---|---|---|---|---|
| Linear (LDO) | 30% - 60% | High (Proportional to dropout) | Ultra-Low | $0.50 - $3.00 | Analog sensors, audio, low-current sleep nodes |
| Switching (Buck) | 85% - 95% | Very Low | Moderate (Switching ripple) | $1.50 - $12.00 | Motors, WiFi/Cellular, high-current logic |
| Switching (Boost) | 80% - 92% | Low | Moderate | $5.00 - $20.00 | LiPo battery integration, 3.7V to 5V stepping |
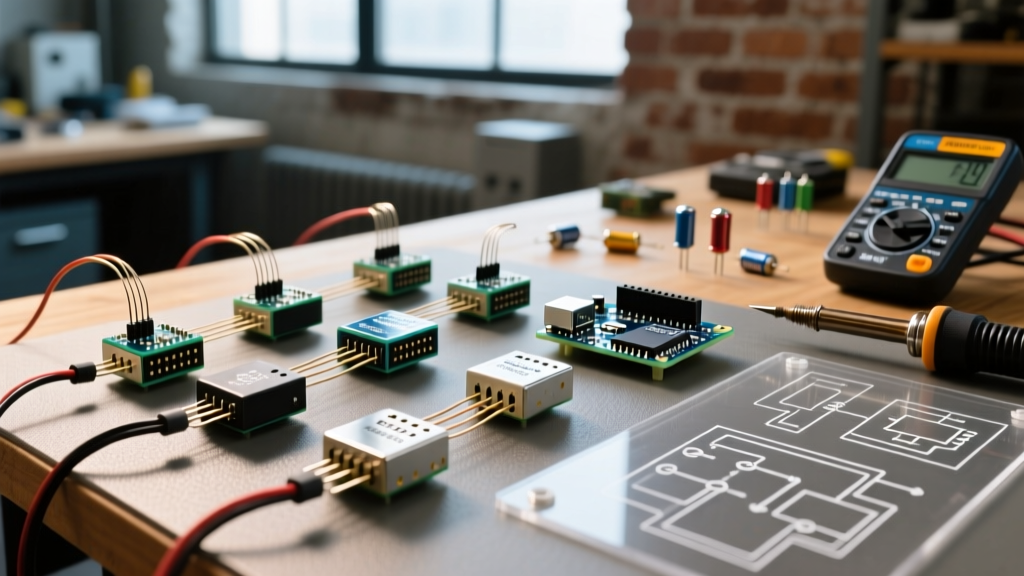
Top Community-Recommended Arduino Power Regulator Modules
1. The Heavy Lifter: MP1584EN Buck Converter
For high-current projects like driving NEMA 17 steppers alongside an Arduino Mega, the community universally champions the MP1584EN. Priced between $2 and $4 for a multi-pack on Amazon or AliExpress, this 3A switching regulator operates from 4.5V to 28V. Unlike the older LM2596 modules that require massive external heatsinks and suffer from fake counterfeit chips, the MP1584EN uses a tiny 3x3mm QFN package with an integrated internal MOSFET. Pro-Tip: Always adjust the potentiometer with a multimeter connected to the output before wiring it to your Arduino's 5V pin. The factory default output is often unpredictable.
2. The Ultra-Compact: Pololu D24V22F5 Step-Down
When PCB real estate is at a premium, the Pololu D24V22F5 is the gold standard. Retailing around $12.95, it delivers a rock-solid 5V at up to 2.2A from an input range of 4.5V to 36V. The community loves this module for custom drone flight controllers and tight robotics enclosures. It features a precision feedback network that keeps output ripple under 30mV, which is critical when reading analog sensors without introducing switching noise into your ADC readings.
3. The Battery Integrator: Adafruit PowerBoost 1000C
For portable, untethered Arduino builds, managing a LiPo battery while maintaining a steady 5V rail is complex. The Adafruit PowerBoost 1000C ($19.95) solves this by combining a 1A boost converter with a LiPo charging circuit and load-sharing logic. If the USB power drops, it seamlessly switches to the battery without brownout resets. This is the go-to board for 2026's portable environmental monitoring stations and wearable tech.
4. The Deep-Sleep LDO: Microchip MCP1700
If your project involves an ESP32 or Arduino Pro Mini waking up every hour to transmit soil moisture data, quiescent current (Iq) is your enemy. Standard buck converters draw 1mA to 5mA just sitting idle. The MCP1700-3302E LDO provides 3.3V with a quiescent current of just 1.6µA. At $0.80 per unit on Mouser, it is the undisputed champion for ultra-low-power IoT nodes where battery life is measured in years, not weeks.
Sizing Your Regulator: Thermal Math & Failure Modes
Before soldering any external regulator, run the thermal math. The formula for power dissipation in a linear regulator is:
P_dissipated = (V_in - V_out) * I_load
Suppose you are using an AMS1117-3.3 to drop 9V to 3.3V for an Arduino Nano drawing 150mA. (9 - 3.3) * 0.15 = 0.855W. A standard SOT-223 package has a thermal resistance (junction-to-ambient) of roughly 50°C/W. The temperature rise will be 0.855 * 50 = 42.75°C above ambient. In a 25°C room, the chip runs at 67.75°C—hot to the touch, but safe. However, if you add a 200mA WiFi shield, the dissipation jumps to 2.28W, causing a 114°C rise, pushing the junction to 139°C and triggering immediate thermal shutdown.
Community Wiring Best Practices & Decoupling
A regulator is only as good as its passive support network. The most common failure mode in DIY power rails isn't the regulator itself, but inadequate decoupling causing high-frequency oscillation.
- Input Capacitance: Always place a 10µF to 22µF ceramic capacitor as close to the regulator's VIN pin as possible. This acts as a local energy reservoir to handle transient current spikes from the Arduino's microcontroller clock cycles.
- Output Capacitance: Most LDOs require a specific ESR (Equivalent Series Resistance) on the output cap to remain stable. Using a low-ESR MLCC without a series resistor can cause an AMS1117 to oscillate wildly. Check the datasheet; if in doubt, use a standard aluminum electrolytic capacitor for the output.
- Trace Width: For a 2A load on a standard 1oz copper PCB, use a trace width calculator to ensure your 5V rail is at least 1.5mm wide to prevent voltage drop and trace heating.
FAQ: Arduino Power Regulation
Can I bypass the onboard regulator and feed 5V directly?
Yes. Feeding a regulated 5V source directly into the Arduino's '5V' pin bypasses the onboard linear regulator entirely. This is highly recommended for high-current projects, provided your external 5V supply is clean and strictly regulated. Never exceed 5.5V on this pin, or you will instantly destroy the ATmega328P.
Why does my switching regulator interfere with my analog sensors?
Switching regulators operate at high frequencies (typically 300kHz to 1.5MHz), creating electromagnetic interference (EMI) and voltage ripple. To fix this, use a Pi-filter (inductor between two capacitors) on the output, or use a two-stage regulation: a buck converter to step down to 6V, followed by a low-noise LDO to drop to 5V.
What is the safest voltage for the Arduino barrel jack?
While rated for 7-12V, the community consensus for optimal thermal performance is 7V to 7.5V. This minimizes the voltage drop across the onboard regulator, drastically reducing heat generation while maintaining stable operation.