
The Evolution of Arduino Pin Architecture
When makers and engineers discuss the pins of arduino boards, they are usually referring to the standardized female headers that have defined the ecosystem since 2005. However, as of 2026, the physical footprint of these headers masks a radical shift in underlying electrical architecture. The transition from legacy 8-bit AVR microcontrollers (like the ATmega328P) to modern 32-bit ARM Cortex-M4 (Renesas RA4M1) and dual-core Xtensa (Espressif ESP32-S3) chips means that pin compatibility is no longer just about physical alignment—it is about voltage tolerances, peripheral mapping, and current sourcing limits.
This compatibility guide dissects the electrical and logical realities of modern Arduino pinouts, ensuring your shields, sensors, and custom PCBs survive the migration from legacy boards to contemporary powerhouses.
Voltage Tolerances: The 5V vs 3.3V Logic Divide
The most critical failure point when migrating sketches and shields between different Arduino boards is logic level voltage. Misunderstanding the operating voltage of specific pins will result in immediate, catastrophic silicon failure.
The 5V Legacy Standard
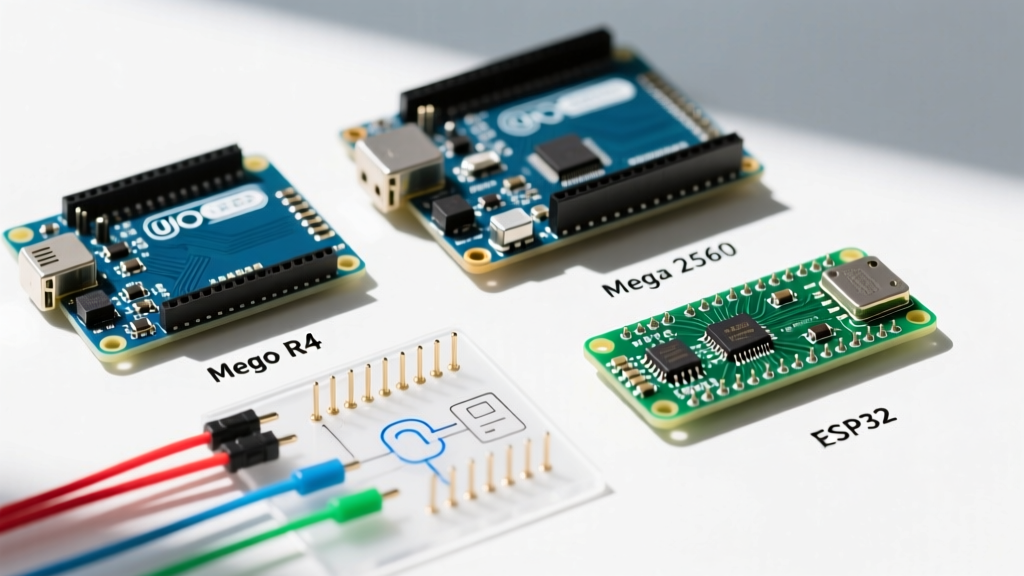
Boards like the Arduino Uno R3 and Arduino Mega 2560 Rev3 operate at a native 5V logic level. Their GPIO pins recognize anything above 3.0V as a HIGH signal and output a solid 5V when set HIGH. This makes them highly compatible with legacy TTL components, standard LCD character displays, and older relay modules.
The 3.3V Modern Reality
Modern boards, particularly those integrating Wi-Fi and Bluetooth, operate at 3.3V. The Arduino Nano ESP32 (priced around $26.00) utilizes the ESP32-S3 chip, which has an absolute maximum GPIO voltage rating of 3.6V. Feeding a 5V signal from a sensor into a Nano ESP32 digital pin will permanently destroy the microcontroller's input buffer.
Expert Warning: Never assume physical pin placement dictates electrical compatibility. A 5V ultrasonic sensor plugged into the D2 pin of an Uno R3 is perfectly safe. That exact same sensor plugged into D2 on a Nano ESP32 will fry the ESP32-S3 silicon instantly. Always use a bidirectional logic level shifter (like the TI TXS0108E or NXP NXS0108) when bridging 5V and 3.3V domains.
For a deeper understanding of how to safely bridge these voltage domains, consult the comprehensive SparkFun Logic Levels Tutorial, which details the exact threshold voltages and level-shifting topologies required for mixed-voltage maker projects.
The Uno R4 Minima: A Hybrid Approach
The Arduino Uno R4 Minima ($17.50) features a unique architectural compromise. While the Renesas RA4M1 MCU natively operates at 3.3V, the board includes dedicated hardware level-shifting circuitry on the digital I/O pins to maintain 5V tolerance and output 5V logic, preserving compatibility with decades of Uno shields. However, the analog pins and specific peripheral headers operate strictly at 3.3V. You can verify these hardware specifics in the official Arduino Uno R4 Minima Documentation.
Pin Mapping and Peripheral Compatibility Matrix
To assist in hardware selection and sketch migration, refer to the 2026 compatibility matrix below. This table highlights the severe limitations you may encounter when moving from a Mega to a Nano form factor.
| Board Model | Core MCU | Digital I/O | PWM Pins | Analog Inputs | Native Logic Level | Approx. Price (2026) |
|---|---|---|---|---|---|---|
| Uno R3 | ATmega328P | 14 | 6 | 6 (10-bit) | 5V | $27.50 |
| Uno R4 Minima | Renesas RA4M1 | 14 | 6 | 6 (14-bit) | 5V (Digital) / 3.3V (Analog) | $17.50 |
| Mega 2560 Rev3 | ATmega2560 | 54 | 15 | 16 (10-bit) | 5V | $45.00 |
| Nano ESP32 | ESP32-S3 | 14 | 14 (LEDC) | 8 (12-bit) | 3.3V | $26.00 |
| Nano Every | ATmega4809 | 14 | 5 | 8 (10-bit) | 5V | $20.50 |
Peripheral Pin Mapping: I2C, SPI, and UART
Beyond basic digital reads and writes, the pins of arduino boards handle complex hardware communication protocols. The physical location of these protocol pins varies wildly across form factors, causing massive headaches for shield compatibility.
I2C (Inter-Integrated Circuit) Variations
On the classic Uno R3 and Uno R4, the I2C bus (SDA and SCL) is mapped to analog pins A4 and A5, respectively. However, to support modern Qwiic and STEMMA QT connectors, the Uno R4 also breaks out a dedicated 4-pin I2C header. If you are migrating to the Arduino Mega 2560, the I2C pins are physically relocated to Digital 20 (SDA) and Digital 21 (SCL). Shields designed for the Uno that hardwire I2C to A4/A5 will fail to communicate on a Mega without physical jumper wire modifications. Full Mega pinout details are available in the Arduino Mega 2560 Documentation.
Hardware SPI (Serial Peripheral Interface)
Hardware SPI is essential for high-speed peripherals like TFT displays and SD card modules.
- Uno Form Factor: MOSI (11), MISO (12), SCK (13), SS (10).
- Mega Form Factor: MOSI (51), MISO (50), SCK (52), SS (53). Note that the Mega also duplicates these SPI pins on the 6-pin ICSP header, which is why modern TFT shields use the ICSP header to maintain cross-compatibility between Uno and Mega boards.
- Nano ESP32: SPI pins are highly flexible and can be mapped to almost any GPIO via the software matrix, but default hardware SPI typically utilizes D11 (MOSI), D12 (MISO), and D13 (SCK).
Edge Cases and Hardware Failure Modes
Even with correct voltage levels, developers frequently encounter edge cases when manipulating specific pins. Avoid these common pitfalls:
- The Onboard LED Conflict: On almost all Uno and Nano boards, Digital Pin 13 is tied to the onboard status LED. If you use Pin 13 as an input with `INPUT_PULLUP`, the internal pull-up resistor interacts with the LED circuitry, resulting in a floating voltage of roughly 1.7V instead of a solid 5V HIGH. Never use Pin 13 for critical digital inputs.
- Analog Pins as Digital I/O: While A0-A5 can be used as digital pins (addressed as 14-19 on the Uno), they lack hardware PWM capabilities. Attempting to use `analogWrite()` on A0 will simply result in a binary HIGH/LOW output, not a PWM wave.
- Interrupt Limitations: The `attachInterrupt()` function only works on specific hardware interrupt pins. On the Uno R3/R4, these are strictly Pins 2 and 3. On the Mega 2560, you have access to Pins 2, 3, 18, 19, 20, and 21. Attempting to attach an interrupt to Pin 4 on an Uno will silently fail or cause compilation errors depending on the core version.
- Current Sourcing Limits: The ATmega328P absolute maximum current per I/O pin is 40mA, but the recommended continuous draw is 20mA. The ESP32-S3 on the Nano ESP32 is even more restrictive; drawing more than 15mA per pin risks brownouts and thermal throttling. Always use a MOSFET (like the IRLZ44N) or a BJT transistor to drive loads exceeding 10mA.
Real-World Migration: Upgrading to the Uno R4
If you are upgrading a legacy project from an Uno R3 to an Uno R4 Minima, the physical pins of arduino headers will accept your old shields seamlessly. However, you must audit your code for direct port manipulation. Code that directly writes to AVR registers (e.g., `PORTB |= (1 << 5);`) will fail to compile on the R4's ARM Cortex-M4 architecture. You must refactor these instances to use standard `digitalWriteFast()` libraries or the Renesas FSP (Flexible Software Package) HAL equivalents.
Frequently Asked Questions (FAQ)
Can I safely power a 5V sensor from the 3.3V pin on an Arduino?
No. The 3.3V pin on most Arduino boards is supplied by an onboard linear regulator (like the LP2985 or NCP1117) that is typically limited to 150mA or less. If your sensor requires significant current (e.g., a 5V relay module or a high-brightness LED strip), drawing it from the 3.3V or 5V pins will overheat the onboard regulator. Power high-draw peripherals directly from an external buck converter.
Why do my I2C devices fail on the Arduino Nano ESP32 but work on the Uno?
I2C requires pull-up resistors on the SDA and SCL lines. The Uno R3 relies on the internal pull-ups of the ATmega328P or the pull-ups provided by the sensor shield. The ESP32-S3 has much weaker internal pull-ups and operates at 3.3V. If your sensor shield expects 5V I2C logic, the 3.3V HIGH signal from the Nano ESP32 may not cross the sensor's logic threshold. Add external 4.7kΩ pull-up resistors to 3.3V to stabilize the bus.
Are the analog pins on the Mega 2560 5V tolerant?
Yes, the analog inputs on the Mega 2560 (A0 through A15) are tied to the 5V VCC reference of the ATmega2560. Feeding them up to 5V is safe and will yield a maximum `analogRead()` value of 1023. However, never exceed 5.5V, or you will destroy the ADC multiplexer.