
The Anatomy of an Arduino Potentiometer: Beyond Basic Knobs
At its core, a potentiometer (often called a 'pot') is a three-terminal electromechanical device that acts as an adjustable voltage divider. While beginners often treat the Arduino potentiometer as a simple dial for LED brightness, advanced makers and engineers use it for precise robotic joint feedback, MIDI controller interfaces, and analog sensor calibration. Understanding the underlying physics, hardware tolerances, and Analog-to-Digital Converter (ADC) bottlenecks is the difference between a jittery, unreliable prototype and a production-ready interface.
According to the SparkFun Voltage Divider Tutorial, the wiper pin outputs a voltage proportional to its physical position along the resistive track. The formula governing this is straightforward: Vout = Vin × (R2 / (R1 + R2)). However, real-world implementation introduces contact resistance, thermal noise, and ADC quantization errors that must be managed.
Linear vs. Logarithmic Tapers: Choosing the Right Track
One of the most common mistakes in MCU integration is selecting the wrong taper. Potentiometers are manufactured with different resistance curves, denoted by prefix letters on the component casing.
- Linear Taper (B-Series, e.g., B10K): The resistance changes at a constant rate relative to the shaft rotation. This is mandatory for Arduino analog inputs where you need a 1:1 correlation between physical angle and digital mapping (e.g., steering a servo from 0° to 180°).
- Logarithmic/Audio Taper (A-Series, e.g., A10K): The resistance changes exponentially. This is designed for human hearing perception (volume knobs). If you wire an A10K pot to an Arduino for positional feedback, the first 70% of your physical turn will yield only 20% of your ADC range, rendering precision control impossible.
2026 Hardware Selection Matrix
Selecting the right component depends on your lifecycle requirements and budget. Below is a comparison of industry-standard potentiometers used in modern maker and prototyping environments:
| Model / Series | Type | Taper | Tolerance | Rotational Life | Est. Price (2026) |
|---|---|---|---|---|---|
| Bourns 3386P | Cermet Trimmer | Linear (B) | ±10% | 200 cycles | $0.95 |
| Alps RK09K | Rotary Audio | Log (A) | ±20% | 100,000 cycles | $2.85 |
| TT Electronics P160 | Conductive Plastic | Linear (B) | ±5% | 1,000,000 cycles | $8.50 |
| Bourns PTV09A | Carbon Rotary | Linear (B) | ±20% | 15,000 cycles | $1.10 |
Expert Tip: For high-cycle applications like RC transmitter gimbals, always invest in conductive plastic (like the TT Electronics P160). Cermet trimmers will develop dead spots and infinite resistance spikes after a few hundred adjustments.
Wiring the Arduino Potentiometer: The 3.3V Trap
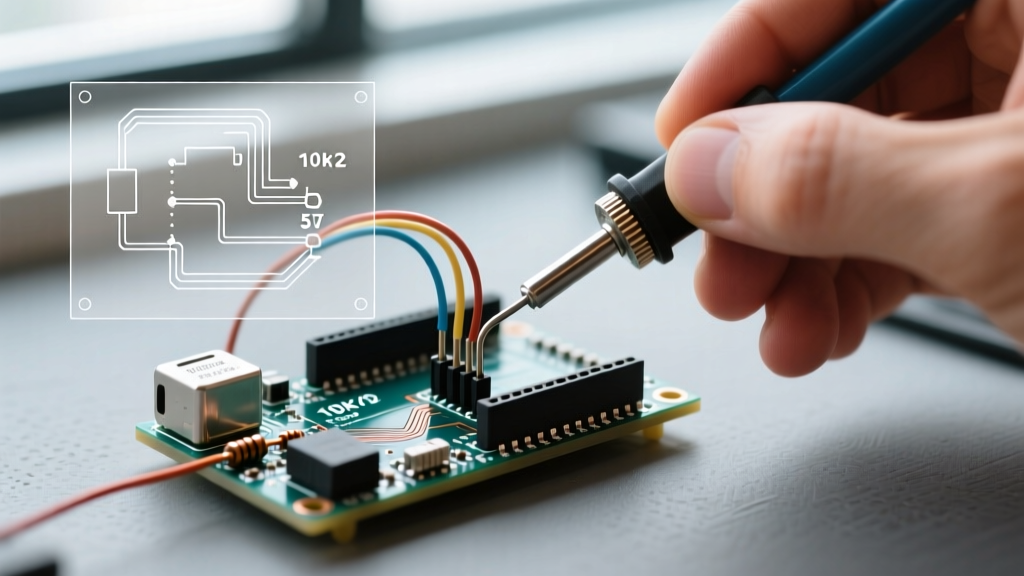
Wiring a standard 10kΩ linear potentiometer to an Arduino Uno R3 (5V logic) is trivial: Pin 1 to 5V, Pin 3 to GND, and the Wiper (Pin 2) to A0. However, the modern maker ecosystem has heavily shifted toward 3.3V logic boards like the Arduino Nano 33 IoT, Arduino Uno R4 Minima, and ESP32-based MCUs.
Critical Warning: Never power a potentiometer with 5V if your microcontroller's ADC pins are strictly 3.3V tolerant. If the wiper is turned past the 66% mark, the voltage will exceed 3.3V, potentially permanently damaging the internal ADC multiplexer of chips like the ESP32-S3 or SAMD21. Always tie the pot's VCC to the board's 3.3V output.
For the most stable readings, reference the Arduino Analog Pins Documentation, which recommends using a dedicated, clean voltage reference (VREF) rather than the main USB power rail, which is often polluted with high-frequency switching noise from onboard buck converters.
The ADC Bottleneck: Why Your Readings Jitter
The standard ATmega328P (found in the classic Uno) features a 10-bit ADC. This means it maps the 0-5V range into 1024 discrete steps (0 to 1023). Each step represents roughly 4.88mV. Even with a high-quality Bourns 3386 Trimmer, you will notice the serial monitor jumping between values (e.g., 512, 513, 511) when the knob is held perfectly still.
This jitter is caused by three factors:
- Thermal Noise: Inherent Johnson-Nyquist noise in the resistive carbon/cermet track.
- Contact Resistance: Microscopic variations in the pressure between the wiper and the track.
- Quantization Error: The ADC sampling capacitor charging/discharging inconsistencies.
Solving Jitter with an Exponential Moving Average (EMA)
Beginners often use a simple `delay(50)` or read the pin 10 times and average it. Both are inefficient and block the main loop. The professional approach is implementing an Exponential Moving Average (EMA) filter in C++. This requires minimal memory and reacts instantly to fast turns while filtering out static noise.
// EMA Filter for Arduino Potentiometer Smoothing
const int potPin = A0;
float alpha = 0.05; // Smoothing factor (lower = smoother but more latency)
float smoothedVal = 0;

void setup() {
  Serial.begin(115200);
  analogReadResolution(10); // Explicitly set for boards like Uno R4 / ESP32
  smoothedVal = analogRead(potPin); // Initialize with first reading
}

void loop() {
  int rawReading = analogRead(potPin);

  // EMA Calculation
  smoothedVal = (alpha * rawReading) + ((1.0 - alpha) * smoothedVal);

  // Map to a usable 0-255 PWM range without jitter
  int mappedOutput = map((int)smoothedVal, 0, 1023, 0, 255);

  Serial.print("Raw: ");
  Serial.print(rawReading);
  Serial.print(" | Smoothed: ");
  Serial.println(mappedOutput);
}
Real-World Failure Modes and Troubleshooting
When an Arduino potentiometer circuit fails in the field, it rarely happens catastrophically. Instead, it degrades. Here is how to diagnose the most common edge cases:
1. Wiper Oxidation and 'Dead Spots'
If your serial monitor suddenly drops to `0` or spikes to `1023` in the middle of a rotation, the wiper has lost physical contact with the track. In carbon-track pots, this is caused by dust or oxidation. Fix: Inject a small amount of DeoxIT D5 contact cleaner into the casing and rotate the shaft 50 times to burnish the track. If it is a sealed cermet trimmer, replace the component.
2. Ground Loop Interference
If your potentiometer is mounted on a metal chassis alongside DC motors or relays, the metal casing of the pot may act as an antenna for Electromagnetic Interference (EMI). This induces wild voltage spikes on the wiper pin. Fix: Ensure the pot's metal housing is tied to a clean, star-grounded analog ground plane, completely isolated from the high-current motor ground return paths.
3. The 'Floating Pin' Phenomenon
If you disconnect the VCC or GND wire from the potentiometer while the wiper is still connected to the Arduino analog pin, the pin becomes 'floating.' It will pick up ambient 50/60Hz mains hum from your body and surrounding wiring, resulting in random, chaotic ADC values. Always verify continuity on all three terminals with a multimeter before uploading your sketch.
Final Calibration Strategies
Because manufacturing tolerances on standard B10K pots can be as wide as ±20%, the physical 'zero' and 'max' points rarely align perfectly with 0 and 1023. For precision instruments, implement a software calibration routine in your setup sequence. Prompt the user to turn the knob to its physical minimum and maximum limits upon boot, store those raw ADC values in the EEPROM, and use them as the dynamic bounds for your `map()` function. This guarantees that your Arduino potentiometer interface remains perfectly calibrated, regardless of component age, temperature drift, or mechanical wear.