
Understanding the Arduino and RGB LED Connection
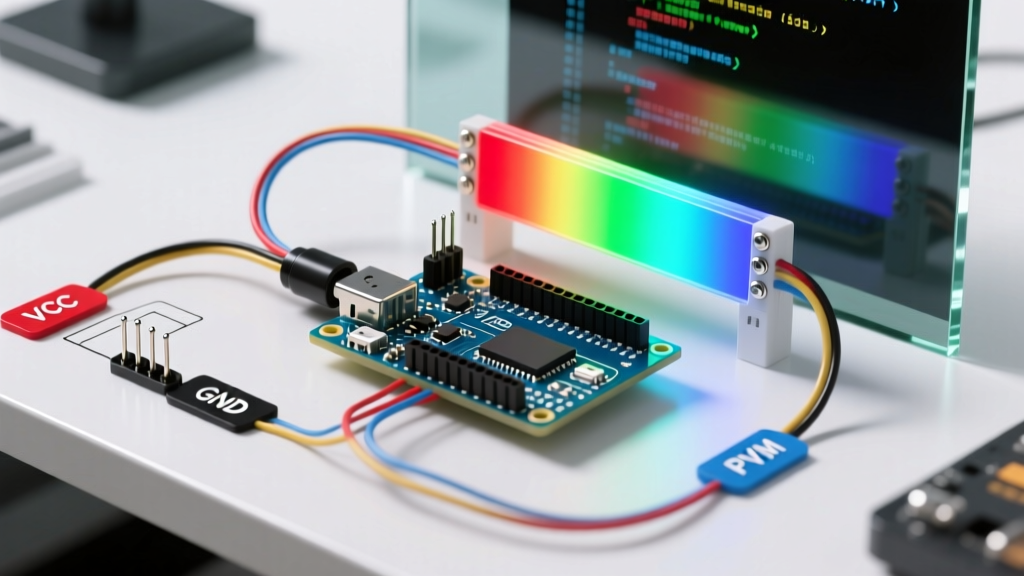
When makers first explore the intersection of Arduino and RGB LED technology, they are often captivated by the ability to generate millions of colors from a single 5mm epoxy component. Unlike standard single-color light-emitting diodes, an RGB LED packages three distinct semiconductor dies—Red, Green, and Blue—into one unified housing. By manipulating the intensity of each individual die, you can leverage additive color mixing to produce everything from deep magentas to crisp cyans.
However, transitioning from a basic blinking LED to smooth, full-spectrum color mixing requires a firm grasp of hardware wiring, forward voltage disparities, and Pulse Width Modulation (PWM). In this comprehensive guide, we will dissect the anatomy of RGB LEDs, expose a critical wiring trap that ruins color accuracy, and provide production-ready C++ code for seamless color fading.
Anatomy: Common Cathode vs. Common Anode
Before connecting any wires to your microcontroller, you must identify the internal topology of your specific RGB LED. The standard 4-pin DIP package contains three anodes and one cathode, or three cathodes and one anode. The longest pin is always the common terminal, but its polarity dictates how you write your firmware and wire your current-limiting resistors.
| Feature | Common Cathode (CC) | Common Anode (CA) |
|---|---|---|
| Common Pin Connection | Ground (GND) | 5V (or 3.3V VCC) |
| Logic to Turn ON | HIGH (PWM 255) | LOW (PWM 0) |
| Logic to Turn OFF | LOW (PWM 0) | HIGH (PWM 255) |
| Code Adjustment | Direct analogWrite() |
Inverted 255 - value |
According to the Adafruit RGB LED Guide, Common Cathode variants are generally preferred for beginners and standard 5V Arduino Uno setups because the mental model of 'Higher PWM Value = Brighter Light' aligns directly with the code.
The 'Single Resistor' Trap: A Critical Design Flaw
If you search for basic Arduino and RGB LED tutorials, you will frequently encounter a schematic that places a single 220-ohm resistor on the common pin (either the shared cathode or shared anode) to save components. Do not do this.
Expert Warning: Using a single shared resistor causes 'current hogging' and dynamic color shifting. Because the Red die has a lower forward voltage (~2.0V) than the Green and Blue dies (~3.2V), the red channel will dominate the current draw. Furthermore, as you PWM one channel, the total current through the shared resistor changes, altering the voltage drop and causing the other active channels to visibly flicker or shift in hue.
To achieve true, independent color mixing, you must use three separate resistors—one for each color channel pin. This isolates the current paths and ensures that adjusting the blue channel has zero electrical impact on the red or green channels.
Calculating Exact Resistor Values
Because the forward voltages ($V_f$) differ across the internal dies, using three identical resistors will result in uneven brightness. We must apply Ohm's Law ($R = (V_{cc} - V_f) / I$) to calculate the exact resistance required for a target current of 20mA ($0.02A$) on a standard 5V Arduino Uno.
Red Channel Calculation
- $V_{cc}$ = 5.0V
- $V_f$ (Red) = 2.0V
- Target $I$ = 0.02A
- $R = (5.0 - 2.0) / 0.02 = 150\Omega$
Green and Blue Channel Calculation
- $V_{cc}$ = 5.0V
- $V_f$ (Green/Blue) = 3.2V
- Target $I$ = 0.02A
- $R = (5.0 - 3.2) / 0.02 = 90\Omega$ (Use the standard 100\Omega resistor)
By using a 150-ohm resistor for Red and 100-ohm resistors for Green and Blue, you normalize the luminous intensity across all three dies, providing a clean baseline for software color mixing.
PWM Frequencies and Pin Selection
To mix colors, we rely on Pulse Width Modulation. The Arduino analogWrite() reference outlines how this function rapidly toggles the pin between HIGH and LOW to simulate an analog voltage. However, not all PWM pins are created equal.
On the classic ATmega328P-based Arduino Uno, pins 5 and 6 operate at a PWM frequency of 980 Hz, while pins 3, 9, 10, and 11 operate at 490 Hz. Why does this matter? If you are using your RGB LED in an environment with cameras or optical sensors, the 490 Hz frequency can cause visible banding or flickering on video feeds. For the smoothest visual output, especially in wearable tech or stage props, route your RGB channels to pins 9, 10, and 11 to maintain a uniform 490 Hz baseline, or migrate to an ESP32-S3 which utilizes the LEDC peripheral to allow custom frequency mapping up to 5000 Hz, completely eliminating camera flicker.
Writing the Color Mixing Code
Below is an optimized C++ snippet for a Common Cathode RGB LED. Instead of hardcoding analogWrite calls repeatedly, we use a struct to define color profiles and a dedicated function to handle the PWM output. This modular approach is essential for larger MCU projects.
// Pin definitions for Common Cathode RGB LED
const int PIN_RED = 9;
const int PIN_GREEN = 10;
const int PIN_BLUE = 11;

// Struct to hold RGB values
struct Color {
  byte r;
  byte g;
  byte b;
};

// Pre-defined color palette
Color MAGENTA = {255, 0, 255};
Color CYAN = {0, 255, 255};
Color WARM_WHITE = {255, 147, 41}; // Compensates for LED phosphor differences

void setup() {
  pinMode(PIN_RED, OUTPUT);
  pinMode(PIN_GREEN, OUTPUT);
  pinMode(PIN_BLUE, OUTPUT);
}

void setColor(Color c) {
  analogWrite(PIN_RED, c.r);
  analogWrite(PIN_GREEN, c.g);
  analogWrite(PIN_BLUE, c.b);
}

void loop() {
  setColor(MAGENTA);
  delay(1000);
  setColor(CYAN);
  delay(1000);
  setColor(WARM_WHITE);
  delay(1000);
}
Advanced Troubleshooting and Edge Cases
Even with perfect wiring, makers integrating an Arduino and RGB LED into complex circuits often encounter specific failure modes. Here is how to diagnose and resolve them:
1. The 'Muddy' Color Shift
If your white light looks slightly pink or green, your LED suffers from unequal luminous efficacy. The human eye is highly sensitive to green light. To fix this, do not alter your hardware resistors; instead, apply a software gamma correction curve or manually reduce the green PWM value by 15-20% in your setColor() function to achieve a perceptually pure white.
2. Logic Level Mismatches on 3.3V Boards
If you upgrade from a 5V Arduino Uno to a 3.3V board like the Raspberry Pi Pico or an ESP32, you will face a voltage deficit. A 3.3V logic HIGH is often insufficient to fully overcome the 3.2V forward voltage of the Blue and Green dies, resulting in a dim or completely unlit blue channel. Solution: Use a logic level shifter (like the TI TXB0104) or drive the RGB LED using N-channel MOSFETs (e.g., 2N7000) where the 3.3V MCU switches the gate, and a separate 5V rail powers the LEDs.
3. Voltage Drop on Long Wire Runs
When deploying RGB LEDs in architectural lighting or large dioramas, running 22 AWG wire over distances greater than 2 meters introduces resistance. This voltage drop lowers the $V_{cc}$ reaching the LED, disproportionately killing the Blue and Green channels first due to their higher $V_f$ requirements. Always inject power at the LED end of the wire run, or step up to 12V RGB LED strips driven by high-power MOSFETs for runs exceeding 3 meters.
For a deeper dive into how microcontrollers simulate analog signals to drive these components, review the SparkFun PWM Tutorial, which breaks down the timer registers governing these outputs.
Summary
Mastering the Arduino and RGB LED combination requires moving beyond basic copy-paste schematics. By respecting the forward voltage differences, utilizing independent current-limiting resistors, and understanding the underlying PWM timer frequencies of your specific microcontroller, you unlock the ability to create precise, flicker-free, and vibrant lighting systems. Whether you are building a custom macro keyboard with under-glow or an interactive art installation, these foundational hardware and software principles will ensure your colors remain accurate and your circuits remain safe.