
Why the DFPlayer Mini is the Gold Standard for Arduino Audio
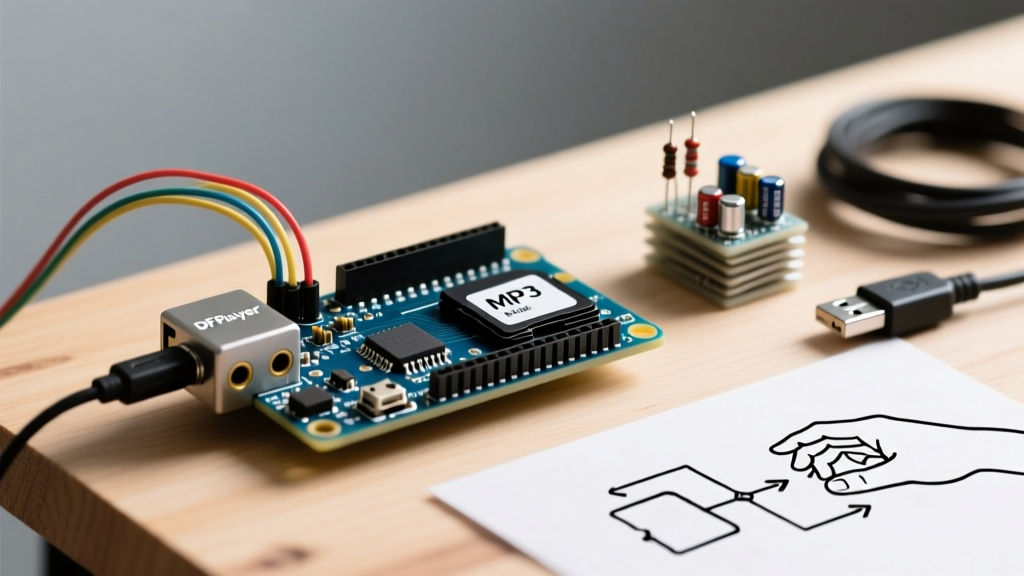
Integrating high-quality audio into microcontroller projects has historically been a bottleneck. Attempting to generate audio via PWM or basic DAC outputs consumes massive amounts of SRAM, limits you to low-bitrate WAV files, and hogs CPU cycles. If you want your Arduino play MP3 capabilities without sacrificing processing power for your main application logic, the DFPlayer Mini (MP3-TF-16P) remains the undisputed champion in the maker community.
The DFPlayer Mini is a compact, low-cost serial MP3 module that offloads audio decoding to its dedicated onboard SoC. In 2026, while the market is flooded with various clone chipsets (like the GD3200B, MH2024K, and JieLi variants), the core serial command architecture remains largely compatible. This tutorial provides a deep-dive, expert-level guide to wiring, SD card preparation, and C++ implementation to ensure your audio project works on the first try.
Hardware Bill of Materials (BOM) & 2026 Pricing
Before wiring, ensure you have the correct components. Using an under-specced speaker or the wrong SD card format accounts for 90% of beginner failures.
| Component | Specification / Model | Est. 2026 Price |
|---|---|---|
| Microcontroller | Arduino Uno R3 or Nano (ATmega328P) | $12.00 - $18.00 |
| MP3 Module | DFPlayer Mini (MP3-TF-16P) | $1.50 - $3.50 |
| Storage | MicroSD Card (8GB - 32GB, Class 10) | $5.00 - $8.00 |
| Speaker | 8-Ohm 1W to 3W Cavity Speaker | $1.50 - $3.00 |
| Resistor | 1K Ohm (1/4W) & 10K Ohm Pull-down | < $0.10 |
| Amplifier (Optional) | PAM8403 5V Class-D Amp Board | $1.00 - $2.00 |
The Logic Level Shift Problem: Do Not Skip the 1K Resistor
The most critical hardware detail often missed in basic tutorials is the voltage mismatch. The Arduino Uno operates at 5V logic, while the DFPlayer Mini's RX/TX serial pins are strictly 3.3V tolerant.
Expert Warning: Feeding 5V directly into the DFPlayer Mini's RX pin will slowly degrade the internal ESD protection diodes of the YX5200 or GD3200B chip. Over time, this leads to serial command corruption, random track skipping, and eventual module death. You must place a 1K Ohm resistor in series on the Arduino TX to DFPlayer RX line.
Step-by-Step Wiring Pinout
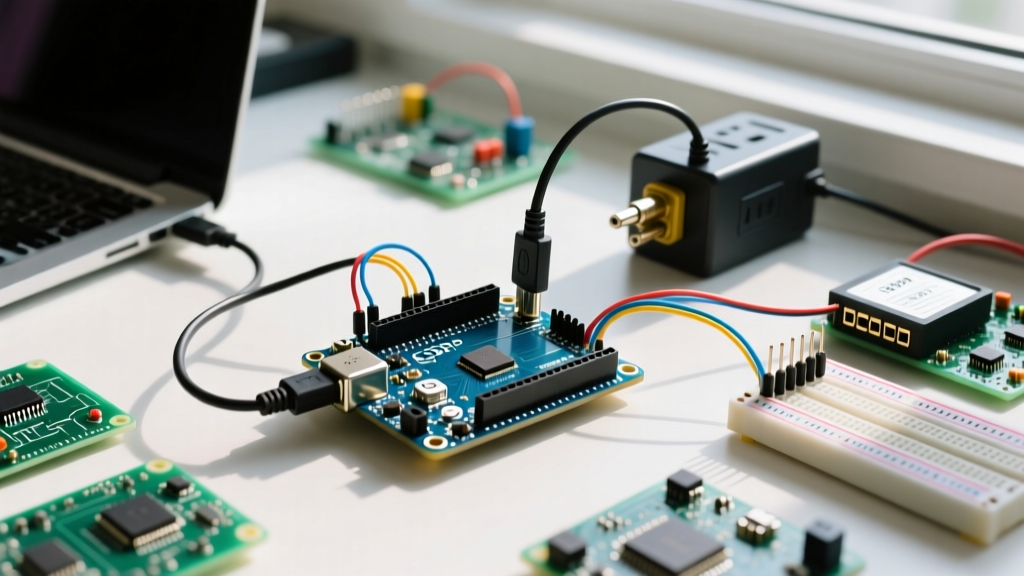
Use software serial to communicate with the module, leaving the hardware serial (pins 0 and 1) free for debugging via the Arduino IDE Serial Monitor. Connect your speaker directly to the SPK_1 and SPK_2 pins for up to 3W of mono output.
| DFPlayer Mini Pin | Arduino Uno Pin | Notes & Requirements |
|---|---|---|
| VCC | 5V | Provides power; module draws ~20mA idle, up to 250mA peak. |
| GND | GND | Common ground is mandatory for serial stability. |
| RX | Pin 11 (via 1K Resistor) | Steps down 5V logic to safe 3.3V levels. |
| TX | Pin 10 | Direct connection (3.3V out is read as HIGH by 5V Arduino). |
| SPK_1 | Speaker (+) | Do not connect to Arduino GND; this is a floating amp output. |
| SPK_2 | Speaker (-) | Do not connect to Arduino GND. |
| IO_1 | (Optional) Button | Direct trigger for previous track (active low). |
| IO_2 | (Optional) Button | Direct trigger for next track (active low). |
SD Card Preparation: The Hidden Trap
The DFPlayer Mini does not read standard directory structures the way a PC does. It relies on a strict, legacy FAT architecture and specific naming conventions. According to the SD Association formatting guidelines, modern cards default to exFAT, which the DFPlayer cannot read.
- Format to FAT32: Use the official SD Memory Card Formatter. Ensure the allocation unit size (cluster size) is set to 32KB or 64KB. Maximum supported capacity is 32GB.
- Create Numbered Folders: If you have multiple categories of audio, create folders named exactly
01,02,03, up to99. The module ignores folder text names; it only reads the two-digit prefix. - Name Files Sequentially: Inside folder
01, name your files001.mp3,002.mp3, etc. You can append text after the number (e.g.,001_intro_music.mp3), but the three-digit prefix is mandatory for the serialplay()command to work. - Avoid Hidden Files: macOS and Windows often inject hidden index files (like
.DS_StoreorSystem Volume Information). These can shift the internal file allocation table, causing the DFPlayer to play the wrong track. Use a hidden file cleaner before ejecting the card.
Software Implementation: DFRobot Library
To handle the complex serial checksums required by the module, we use the official library. Install the DFRobotDFPlayerMini library via the Arduino IDE Library Manager. For serial communication, we leverage the Arduino SoftwareSerial library.
Core C++ Code Structure
#include <SoftwareSerial.h>
#include <DFRobotDFPlayerMini.h>

SoftwareSerial mySoftwareSerial(10, 11); // RX, TX
DFRobotDFPlayerMini myDFPlayer;

void setup() {
  mySoftwareSerial.begin(9600);
  Serial.begin(115200);

  Serial.println(F("Initializing DFPlayer..."));

  // Timeout after 3 seconds if module doesn't respond
  if (!myDFPlayer.begin(mySoftwareSerial, true, true)) {
    Serial.println(F("Unable to begin: Check wiring and SD card!"));
    while(true);
  }

  Serial.println(F("DFPlayer Mini online."));
  myDFPlayer.volume(15);  // Set volume (0 to 30)
  myDFPlayer.EQ(DFPLAYERMINI_EQ_NORMAL);
}

void loop() {
  // Play the first file in folder 01
  myDFPlayer.play(1);
  delay(5000); // Wait 5 seconds before sending next command

  // Play specific file: Folder 02, File 003
  myDFPlayer.playLargeFolder(2, 3);
  delay(10000);
}
Understanding the JieLi (JL) Clone Chipset Delay
If you purchased a batch of DFPlayer Minis in 2025 or 2026, you likely received modules with the JL (JieLi) or MH2024K chipset rather than the original YX5200. These clones have a smaller internal serial buffer. If you send commands back-to-back without a delay, the module will drop packets and freeze. Always insert a minimum delay(100); between any two myDFPlayer function calls.
Troubleshooting Common Failure Modes
Even with perfect wiring, edge cases occur. Use this diagnostic matrix to resolve anomalous behavior.
| Symptom | Root Cause | Expert Solution |
|---|---|---|
| Loud 'POP' sound on power-up | DC offset spike from the onboard DAC initializing. | Solder a 10K pull-down resistor from DAC_R and DAC_L to GND, or route audio through a PAM8403 amp with a hardware mute pin. |
| Module plays track 2 instead of track 1 | Hidden OS files shifted the FAT32 allocation index. | Format SD card using SD Formatter, disable hidden files, and re-copy MP3s one by one. |
| 'Unable to begin' in Serial Monitor | Missing 1K resistor or reversed TX/RX lines. | Verify Arduino Pin 11 goes to DFPlayer RX via 1K resistor. Verify Arduino Pin 10 goes directly to DFPlayer TX. |
| Audio cuts out at high volume | Arduino 5V regulator browning out due to current draw. | Power the DFPlayer VCC pin directly from a 5V USB power bank or external buck converter, sharing only GND with the Arduino. |
Advanced Integration: Reading the 'Busy' Pin
In complex interactive installations, you cannot rely on arbitrary delay() functions to know when a sound effect finishes. The DFPlayer Mini features a BUSY pin (Pin 16). This pin outputs LOW when audio is playing and HIGH when idle. By wiring the BUSY pin to an Arduino digital input (e.g., Pin 4) and using digitalRead(4), your main loop can execute state-machine logic, triggering LEDs or motors exactly when the audio track concludes, ensuring perfect synchronization without blocking code.
For further hardware specifications and command hex codes, refer to the official DFRobot DFPlayer Mini Wiki. Mastering this module unlocks the ability to build everything from retro arcade soundboards to interactive museum exhibits with crystal-clear, reliable audio playback.