
Why HardwareSerial Outperforms SoftwareSerial
When engineering complex IoT gateways, robotics controllers, or multi-sensor telemetry hubs, relying on SoftwareSerial is a common architectural mistake that inevitably leads to dropped packets, CPU lockups, and timing jitter. The arduino hardwareserial class leverages dedicated Universal Asynchronous Receiver-Transmitter (UART) silicon integrated directly into the microcontroller. Unlike software-based bit-banging—which requires the CPU to halt other tasks to sample RX pins via timer interrupts—hardware UART handles serial-to-parallel conversion autonomously via shift registers and DMA (Direct Memory Access) on advanced architectures.
At standard baud rates like 9600, software emulation might suffice for a single GPS module. However, at 115,200 baud, a single byte takes exactly 86.8 microseconds to transmit. If your MCU is busy polling a SoftwareSerial port while simultaneously handling I2C sensor interrupts, you will experience framing errors and buffer overflows. By utilizing HardwareSerial, the microcontroller's UART peripheral handles the start bits, data bits, parity, and stop bits in the background, triggering an interrupt only when the byte is fully assembled in the receive register.
Hardware UART Pin Mapping Matrix
Before wiring your peripherals, you must map the physical TX/RX pins to the correct HardwareSerial objects. While 8-bit AVR boards feature fixed pin mappings, modern 32-bit architectures like the ESP32 utilize a GPIO matrix, allowing you to route UART signals to almost any digital pin. Below is the default mapping for the most common multi-serial development boards used in 2026.
| Microcontroller Board | Serial (USB/Debug) | Serial1 (Hardware UART 1) | Serial2 (Hardware UART 2) | Serial3 (Hardware UART 3) |
|---|---|---|---|---|
| Arduino Mega 2560 Rev3 | 0 (RX) / 1 (TX) | 19 (RX) / 18 (TX) | 17 (RX) / 16 (TX) | 15 (RX) / 14 (TX) |
| ESP32-WROOM-32E | 3 (RX) / 1 (TX) | 16 (RX) / 17 (TX)* | 16 (RX) / 17 (TX)* | N/A (Use UART Matrix) |
| Teensy 4.1 (ARM Cortex-M7) | 0 (RX) / 1 (TX) | 0 (RX) / 1 (TX) | 7 (RX) / 8 (TX) | 15 (RX) / 14 (TX) |
*Note: ESP32 UART1 defaults to pins 9/10, which are often reserved for internal SPI flash on WROOM modules. Always remap UART1 and UART2 to safe GPIOs (e.g., 16/17 and 22/23) during initialization.
Step-by-Step: Wiring Multiple UART Peripherals
1. Voltage Translation (5V vs 3.3V Logic)
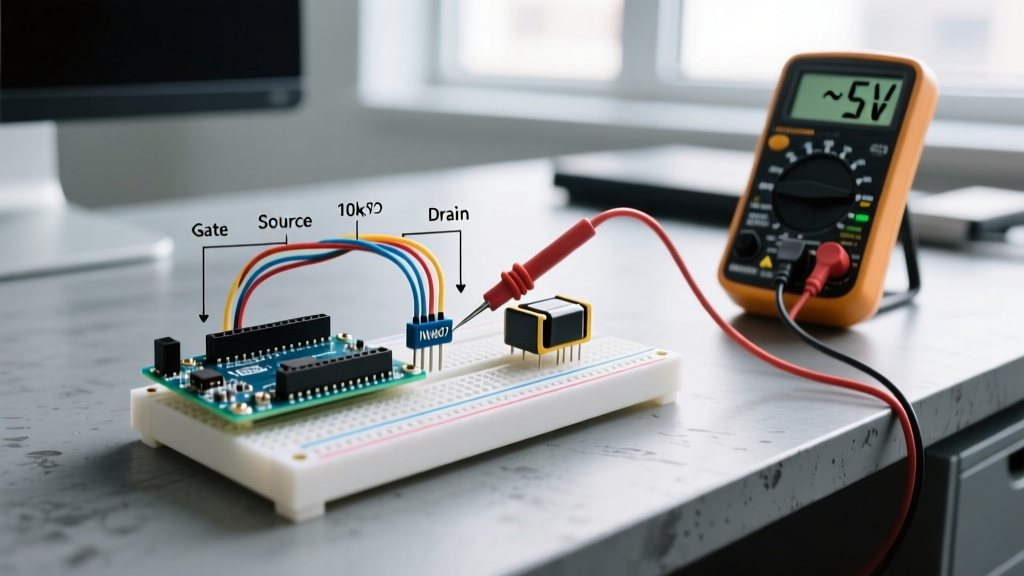
A critical failure mode in multi-serial setups is logic level mismatch. The Arduino Mega 2560 operates at 5V logic, while modern cellular modems (like the SIMCom SIM7600) and advanced GPS modules (u-blox ZED-F9P) strictly require 3.3V logic. Feeding 5V into a 3.3V RX pin will permanently degrade or destroy the peripheral's silicon.
- For low-speed signals (under 1 Mbps): Use a bidirectional BSS138 MOSFET-based logic level converter (approx. $1.50 per module). It provides clean edge transitions without the propagation delay seen in resistor-divider networks.
- For high-speed or noisy industrial environments: Deploy dedicated isolators like the ADuM1201 dual-channel digital isolator ($3.40) or an ADM2483 isolated RS-485 transceiver if you are converting the UART signal for long-distance differential bus communication.
2. Initializing HardwareSerial in Code
Below is a production-ready initialization sequence for an ESP32-based telemetry hub reading a 9600-baud GPS on Serial1 and a 115200-baud 4G LTE modem on Serial2. According to the Espressif UART Driver Documentation, explicitly defining the GPIO matrix routing prevents boot-log conflicts.
#include <HardwareSerial.h>

// Instantiate hardware serial ports
HardwareSerial GPSSerial(1);
HardwareSerial CellSerial(2);

void setup() {
  // Debug console via USB
  Serial.begin(115200);

  // GPS on UART1 (9600 baud, standard 8N1 framing)
  GPSSerial.begin(9600, SERIAL_8N1, 16, 17); // RX=16, TX=17

  // Cellular Modem on UART2 (115200 baud)
  CellSerial.begin(115200, SERIAL_8N1, 22, 23); // RX=22, TX=23

  Serial.println("HardwareSerial buses initialized.");
}

void loop() {
  // Non-blocking data forwarding
  while (GPSSerial.available()) {
    Serial.write(GPSSerial.read());
  }
}
Advanced Buffer Management and Ring Overflows
By default, the AVR HardwareSerial library allocates a 64-byte ring buffer for incoming data. If you are receiving continuous NMEA sentences from a GPS or verbose AT-command echoes from a cellular modem, 64 bytes will fill in roughly 5.5 milliseconds at 115,200 baud. If your loop() function takes longer than 5.5ms to execute (e.g., due to blocking I2C reads or SD card writes), the buffer overflows, and incoming bytes are silently discarded.
Pro Tip: Never use delay() in a multi-serial application. Use non-blocking state machines or FreeRTOS tasks (on ESP32) to ensure the serial ring buffer is emptied continuously.
Increasing the RX Buffer Size
To prevent data loss during heavy processing cycles, you must increase the buffer size. The method depends on your toolchain:
- Arduino IDE (AVR): Navigate to your Arduino installation directory, open
hardware/arduino/avr/cores/arduino/HardwareSerial.h, and change#define SERIAL_RX_BUFFER_SIZE 64to256. Note that this consumes precious SRAM (ATmega2560 has 8KB total). - PlatformIO (ESP32/ARM): Do not edit core files. Instead, inject a build flag into your
platformio.inifile:
build_flags = -DSERIAL_RX_BUFFER_SIZE=512
Real-World Troubleshooting: Edge Cases & Failures
Even with perfect wiring, UART communication can fail silently. Here are the most common edge cases encountered in professional deployments, alongside their solutions.
Baud Rate Mismatch and Clock Drift
UART relies on both devices agreeing on the exact timing of bits. Standard ceramic resonators found on cheap Arduino clones can have a tolerance of ±1.5%. At 115,200 baud, a 1.5% drift pushes the sampling point past the center of the bit window, resulting in framing errors. Solution: Always use boards with precision quartz crystal oscillators (±10ppm) for high-speed UART, or drop the baud rate to 38,400 or 9,600 where timing tolerances are more forgiving.
Ground Loops and Common-Mode Noise
When connecting an Arduino to a peripheral powered by a separate AC-DC switching supply (like a 12V-to-5V buck converter powering a Raspberry Pi or industrial PLC), differences in ground potential can introduce common-mode noise on the RX/TX lines. This manifests as random garbage characters (e.g., þÿÿ) in the serial monitor. Solution: Implement digital opto-isolators (like the 6N137) on the TX/RX lines, or power both devices from the same isolated DC-DC converter to establish a true star-ground topology.
The Floating RX Pin Problem
If your peripheral is unpowered or disconnected, the Arduino's RX pin is left floating. Electromagnetic interference (EMI) can cause the floating pin to oscillate, triggering thousands of phantom receive interrupts per second and crashing the MCU. Solution: Always place a 10kΩ pull-up resistor between the RX pin and VCC (3.3V or 5V, matching the logic level) to hold the line in a stable HIGH (idle) state when the transmitter is offline.
Summary
Mastering the arduino hardwareserial class is non-negotiable for reliable embedded systems design. By abandoning SoftwareSerial, correctly mapping hardware UART pins, implementing proper logic-level translation, and proactively managing ring buffer sizes, you eliminate the primary bottlenecks of asynchronous serial communication. Whether you are deploying a $22 Arduino Mega clone for basic RS-232 bridging or a $12 ESP32-S3 for high-speed multi-node telemetry, respecting the electrical and architectural realities of hardware UART will ensure your data streams remain intact, even in noisy, real-world environments.
For deeper architectural insights into AVR serial registers, consult the Official Arduino Serial Reference, and for ARM-based multi-port routing, review the PJRC Teensy UART Documentation.