
The Unique Role of Arduino Pin D2 (INT0)
When makers encounter a dead pin on an Arduino Uno or Nano, Arduino pin D2 is often the culprit. Unlike standard digital I/O pins, D2 holds a special architectural role on the ATmega328P microcontroller: it is hardwired to External Interrupt 0 (INT0). Physically, it maps to PD2 (Port D, bit 2) on the DIP-28 package. Because it is heavily utilized for rotary encoders, flow sensors, and hardware debouncing, it experiences higher electrical switching frequencies than neighboring pins.
If your Arduino pin D2 is failing to register inputs, triggering erratically, or completely dead, the issue usually stems from one of three domains: Interrupt Service Routine (ISR) software lockups, internal pull-up misconfigurations, or catastrophic silicon overcurrent damage. This guide provides a deep-dive diagnostic framework to isolate and repair D2 failures in 2026.
Quick Diagnostic Checklist:
1. Is the MCU freezing entirely when D2 is triggered? (ISR Lockup)
2. Is the pin floating and reading random noise? (Missing INPUT_PULLUP)
3. Does D2 read 0V continuously, even when driven HIGH externally? (Fried Port D transistor)
Top 5 Reasons Arduino Pin D2 Fails (and How to Fix Them)
1. Interrupt Service Routine (ISR) Blocking
The most common software-related failure on Arduino pin D2 is an ISR that takes too long to execute or lacks the volatile keyword on shared variables. When D2 triggers an interrupt, the ATmega328P pauses the main loop. If your ISR contains delay functions, Serial prints, or complex math, the MCU will spend all its time servicing the interrupt, making D2 appear 'broken' or causing the entire board to freeze.
The Fix: Keep your ISR under 5 microseconds. Use a boolean flag to pass the event to the main loop.
volatile bool d2Triggered = false;

void setup() {
  pinMode(2, INPUT_PULLUP);
  attachInterrupt(digitalPinToInterrupt(2), d2ISR, FALLING);
}

void d2ISR() {
  d2Triggered = true; // Only set a flag, no Serial.print() here!
}

void loop() {
  if (d2Triggered) {
    d2Triggered = false;
    // Handle the event safely here
  }
}
2. Missing Internal Pull-Up Resistor Configuration
If you wire a button or switch between D2 and GND without an external resistor, the pin will 'float' when the switch is open. A floating D2 pin acts as an antenna, picking up electromagnetic interference (EMI) and triggering phantom interrupts. According to the official Arduino attachInterrupt() documentation, floating pins on interrupt vectors can cause thousands of false triggers per second.
The Fix: Activate the internal 20kΩ to 50kΩ pull-up resistor by changing your initialization code from pinMode(2, INPUT); to pinMode(2, INPUT_PULLUP);. This biases D2 HIGH internally, ensuring a clean LOW signal only when the switch is actively closed.
3. Hardware Short or Overcurrent Damage
The ATmega328P absolute maximum current rating per I/O pin is 40mA, with a recommended operating current of 20mA. If you connected a 5V relay module directly to D2 without a flyback diode or a logic-level MOSFET (like an IRLZ44N), the back-EMF spike or continuous coil current likely burned out the internal Port D output driver. In 2026, a replacement ATmega328P-PU DIP chip costs around $3.50 to $4.50, making chip-swapping a viable repair if your board uses a socket.
The Fix: Test the pin with a multimeter (see diagnostic flow below). If the silicon is fried, use an Arduino-as-ISP programmer to flash the bootloader onto a fresh ATmega328P chip and swap it into the socket.
4. Software Serial Conflicts
Many legacy GPS and GSM modules require <SoftwareSerial.h>. Makers frequently assign D2 as RX and D3 as TX. However, SoftwareSerial disables interrupts while transmitting, which can cause data loss or make D2 unresponsive to external hardware events simultaneously. Furthermore, running SoftwareSerial at 115200 baud on D2 is highly unstable on 16MHz AVR boards.
The Fix: Limit SoftwareSerial baud rates to 9600 or 38400. If you need reliable high-speed communication alongside hardware interrupts, migrate to an Arduino Mega 2560 (which has 4 hardware UARTs) or a 32-bit ESP32 where D2 (GPIO 2) is handled by a dedicated UART peripheral without blocking the main CPU.
5. Pin Mapping Errors on Non-Uno Boards
Assuming D2 is always INT0 is a trap when migrating code. On the Arduino Uno/Nano (ATmega328P), D2 is INT0. However, on the Arduino Mega 2560, D2 is INT4. On the Leonardo/Micro (ATmega32u4), D2 is INT1. If your interrupt logic relies on hardcoded port registers (e.g., EICRA |= (1<<ISC01);) instead of the digitalPinToInterrupt() macro, D2 will fail silently on non-Uno boards.
The Fix: Always use the abstraction macro digitalPinToInterrupt(2) to ensure cross-board compatibility.
D2 Pinout & Electrical Specifications Matrix
Understanding the hardware limits of Arduino pin D2 is critical for circuit design. Below is the specification matrix for the ATmega328P operating at 5V/16MHz.
| Parameter | Specification (ATmega328P) | Notes & Edge Cases |
|---|---|---|
| Physical Package Pin | Pin 4 (DIP-28) | Verify continuity from header to DIP pin 4. |
| Port Mapping | PORTD, Bit 2 (PD2) | Direct register access: PIND & (1<<2) |
| Interrupt Vector | INT0 | Trigger modes: LOW, CHANGE, RISING, FALLING |
| Max DC Current | 40mA (Absolute Max) | Exceeding 20mA continuously degrades silicon. |
| Internal Pull-Up | 20kΩ - 50kΩ | Varies by VCC and temperature. |
| Input Leakage | 1μA (Max at 5V) | Crucial for high-impedance sensor circuits. |
Step-by-Step Multimeter Diagnostic Flow
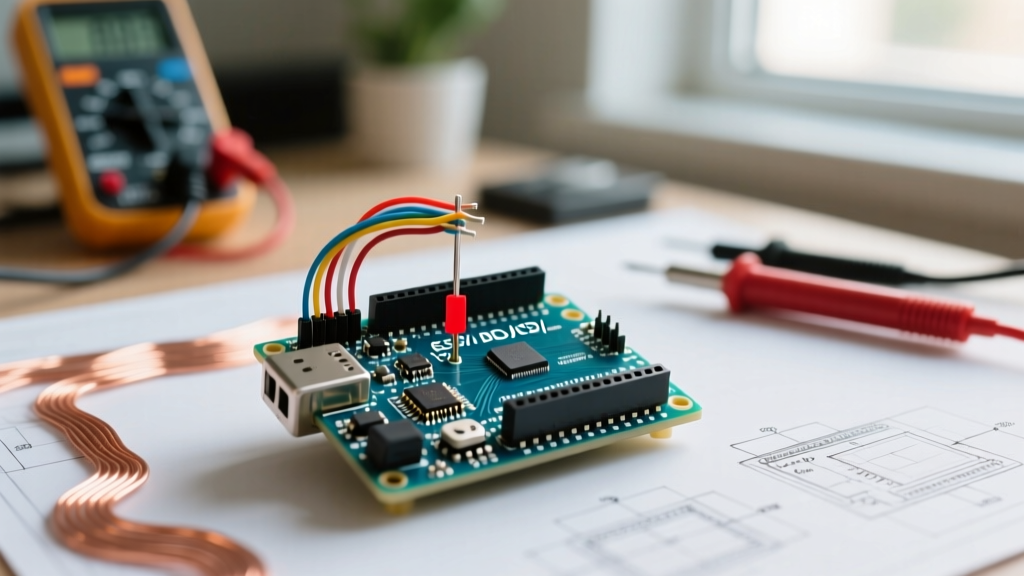
If you suspect physical damage to Arduino pin D2, follow this precise diagnostic sequence using a standard digital multimeter (DMM). Ensure the Arduino is powered OFF for steps 1 and 2.
- Continuity Test (Header to MCU): Set your DMM to continuity mode. Place the black probe on the Arduino GND header and the red probe on the D2 header. You should read an open circuit (OL). Next, probe the D2 header and physical Pin 4 of the ATmega328P chip. It should beep, confirming the PCB trace is intact.
- Short-to-Ground Check: Still in continuity mode, measure between D2 and GND. If the DMM beeps, you have a dead short. This usually indicates a fried internal ESD protection diode or a solder bridge on the PCB.
- Voltage Output Test: Power the Arduino via USB. Upload a bare-bones blink sketch targeting only D2 (
digitalWrite(2, HIGH);). Set the DMM to DC Voltage. Measure between D2 and GND. A healthy pin will read 4.8V to 5.0V. If it reads 0.5V to 1.2V, the internal P-channel MOSFET is damaged. - Input Pull-Up Verification: Upload a blank sketch with
pinMode(2, INPUT_PULLUP);in the setup. Measure D2 to GND. You should see ~5V. Briefly short D2 to GND with a jumper wire; the voltage must drop instantly to 0.01V.
Real-World Case Study: Rotary Encoder Bouncing on D2
A frequent use case for Arduino pin D2 is reading the CLK pin of a KY-040 rotary encoder. Makers often report that rotating the knob one 'click' increments the counter by 3 or 4 steps, or triggers random backward counts. This is not a broken D2 pin; it is mechanical switch bounce occurring faster than the main loop can poll.
The Hardware Solution: Implement an RC low-pass filter. Solder a 10kΩ resistor in series with the encoder's CLK output, and a 100nF ceramic capacitor from the D2 side of the resistor to GND. This creates a hardware debounce filter with a time constant of 1ms, physically smoothing the voltage spikes before they reach the ATmega328P.
The Software Solution: If hardware modification isn't possible, utilize the SparkFun Interrupts Guide methodology by tracking the millis() timestamp inside the ISR and ignoring subsequent triggers that occur within 2 milliseconds of the first edge.
Frequently Asked Questions (FAQ)
Can I use Arduino pin D2 for analog readings?
No. On standard AVR-based boards like the Uno and Nano, D2 is strictly a digital I/O and interrupt pin. It lacks an ADC (Analog-to-Digital Converter) channel. If you need analog readings, you must use pins A0 through A5. Attempting to use analogRead(2) will actually read from analog channel 2 (which maps to pin A2), not digital pin D2, leading to severe confusion and erroneous data.
Why does my D2 interrupt trigger when I turn on a nearby motor?
This is caused by Electromagnetic Interference (EMI). Long, unshielded wires connected to D2 act as antennas for the inductive kickback generated by DC motors. To fix this, use shielded twisted-pair cable for your D2 connection, ensure your motor has a flyback diode (e.g., 1N4007) across its terminals, and enable the internal INPUT_PULLUP to lower the impedance of the D2 trace.
Is D2 safe to use on a 3.3V Arduino Pro Mini?
Yes, the logical behavior of D2 (INT0) remains identical on a 3.3V/8MHz Pro Mini. However, the electrical thresholds change. The logic HIGH threshold drops to approximately 2.0V. Ensure any external sensors driving D2 are natively 3.3V logic level; feeding a 5V signal into D2 on a 3.3V board will permanently destroy the microcontroller's input clamping diode.