
The Core Dilemma: Microcontroller vs. Microprocessor
When planning a new DIY electronics build, the question of whether to use an Arduino or Raspberry Pi is the most common crossroads for makers, engineers, and hobbyists. While both platforms are pillars of the maker movement, they solve fundamentally different engineering problems. Choosing the wrong platform can lead to bloated power consumption, missed real-time deadlines, or unnecessary software complexity.
This tutorial provides a step-by-step technical framework to evaluate your project's requirements and select the optimal hardware. We will dissect compute overhead, power envelopes, real-time I/O capabilities, and 2026 market pricing to ensure your next build is engineered for success.
Step 1: Define Your Project's Computational Needs
The most critical distinction lies in the silicon architecture. A Raspberry Pi is a single-board computer (SBC) powered by a microprocessor running a full operating system (typically Linux). An Arduino is a microcontroller development board that executes bare-metal C/C++ firmware without an OS.
Hardware Specification Matrix
| Feature | Raspberry Pi 5 (4GB) | Arduino Uno R4 Minima |
|---|---|---|
| Core Processor | Broadcom BCM2712 (Quad-core ARM Cortex-A76 @ 2.4GHz) | Renesas RA4M1 (ARM Cortex-M4 @ 48MHz) |
| Memory (RAM) | 4GB LPDDR4X | 32KB SRAM |
| Storage | MicroSD / NVMe (via HAT) | 256KB Flash |
| Operating System | Linux (Raspberry Pi OS, Ubuntu) | None (Bare-metal RTOS / Firmware) |
| Boot Time | 15 - 30 seconds | < 50 milliseconds |
Decision Rule: If your project requires computer vision (OpenCV), running a local web server with a database, or executing complex Python machine learning models, the Raspberry Pi is mandatory. If your task involves reading a few sensors, toggling relays, and driving motors, the Arduino's 32KB SRAM and 48MHz clock are more than sufficient and vastly simpler to deploy.
Step 2: Evaluate Power Consumption and Form Factor
Power topology dictates the physical constraints of your project. If you are building an off-grid IoT weather station or a wearable device, the power envelope is your primary limiting factor.
Battery Life and Deep Sleep Architecture
The Raspberry Pi 5 is a performance beast, but it is notoriously power-hungry. According to the Raspberry Pi 5 Official Documentation, the board idles at approximately 2.3W (460mA at 5V) and can peak at 12W under heavy multi-core loads. Running a Pi 5 on a standard 18650 Li-ion battery (approx. 12Wh) will yield barely two hours of runtime, necessitating bulky battery packs and complex power management ICs (PMICs).
Conversely, modern Arduino boards are engineered for extreme power efficiency. The Arduino Nano 33 IoT, for instance, draws roughly 15mA during active Wi-Fi transmission. More importantly, microcontrollers support hardware deep sleep modes. By utilizing the LowPower library, an Arduino can drop its current draw to the microamp (µA) range, allowing a simple CR2032 coin cell to power a sensor-reading node for months or even years.
Expert Tip: Never attempt to use a Raspberry Pi for a battery-powered remote sensor unless you are utilizing a specialized low-power carrier board with a hardware watchdog timer to physically cut power to the Pi between transmission cycles.
Step 3: Assess I/O and Real-Time Processing Requirements
Real-time processing is where the 'Arduino or Raspberry Pi' debate is definitively settled for industrial and robotics applications. 'Real-time' does not mean 'fast'; it means deterministic. You must guarantee that a specific line of code executes within a strict microsecond window.
- Hardware Interrupts: On an Arduino, an external pin interrupt triggers a hardware routine in less than 2 microseconds. On a Raspberry Pi running Linux, the OS scheduler manages interrupts. A high-priority task might be delayed by milliseconds if the kernel is handling background network traffic or garbage collection.
- PWM Generation: Generating a clean 50kHz Pulse Width Modulation (PWM) signal for a high-frequency motor driver is trivial on an Arduino using hardware timers. Attempting this via software on a Raspberry Pi results in severe signal jitter, leading to erratic motor behavior or audible coil whine.
Decision Rule: Choose Arduino for closed-loop control systems, high-speed rotary encoders, and precise PWM generation. Reserve the Raspberry Pi for high-level path planning, where it can send waypoints to an Arduino that handles the low-level motor control.
Step 4: Factor in Budget and Component Availability
As of 2026, the global semiconductor supply chain has largely stabilized, but the cost structures of these two ecosystems remain very different.
True Cost of Deployment
When calculating your Bill of Materials (BOM), you must look beyond the base board price:
- Raspberry Pi Ecosystem: A Raspberry Pi 5 (4GB) retails for $60. However, you must also purchase a high-endurance A2 MicroSD card ($15), a 27W USB-C PD power supply ($12), and an active cooler ($5). Your baseline compute module cost is easily $92 before adding sensors.
- Arduino Ecosystem: The official Arduino Uno R4 Minima costs $17.50. However, the open-source nature of the ATmega328P architecture means you can source high-quality third-party clones for $4 to $6 on Amazon or AliExpress. Furthermore, Arduinos can be powered by a simple 9V battery or a 7-12V wall adapter, eliminating the need for expensive USB-C PD negotiation circuits.
Step 5: The Hybrid Approach (Using Both Together)
Sometimes the answer to 'Arduino or Raspberry Pi' is 'both.' A hybrid architecture leverages the Raspberry Pi as the 'brain' (handling UI, networking, and AI) and the Arduino as the 'nervous system' (handling sensors, switches, and motors).
Wiring via I2C with Logic Level Shifting
The most robust way to connect the two is via the I2C bus. However, a critical hardware mismatch exists: Raspberry Pi GPIO pins operate at 3.3V, while classic Arduino boards (like the Uno R3) operate at 5V. Directly connecting them can destroy the Pi's Broadcom SoC.
To safely bridge this gap, use a bidirectional logic level shifter based on N-channel MOSFETs (such as the BSS138 chip) or a dedicated IC like the Texas Instruments TXS0108E. For a comprehensive breakdown of the protocol, refer to SparkFun's Guide to I2C.
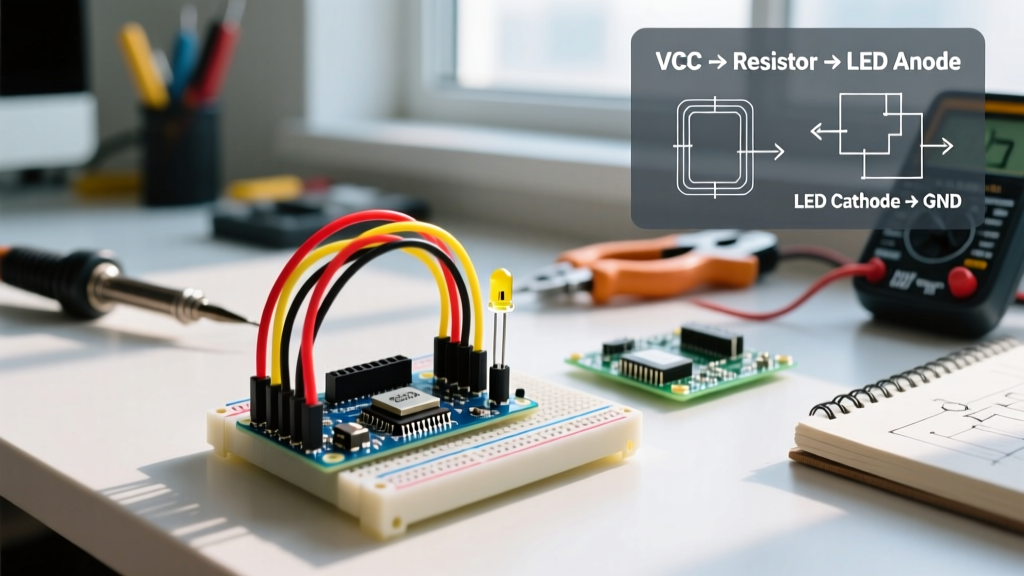
Step-by-Step Hybrid Wiring:
- Connect the Raspberry Pi's 3.3V pin to the LV (Low Voltage) side of the level shifter.
- Connect the Arduino's 5V pin to the HV (High Voltage) side of the level shifter.
- Tie both GND pins together and connect them to the GND channels on the shifter.
- Route the Pi's SDA/SCL through the LV channels and the Arduino's SDA/SCL through the HV channels.
- Enable the I2C interface on the Pi via
raspi-configand use the Wire library on the Arduino to establish master-slave communication.
Summary Decision Flowchart
Use this rapid checklist to finalize your hardware selection:
- Need to run Linux, Python, or a GUI? → Raspberry Pi
- Running on a coin cell or small LiPo for months? → Arduino
- Need microsecond-accurate hardware interrupts? → Arduino
- Processing live video feeds or audio streams? → Raspberry Pi
- Need to drive 5V logic relays directly without level shifters? → Classic Arduino (ATmega328P)
By rigorously applying these engineering constraints rather than relying on brand loyalty, you ensure your project is built on a foundation of technical merit, reliability, and cost-efficiency.