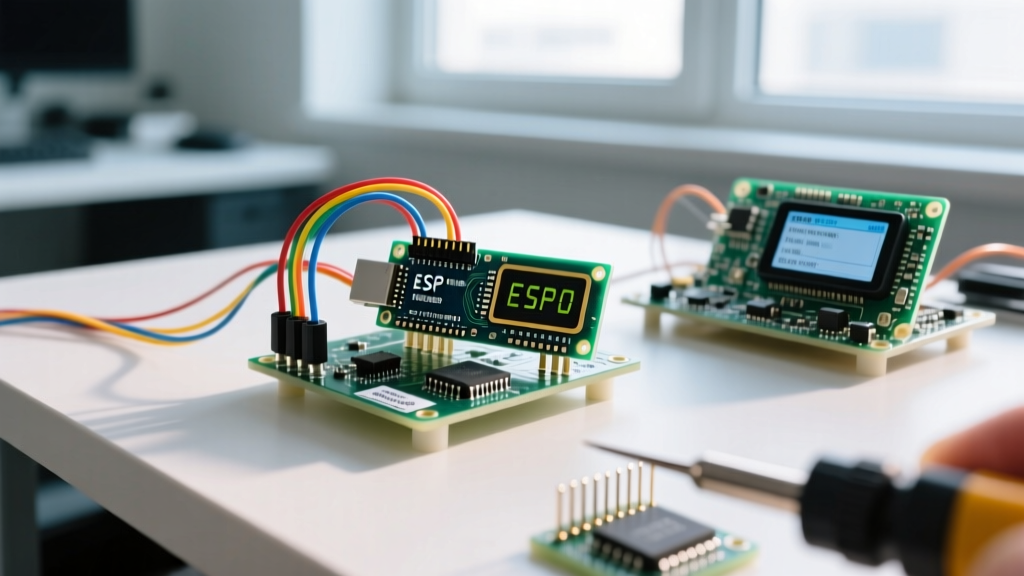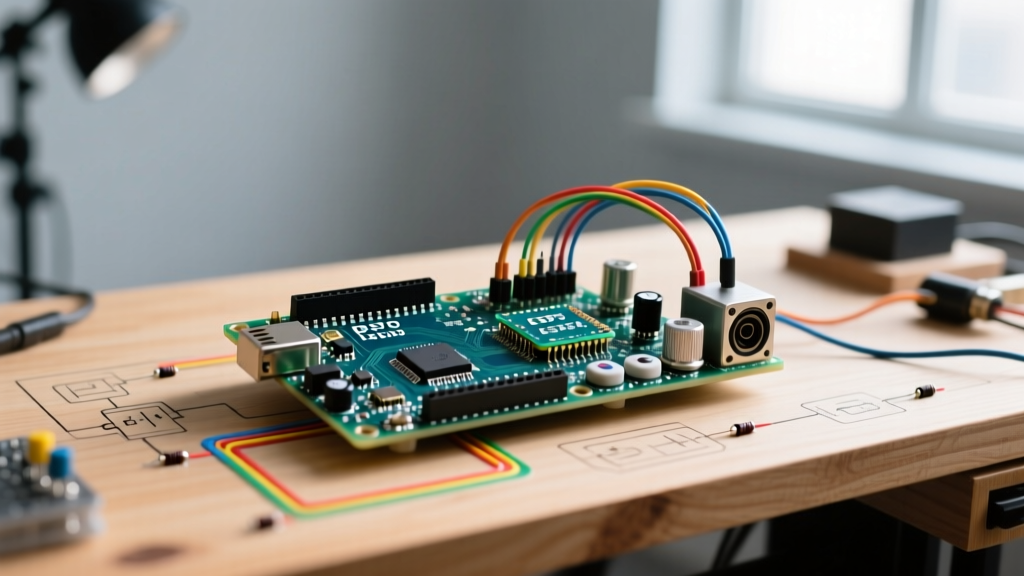

The 'Arduino Celentano' Synthesizer Challenge
In the embedded systems and programming community, few internet memes cross over into actual hardware projects quite like the Arduino Celentano synthesizer challenge. Inspired by Adriano Celentano's 1972 track Prisencolinensinainciusol—a song famously designed to sound like English to Italian ears but consisting entirely of gibberish—this project has become a rite of passage for makers tackling digital signal processing (DSP) on 8-bit microcontrollers.
The goal? To synthesize the track's iconic funk drum break and the distinct, raspy vocal formants using nothing but an ATmega328P, a digital-to-analog converter (DAC), and clever memory management. This tutorial provides a deep-dive, professional-grade guide to building your own Arduino Celentano audio engine, moving beyond basic PWM buzzing into true wavetable synthesis and formant filtering.
Hardware Architecture & 2026 Bill of Materials
While many beginners attempt audio generation using the Arduino's native 8-bit PWM on Pin 9 or 10, the high-frequency carrier noise and limited dynamic range make it unsuitable for complex funk beats and vocal synthesis. For this build, we offload the audio rendering to an external SPI DAC.
| Component | Model / Spec | Role in Circuit | Est. Cost (2026) |
|---|---|---|---|
| Microcontroller | Arduino Nano V3 (ATmega328P) | Main DSP & Sequence Logic | $4.50 |
| DAC | Microchip MCP4921 (12-bit) | SPI Audio Waveform Output | $1.85 |
| Amplifier | TI LM386N-1 | Low-voltage audio amplification | $0.90 |
| Speaker | 8-ohm, 2W Full Range | Acoustic Output | $3.20 |
| Passives | Zobel Network (10Ω + 47nF) | Prevent LM386 high-freq oscillation | $0.15 |
Step 1: SPI DAC Wiring & Audio Output Stage
The MCP4921 is a 12-bit DAC that communicates via SPI. This gives us 4,096 discrete voltage levels, vastly superior to the 256 levels of native PWM. Connect the DAC to the Arduino Nano's hardware SPI pins:
- VDD / VREF: 5V (Tie together for 0-5V output swing)
- CS (Chip Select): Pin 10
- SCK (Clock): Pin 13
- SDI (Data In): Pin 11
- LDAC: GND (Forces immediate update on SPI write)
The Analog Output & Zobel Network
DAC outputs cannot directly drive speakers. We route the MCP4921 output through a 10kΩ potentiometer (for volume control) into Pin 3 of the LM386 amplifier. Crucially, you must include a Zobel network (a 10Ω resistor in series with a 47nF capacitor) between the LM386 output (Pin 5) and Ground. Without this, the inductive load of the speaker will cause the LM386 to oscillate at RF frequencies, resulting in severe overheating and a high-pitched whine that ruins the audio.
Step 2: Configuring Timer1 for 22.05 kHz Interrupts
Audio synthesis requires a rock-solid sample rate. We will use the ATmega328P's 16-bit Timer1 to trigger an Interrupt Service Routine (ISR) exactly 22,050 times per second. While you can use the TimerOne library for rapid prototyping, bare-metal register manipulation saves precious clock cycles in the ISR.
To achieve ~22.05 kHz with a 16 MHz clock, we use a prescaler of 8 (yielding a 2 MHz timer clock) and set the Output Compare Register (OCR1A) to 90.
void setupAudioTimer() {
  cli(); // Disable global interrupts
  TCCR1A = 0; // Clear Timer1 control registers
  TCCR1B = 0;
  TCNT1  = 0; // Initialize counter

  // 16MHz / 8 (prescaler) / 91 = ~21.97 kHz (Close enough for 22kHz audio)
  OCR1A = 90;

  // Turn on CTC mode (Clear Timer on Compare)
  TCCR1B |= (1 << WGM12);
  // Set CS11 bit for 8 prescaler
  TCCR1B |= (1 << CS11);
  // Enable timer compare interrupt
  TIMSK1 |= (1 << OCIE1A);
  sei(); // Re-enable global interrupts
}
Step 3: Wavetable Synthesis & PROGMEM Constraints
The ATmega328P has only 2 KB of SRAM. Storing raw audio samples for the Celentano funk kick and snare drums is impossible. Instead, we use Wavetable Synthesis combined with PROGMEM to store single-cycle waveforms in the 32 KB Flash memory.
The Funk Kick Drum (Sine Sweep)
The iconic 1970s kick drum isn't a recorded sample; it's a sine wave that rapidly drops in pitch. Inside our 22 kHz ISR, we use a phase accumulator to read from a 256-byte sine table stored in Flash.
const uint8_t PROGMEM sine_table[256] = { /* 256 bytes of sine data */ };

// Inside ISR:
phase_accumulator += current_pitch;
uint8_t table_index = (phase_accumulator >> 24) & 0xFF;
uint16_t sample = pgm_read_byte(&sine_table[table_index]);
// Apply exponential decay envelope to simulate drum skin tension loss
By decrementing the current_pitch variable slightly on every interrupt, the sine wave sweeps downward, creating the punchy 'thump' characteristic of the track.
Step 4: The 'Gibberish' Formant Filter (Vocal Synthesis)
The most recognizable part of the Arduino Celentano project is mimicking the raspy, pseudo-English vocals. We achieve this using Formant Synthesis. Human vowels are defined by resonant peaks in the vocal tract (Formants F1 and F2). For example, the 'ah' sound has an F1 around 700 Hz and F2 around 1100 Hz.
To synthesize the gibberish vocals on the MCU:
- Generate White Noise: Use a fast Linear Feedback Shift Register (LFSR) to generate a stream of pseudo-random 12-bit numbers. This simulates the 'hiss' of breath and vocal fry.
- Apply Digital Biquad Filters: Route the noise through two cascaded IIR (Infinite Impulse Response) bandpass filters tuned to F1 and F2.
- Modulate the Formants: Use a low-frequency oscillator (LFO) to slightly wobble the F2 center frequency, mimicking the natural inflection of Celentano's delivery.
Expert Tip: Running two 2nd-order IIR filters at 22 kHz on a 16 MHz AVR chip consumes roughly 35% of your total CPU time per interrupt. To prevent audio stuttering, use 16-bit integer math for your filter coefficients rather than floating-point (float) math, which is emulated in software and will instantly bottleneck your ISR.
Step 5: Sequencing the Beat
With the audio engine generating kicks, snares, and vocal formants, we need a sequencer. The main loop() function handles the musical timing, while the ISR handles the audio rendering. We use a non-blocking millis()-based step sequencer:
- BPM: 108 (The exact tempo of the original track)
- Step Resolution: 16th notes (approx. 138 ms per step)
- Pattern Array: A 16-byte array where each bit represents a drum trigger or vocal syllable onset.
Troubleshooting & Edge Cases
1. SPI Bottlenecks and Audio Aliasing
If your audio sounds 'crunchy' or exhibits high-frequency aliasing, your SPI bus might be too slow, causing the ISR to overrun. By default, Arduino's SPI clock is set to 4 MHz. For the MCP4921, you can safely push the SPI clock to 8 MHz (using SPI.setClockDivider(SPI_CLOCK_DIV2)) to ensure the 16-bit SPI payload is transmitted well within the 45 µs interrupt window.
2. SRAM Exhaustion (The 2KB Wall)
If your code compiles but the Arduino resets randomly or produces static, you have a stack collision caused by SRAM exhaustion. Always use the F() macro for serial debugging strings, and rigorously audit your global variables. Use the freeMemory() function during development to ensure you maintain at least 300 bytes of headroom for the call stack.
3. LM386 'Motorboating'
If you hear a low-frequency 'thump-thump-thump' (motorboating) from the speaker, it is caused by power supply ripple feeding back into the amplifier's input. To fix this, add a 220µF decoupling capacitor directly across the LM386's VCC and GND pins, and isolate the analog ground from the digital ground using a star-grounding topology on your breadboard or PCB.
Conclusion
Building the Arduino Celentano synthesizer is far more than a novelty; it is a masterclass in embedded resource management. By combining hardware SPI, bare-metal timer interrupts, PROGMEM wavetables, and integer-based DSP formant filters, you push the ATmega328P to its absolute limits. Whether you are building this to pay homage to a legendary programming meme or to sharpen your real-time audio DSP skills, the resulting funk beat will be a testament to true maker engineering.