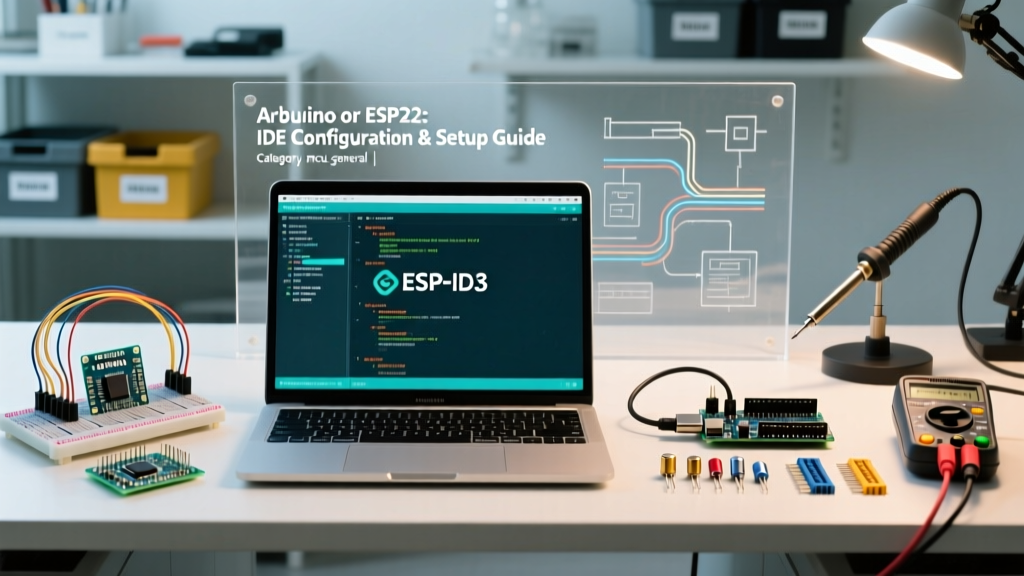

The Core Dilemma: Arduino or ESP32?
When architecting a new IoT or embedded project in 2026, makers and engineers frequently face a pivotal hardware decision: should you configure a classic Arduino or an Espressif ESP32? While the Arduino Uno R4 WiFi offers a familiar ecosystem and robust Renesas architecture, the ESP32-S3 provides raw dual-core processing power, native wireless connectivity, and a fraction of the cost. However, the true challenge lies not just in selecting the hardware, but in properly configuring the Arduino IDE to support the distinct memory maps, bootloaders, and peripheral frameworks of each platform.
This comprehensive configuration guide will walk you through the exact Arduino IDE 2.3.x setup, board manager integration, and advanced toolchain configurations required to get both platforms compiling and flashing without errors.
Hardware Baseline: Uno R4 WiFi vs. ESP32-S3
Before diving into software configuration, it is critical to understand the hardware boundaries you are configuring for. The table below outlines the specific silicon parameters that dictate your IDE toolchain settings.
| Specification | Arduino Uno R4 WiFi | ESP32-S3-DevKitC-1 (N8R8) |
|---|---|---|
| Core Processor | Renesas RA4M1 (48 MHz Cortex-M4) | Xtensa LX7 (240 MHz Dual-Core) |
| SRAM | 32 KB | 512 KB (+ 8 MB PSRAM) |
| Flash Memory | 256 KB | 8 MB (QD) |
| Wireless | ESP32-S3 Coprocessor (WiFi/BLE) | Native WiFi 4 & Bluetooth 5 (LE) |
| Typical 2026 Price | $27.50 | $9.50 |
| USB Interface | Native USB (RA4M1) + ESP32 Bridge | Native USB-OTG & UART Bridge |
Phase 1: Arduino IDE Environment Configuration
Both platforms rely on the Arduino IDE, but their backend toolchains are vastly different. The Arduino IDE 2.3.x utilizes a unified Board Manager, but requires specific JSON endpoints to fetch the correct compilers (ARM GCC for Renesas vs. Xtensa GCC for ESP32).
Step 1: Injecting Board Manager URLs
Navigate to File > Preferences (or Arduino IDE > Settings on macOS). Locate the Additional boards manager URLs field. You must append the Espressif JSON endpoint. According to the Espressif official Arduino-ESP32 installation guide, the stable release URL is:
https://raw.githubusercontent.com/espressif/arduino-esp32/gh-pages/package_esp32_index.jsonFor the Arduino Uno R4, the core is typically bundled with the IDE, but if you are using a standalone CLI or older fork, ensure the primary Arduino Board Manager index is active.
Step 2: Core Installation
Open the Boards Manager (Ctrl+Shift+B). Search for esp32 and install the latest v3.0.x package by Espressif Systems. Do not install the deprecated v1.0.x branches, as they lack critical USB-CDC and PSRAM configurations required for modern ESP32-S3 silicon.
Phase 2: Advanced Toolchain & Flash Configuration
Selecting the board is only the first step. The Tools menu contains hidden configuration parameters that dictate how your binary is partitioned and executed in memory.
ESP32-S3 Partition Schemes
Unlike the Uno R4's linear 256KB flash, the ESP32-S3's 8MB flash must be divided into partitions for the bootloader, application, OTA (Over-The-Air) updates, and SPIFFS/LittleFS data. If your sketch includes heavy web assets or machine learning models (like TensorFlow Lite Micro), the default partition scheme will cause a "Sketch too big" compilation error.
- Default 4MB with spiffs: Fails on 8MB modules; wastes 4MB of silicon.
- Huge APP (3MB No OTA/SPiffs): Best for heavy local processing where OTA is not required.
- 16M Flash (2MB APP/OTA, 10MB FATFS): Ideal for data-logging IoT nodes. (Note: Requires overriding the XML board definition if not natively exposed in the IDE menu).
Expert Configuration Tip: When configuring the ESP32-S3 for native USB serial output, you must set USB CDC On Boot to Enabled in the Tools menu. If left disabled, Serial.println() will route to the hardware UART0 pins (GPIO43/44) instead of the USB-C port, leaving your serial monitor completely blank during debugging.
Arduino Uno R4 WiFi Bridge Configuration
The Uno R4 WiFi features a complex dual-MCU architecture. The Renesas RA4M1 runs your sketch, while an ESP32-S3-MINI-1 module acts as a WiFi/BLE bridge. To configure the bridge, you must use the ArduinoIoTCloud or WiFiS3 libraries. Ensure the Board is set strictly to Arduino Uno R4 WiFi and not the Minima, otherwise the compiler will omit the bridge initialization routines, resulting in silent network failures.
Phase 3: Power & Brownout Detection (Edge Cases)
A common failure mode when configuring ESP32-based projects is the Brownout Detector. When the ESP32-S3 initializes its WiFi radio, it draws a transient current spike of up to 350mA. If your USB cable has high resistance or your breadboard power rail is sagging, the silicon will trigger a hardware reset.
The Configuration Fix:
If you are prototyping on a marginal power supply and need to bypass this safety feature to diagnose code logic, inject the following register override at the very top of your setup() function:
#include "soc/soc.h"
#include "soc/rtc_cntl_reg.h"

void setup() {
  // Disable brownout detector
  WRITE_PERI_REG(RTC_CNTL_BROWN_OUT_REG, 0);
  Serial.begin(115200);
}
Warning: This is strictly for debugging. In a production 2026 deployment, you must configure a proper 3.3V LDO (like the AMS1117-3.3 or AP2112K-3.3) capable of delivering 600mA+ transient current.
Troubleshooting Upload & Driver Failures
Even with perfect IDE configuration, the physical USB-to-UART bridge can block your upload process. Here is how to resolve the most persistent configuration errors:
1. "Failed to connect to ESP32: Timed out waiting for packet header"
This occurs when the auto-reset circuit fails to trigger the bootloader. Manual Configuration Override: 1. Click "Upload" in the IDE. 2. The moment the console reads "Connecting...", press and hold the BOOT button on the DevKit. 3. Tap the RST button once, then release the BOOT button. 4. The ROM bootloader will latch, and the upload will proceed.
2. macOS Sequoia / Windows 11 Driver Blocking
Many generic ESP32 clones use the WCH CH340 or CP2102 UART bridges. Modern OS security policies in 2026 frequently block unsigned or outdated drivers. Resolution: Download the latest signed CH341SER.EXE (Windows) or CH34xVCPDriver.pkg (macOS) directly from the WCH manufacturer portal. Avoid third-party driver aggregators. For Apple Silicon (M1/M2/M3) Macs, ensure you grant the kernel extension permission in System Settings > Privacy & Security after installation.
Final Verdict: Which Should You Configure?
If your project requires rapid 5V-tolerant prototyping, shield compatibility, and a straightforward memory map, configure the Arduino Uno R4 WiFi. The IDE handles the Renesas-ESP32 bridge abstraction seamlessly.
However, if you are building a battery-powered IoT sensor, require PSRAM for audio buffering, or need to keep BOM costs under $10, the ESP32-S3 is the undisputed champion. By mastering the partition schemes, USB-CDC toggles, and bootloader overrides outlined in this guide, you eliminate the friction of the Espressif toolchain and unlock the full potential of the silicon.