
The Shift to Mobile Maker Labs
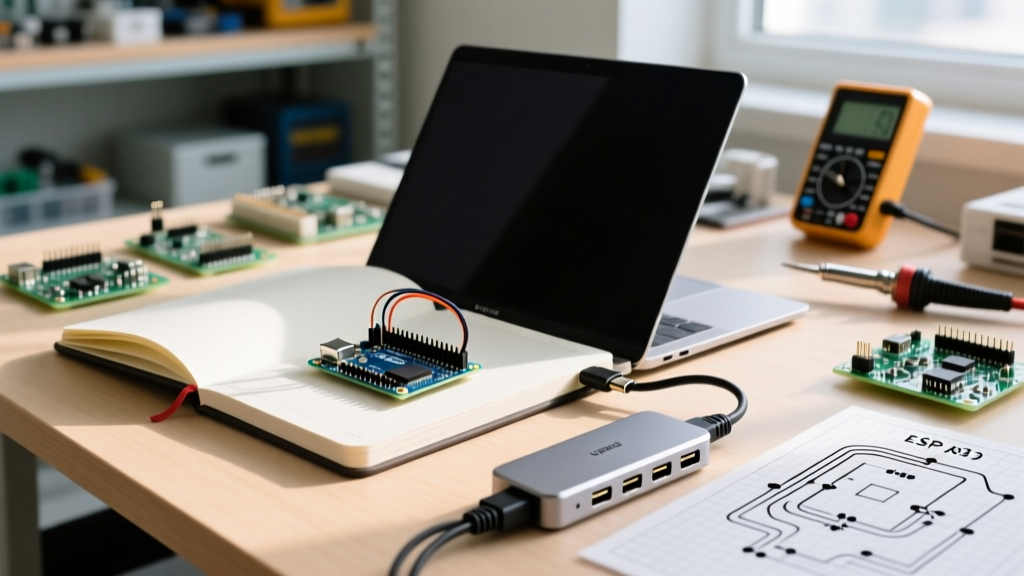
As embedded systems development evolves in 2026, the traditional desktop-bound maker lab is rapidly being replaced by the mobile workstation. Migrating your primary development environment to a modern Arduino notebook setup—whether that means transitioning to a high-performance laptop for field testing or integrating Jupyter Notebooks for advanced data logging—offers unparalleled flexibility. However, this migration is rarely plug-and-play. Modern thin-and-light notebooks lack legacy USB-A ports, isolated power rails, and native support for older serial clones, creating a minefield of brownouts, driver conflicts, and ground loops.
This comprehensive migration and upgrade guide provides the exact hardware topologies, driver workarounds, and software bridges required to transform a commercial notebook into a robust, professional-grade microcontroller development lab.
The USB-C Power Delivery (PD) Brownout Problem
The most common failure mode when migrating from a legacy desktop to a modern notebook is the USB-C Power Delivery (PD) negotiation drop. When you connect a high-draw board like the Arduino Portenta H7 or an Arduino Mega 2560 (drawing upwards of 400mA during WiFi transmission or servo actuation) through a passive USB-C hub, the hub's PD controller often renegotiates the power contract. This causes a 15ms to 50ms drop on the 5V rail, resulting in a mid-flash reset, corrupted bootloader, or AVRDude timeout errors.
Expert Insight: Never flash an ARM-based Arduino (like the Nano 33 BLE or Portenta) through an unpowered, bus-powered USB-C dongle while the notebook is running on battery. The sudden current spike during the bootloader handshake can trigger the notebook's overcurrent protection, permanently disabling the port until a hard reboot.
2026 Hub Topology & Isolation Matrix
To solve this, your mobile lab requires a hub with dedicated power delivery pass-through and, ideally, opto-isolation for sensitive analog sensor work. Below is a comparison of recommended hub architectures for notebook-based MCU development.
| Hub Architecture | Example Model (2026) | PD Pass-Through | Isolation | Best Use Case |
|---|---|---|---|---|
| Active Thunderbolt 4 | CalDigit TS4 | Yes (98W) | No | High-power boards (Portenta, Mega), multiple peripherals |
| Opto-Isolated USB 3.0 | Sabrent ISOLATED-UB | External 5V | Yes (5kV) | Analog sensors, motor controllers, preventing ground loops |
| Passive USB-C Dongle | Generic OEM Dongles | Unstable | No | Avoid for flashing; OK for low-power I2C debugging only |
Navigating 2026 Driver Landmines
Modern notebook operating systems have drastically tightened security around kernel-level serial drivers. If your migration involves cloning boards (like the Nano V3.0 with a WCH CH340G chip) or legacy FTDI FT232RL boards, you will hit immediate roadblocks on both Windows 11 and macOS 14+.
Windows 11 Core Isolation (HVCI) Conflicts
Windows 11 enables Memory Integrity (Core Isolation) by default. This feature blocks older, unsigned, or vulnerable drivers from loading into the kernel. Many cheap Arduino clones use outdated CH340 drivers that trigger this block. The Fix: Do not disable Core Isolation. Instead, download the official 2026 signed driver package directly from the WCH manufacturer site, or use the automated installer provided in the Adafruit CH340 Driver Guide, which uses properly signed certificates compatible with HVCI.
Apple Silicon (M-Series) System Extensions
On Apple Silicon MacBooks, installing the CP210x or CH340 serial drivers requires explicit user approval in the Recovery Environment. If you plug in your Arduino and the IDE shows no COM port, navigate to System Settings > Privacy & Security and look for the blocked developer certificate (usually 'WCH' or 'Silicon Labs'). You must allow it, reboot, and approve the extension in macOS Recovery before the /dev/cu.wchusbserial* port will mount.
The Ultimate Upgrade: Jupyter Notebook Integration
When makers hear 'Arduino Notebook', they often think of hardware. But the most powerful software migration you can make in 2026 is moving away from the Arduino IDE's rudimentary Serial Plotter and adopting Jupyter Notebooks for real-time data acquisition, analysis, and machine learning preprocessing.
By leveraging the Firmata protocol and Python, your notebook becomes a live data science environment directly tethered to your microcontroller's I/O pins.
Step-by-Step Jupyter-Firmata Bridge
- Flash StandardFirmata: Open the Arduino IDE v2, navigate to File > Examples > Firmata > StandardFirmataPlus, and upload it to your board (e.g., Arduino Uno R4 WiFi).
- Install Python Dependencies: Open your terminal and install the Jupyter Lab environment alongside the Python Firmata bridge:
pip install jupyterlab pyfirmata matplotlib pandas - Launch Jupyter Lab: Run
jupyter labin your terminal to open the browser-based notebook interface. - Stream Live Sensor Data: Use the following Python snippet in a Jupyter Notebook cell to read an analog temperature sensor (LM35) on pin A0 and plot it in real-time without writing a single line of C++ plotting code.
import pyfirmata
import time
import matplotlib.pyplot as plt
from IPython.display import clear_output

# Establish serial connection to the Arduino notebook setup
board = pyfirmata.Arduino('/dev/cu.usbmodem14201')
it = pyfirmata.util.Iterator(board)
it.start()

pin_a0 = board.get_pin('a:0:i')
temp_data = []

plt.ion()
fig, ax = plt.subplots()

for _ in range(100):
    raw_value = pin_a0.read()
    if raw_value is not None:
        voltage = raw_value * 5.0
        temp_c = voltage * 100  # LM35 conversion
        temp_data.append(temp_c)
        ax.clear()
        ax.plot(temp_data, color='red')
        ax.set_title('Live LM35 Temperature Stream')
        plt.pause(0.1)
    time.sleep(0.05)
This workflow is vastly superior for university labs and field engineers who need to log, filter, and export CSV data directly from the Jupyter documentation environment without relying on third-party desktop logging apps.
Migration Checklist & 2026 Cost Breakdown
Budgeting for a professional mobile maker lab requires accounting for isolation and adapter hardware. Here is the realistic Bill of Materials (BOM) for upgrading your notebook setup:
- Thunderbolt 4 Active Hub (e.g., CalDigit TS4 or Sonnet Echo 20): $249.99 - Ensures zero-latency serial communication and stable 5V/3A delivery.
- Opto-Isolated USB Adapter (e.g., Adafruit ISO-USB): $39.95 - Mandatory if your notebook is plugged into AC power while testing high-voltage motor drivers to prevent ground loop fry-outs.
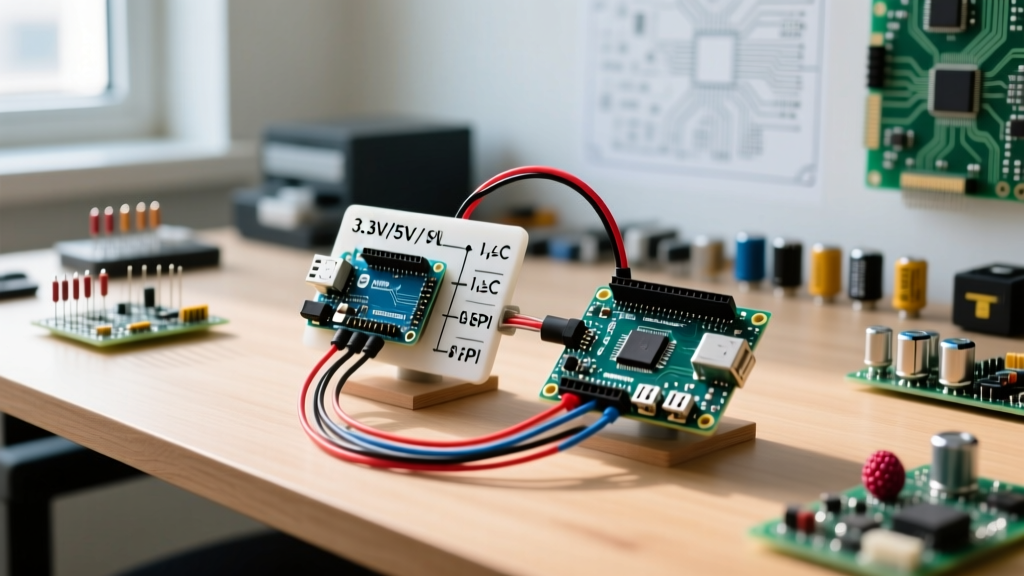
- Logic Level Shifters (Bi-directional 4-channel): $4.50 - Modern notebooks and 3.3V Arduino boards (Nano ESP32) require strict level shifting when interfacing with legacy 5V shields.
- Right-Angle USB-C to USB-A OTG Adapters (2-pack): $12.99 - Reduces mechanical strain on the notebook's motherboard solder joints during breadboarding.
Total Estimated Migration Cost: ~$307.43
Edge Cases & Troubleshooting
The Ground Loop Reset: If your Arduino randomly resets when you plug your notebook into its wall charger, you are experiencing a common-mode noise ground loop. The notebook's switching power supply injects high-frequency noise into the USB ground shield. Solution: Use a hub with galvanic isolation, or power the Arduino via its DC barrel jack (7-12V) from an isolated battery pack while maintaining the USB data connection.
Portenta H7 DFU Mode Failures: When migrating to a notebook, the Portenta H7 often fails to enter DFU (Device Firmware Upgrade) mode via the software reset command due to aggressive USB selective suspend settings in modern laptop BIOS. Disable 'USB Selective Suspend' in your notebook's power plan to ensure the bootloader handshake completes successfully.
Frequently Asked Questions
Can I use a Chromebook as an Arduino notebook?
Yes, but with severe limitations. Chromebooks support the Arduino Create Web Editor via WebUSB, but they cannot run local Jupyter Notebooks or Python-based Firmata scripts natively without setting up a Crostini (Linux) container, which often struggles with direct USB serial port passthrough.
Do I need a powered hub for the Arduino Uno R4 Minima?
The Uno R4 Minima draws significantly less power than the WiFi variant or the Mega. A high-quality passive USB-C hub is generally sufficient for the Minima, provided the hub uses a modern controller chip (like the Realtek RTS5411) that doesn't drop the data lines during power state transitions.