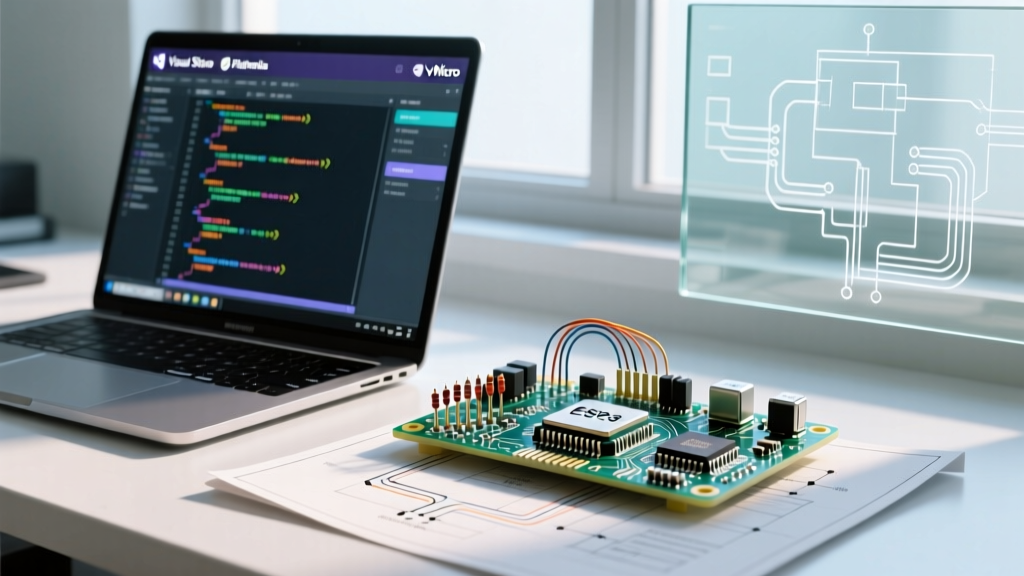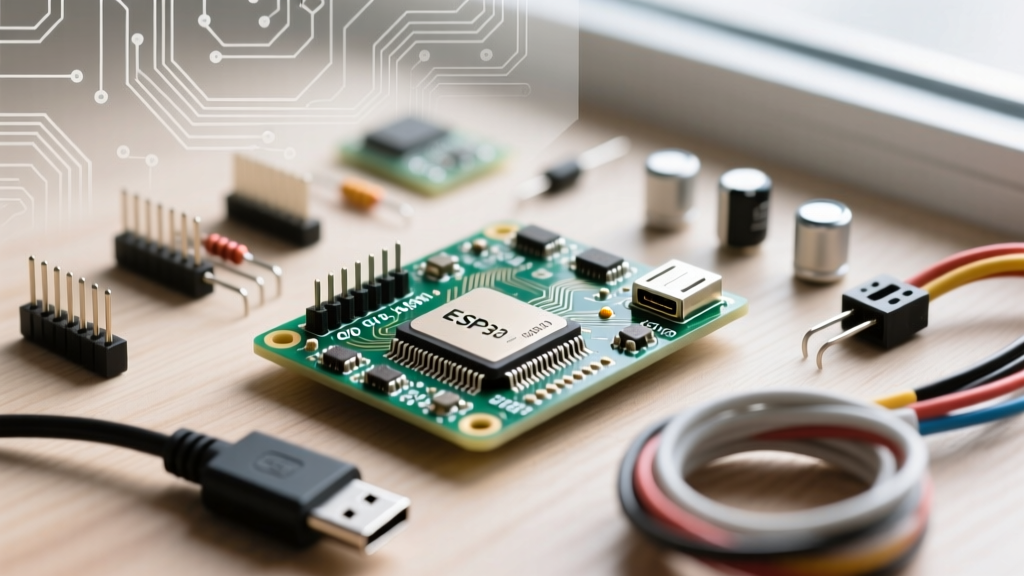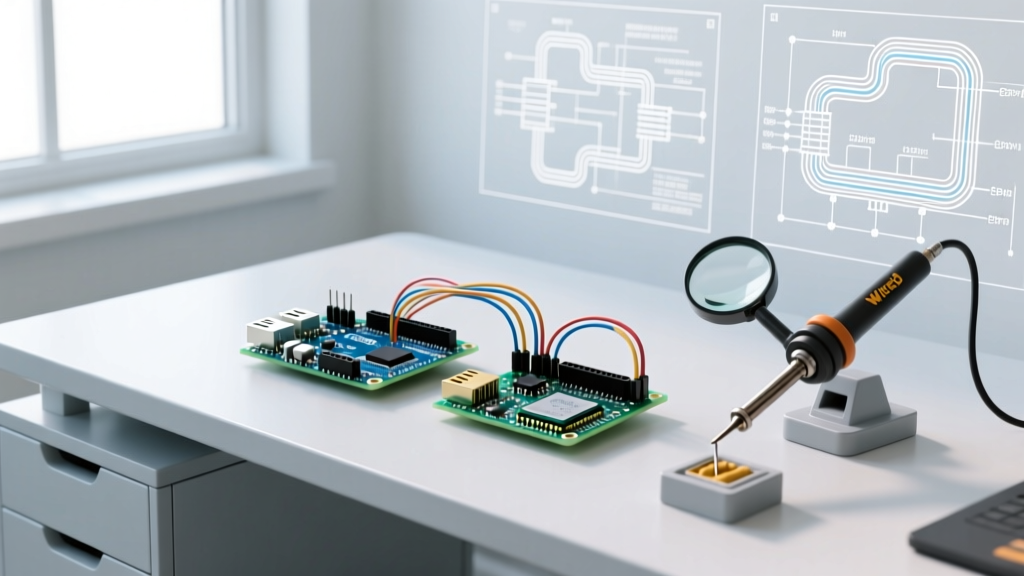

The Core Distinction: Arduino Ecosystem vs. Microcontroller Chip
If you are asking, "is Arduino a microcontroller?", the short answer is no. Arduino is not a microcontroller; it is a comprehensive hardware platform, software ecosystem, and community framework. The actual microcontroller is the silicon chip mounted onto the Arduino development board.
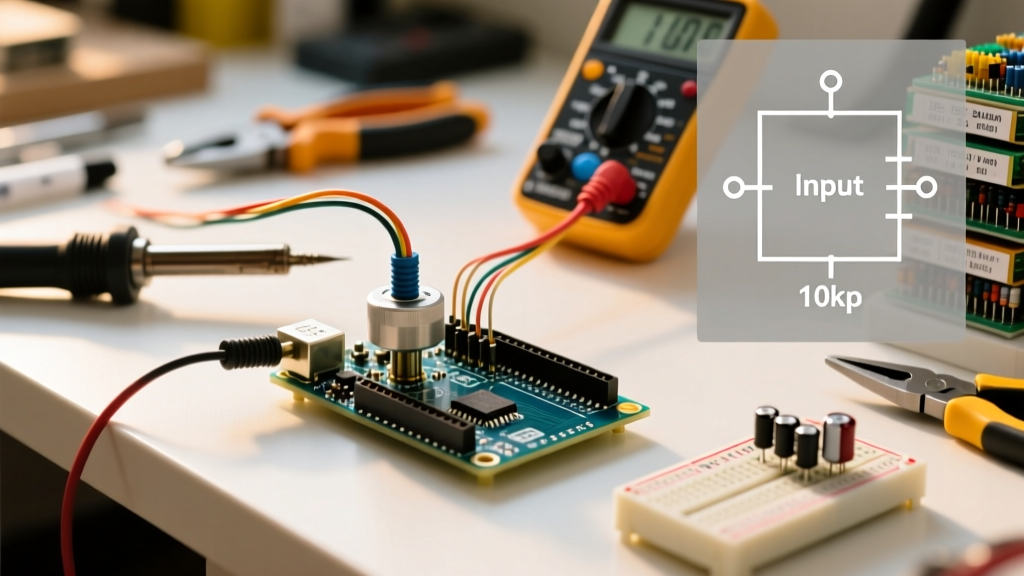
For example, the classic Arduino Uno relies on the Microchip ATmega328P 8-bit AVR microcontroller. The newer Arduino Uno R4 Minima uses a Renesas RA4M1 32-bit ARM Cortex-M4 chip. The Arduino board simply provides the necessary support circuitry—such as voltage regulators, USB-to-serial converters, crystal oscillators, and pin headers—to make programming and interacting with the raw microcontroller accessible.
The Maker's Definition: A microcontroller (MCU) is a compact integrated circuit designed to govern a specific operation in an embedded system. Arduino is the prototyping vehicle that houses the MCU and abstracts away the complex bare-metal configuration.
Comparing the Platforms: Dev Board vs. Bare Metal vs. Advanced SoC
When planning a migration from a standard Arduino dev board to a production-ready or advanced embedded system, you must evaluate cost, power, and processing overhead. Below is a 2026 market snapshot comparing standard Arduino implementations with bare-metal and advanced SoC alternatives.
| Platform | Core Microcontroller | Architecture / Speed | Typical Unit Cost (2026) | Best Migration Use Case |
|---|---|---|---|---|
| Arduino Uno R4 Minima | Renesas RA4M1 | 32-bit ARM Cortex-M4 @ 48MHz | $20.00 | Classroom learning, rapid desktop prototyping |
| Bare-Metal DIP | Microchip ATmega328P-PU | 8-bit AVR @ 16MHz | $2.85 | Low-volume production, custom PCB integration |
| ESP32-C3 SuperMini | Espressif ESP32-C3 | 32-bit RISC-V @ 160MHz (Wi-Fi/BLE) | $2.50 | IoT nodes, wireless sensor networks |
| Waveshare RP2040-Zero | Raspberry Pi RP2040 | 32-bit Dual ARM Cortex-M0+ @ 133MHz | $4.00 | High-speed PIO tasks, USB HID devices |
Why Migrate Away from Standard Arduino Boards?
While Arduino boards are unparalleled for initial prototyping, keeping them in final deployments introduces several engineering liabilities:
- Prohibitive BOM Costs: Using a $20 Arduino Uno in a product that ships 500 units adds $10,000 to your Bill of Materials. Migrating to a bare ATmega328P or an ESP32-C3 drops the MCU cost to under $3.00.
- Power Inefficiency: Standard Arduino boards feature onboard linear voltage regulators (like the NCP1117) and power-on LEDs that draw continuous quiescent current (often 15mA–25mA). A bare microcontroller configured with disabled Brown-Out Detection (BOD) and sleeping peripherals can draw microamps (µA), extending battery life from days to years.
- Form Factor Constraints: The 2.7 x 2.1-inch footprint of an Uno is impractical for wearable electronics or compact industrial sensor housings.
Step-by-Step Migration Path: From Dev Board to Bare Metal
Phase 1: Extracting the ATmega328P (The Breadboard Migration)
The most common first step in answering "is Arduino a microcontroller I can use standalone?" is extracting the DIP chip from an Uno and wiring it on a breadboard. According to the official Arduino standalone tutorial, you need minimal external components to keep the chip running.
- Power Delivery: Connect 5V to pins 7 and 20. Connect GND to pins 8 and 22. Place a 100nF ceramic decoupling capacitor across the 5V and GND rails as close to the chip as possible to filter high-frequency switching noise.
- Clock Circuit: Insert a 16MHz HC-49S crystal oscillator between pins 9 and 10. Add two 22pF ceramic capacitors from each crystal leg to ground.
- Reset Stability: Wire a 10kΩ pull-up resistor from pin 1 (RESET) to 5V. Without this, the microcontroller will randomly reset due to floating voltage noise.
Phase 2: Migrating to 32-bit ARM and RISC-V Architectures
Once you outgrow the 8-bit AVR's 32KB flash and 2KB SRAM limits, it is time to migrate to 32-bit architectures. The Raspberry Pi RP2040 and Espressif ESP32 series dominate the 2026 maker and prosumer market.
When migrating your Arduino IDE code to these chips, you must address hardware abstraction differences:
- Logic Levels: The ATmega328P operates at 5V logic. The RP2040 and ESP32 operate at 3.3V. Connecting a 5V sensor directly to an RP2040 GPIO will destroy the silicon. Use a bi-directional logic level converter (e.g., Texas Instruments TXS0108E) or power your sensors at 3.3V.
- ADC Resolution: The standard AVR ADC is 10-bit (0-1023). The ESP32-S3 features a 12-bit ADC (0-4095), but it is notoriously non-linear at the extremes. Always calibrate ESP32 ADC readings in software using the internal eFuse reference voltage.
Toolchain Upgrades: Moving Beyond the Arduino IDE
Migrating your hardware often necessitates migrating your software toolchain. The standard Arduino IDE is excellent for beginners but lacks the debugging, version control, and multi-board management capabilities required for professional firmware development.
| Toolchain | Cost | Key Advantage for Migration |
|---|---|---|
| PlatformIO (VS Code Extension) | Free / Open Source | Manages board definitions, libraries, and toolchains via platformio.ini without manual IDE board manager clicks. |
| Arduino CLI | Free / Open Source | Perfect for CI/CD pipelines; allows headless compilation and flashing in automated manufacturing environments. |
| Segger Embedded Studio | Free for non-commercial | Native ARM Cortex-M development with professional J-Link hardware debugging (breakpoints, memory inspection). |
Common Migration Failure Modes & Edge Cases
When stripping away the Arduino development board safety nets, makers frequently encounter specific hardware-level failures. Anticipate these edge cases during your upgrade:
- The Auto-Reset Missing Link: When programming a bare ATmega328P via an FTDI USB-to-Serial adapter, the Arduino IDE relies on the DTR (Data Terminal Ready) pin to pulse the RESET line. If you forget to wire a 100nF capacitor between the FTDI DTR pin and the MCU RESET pin, you will receive the dreaded
avrdude: stk500_recv() programmer is not respondingerror, as the bootloader will time out before the upload begins. - Brown-Out Detection (BOD) Battery Drain: By default, the ATmega328P's BOD is set to trigger a reset if voltage drops below 2.7V or 4.3V (depending on the fuse settings). In low-power sleep modes, the BOD circuit continues to draw ~20µA. Use a USBasp programmer and AVRDude to set the extended fuse (
avrdude -U efuse:w:0xFD:m) to disable BOD entirely, dropping sleep current to under 1µA. - Flash Memory Wear on ESP32: Migrating code that frequently writes to EEPROM from an AVR to an ESP32 will destroy the ESP32's external SPI flash chip. The ESP32 does not have true internal EEPROM; it emulates it in flash memory. Always migrate to the
Preferences.hlibrary or implement wear-leveling algorithms to prevent flash sector degradation.
Frequently Asked Questions (FAQ)
Can I use the Arduino IDE to program non-Arduino microcontrollers?
Yes. The Arduino IDE supports third-party board manager URLs. By adding the Espressif or Raspberry Pi Pico repository URLs to your IDE preferences, you can program raw ESP32 chips and RP2040 microcontrollers using standard Arduino C++ syntax.
Do I need a programmer to upload code to a bare microcontroller?
It depends on the chip. A bare ATmega328P with a pre-burned bootloader can be programmed via a simple $4 FTDI serial adapter. However, raw STM32 or RP2040 chips typically require an SWD programmer (like an ST-Link V2 or Picoprobe) to flash the initial firmware, though the RP2040 supports drag-and-drop USB mass-storage bootloading.
Is migrating to a custom PCB difficult for beginners?
Designing a custom PCB in KiCad 8 or EasyEDA to house a bare microcontroller is highly accessible in 2026. The primary challenge is not routing traces, but rather designing a robust power delivery network (PDN) and ensuring proper ground planes to prevent EMI (Electromagnetic Interference) from disrupting sensitive analog sensor readings.