
The Reality of Microcontroller Audio
Achieving high-fidelity arduino audio playback is rarely as simple as wiring a speaker to a digital pin. The fundamental challenge lies in the architectural divide between legacy 8-bit AVR microcontrollers and modern 32-bit ARM or Xtensa processors. An Arduino Uno R3 (ATmega328P) possesses merely 2KB of SRAM and lacks a native Digital-to-Analog Converter (DAC), making raw WAV file buffering impossible without severe compression or external hardware. Conversely, modern boards like the Arduino Uno R4 WiFi (Renesas RA4M1) or the ESP32-S3 feature native DACs, hardware I2S peripherals, and hundreds of kilobytes of RAM, completely changing the compatibility landscape.
This guide breaks down the exact hardware compatibility, wiring topologies, and failure modes for audio modules across the Arduino ecosystem in 2026, ensuring you select the right combination for your specific project constraints.
Architectural Limits and Audio Protocols
Before selecting a module, you must match the audio protocol to your microcontroller's hardware capabilities. There are three primary methods for generating audio on MCUs:
- PWM (Pulse Width Modulation): Simulates analog voltage by rapidly switching a digital pin. Low fidelity, high compatibility.
- SPI MP3 Decoding: Offloads decompression to a dedicated codec chip via the SPI bus. Medium fidelity, universal compatibility.
- I2S (Inter-IC Sound): A dedicated serial bus standard for digital audio devices. High fidelity, requires specific hardware peripherals.
Compatibility Matrix: Boards vs. Audio Methods
The following matrix illustrates which audio methods are natively supported or practically viable across popular Arduino and compatible development boards.
| Development Board | Architecture | PWM Audio | SPI MP3 (VS1053b) | Hardware I2S | Native DAC |
|---|---|---|---|---|---|
| Arduino Uno R3 / Nano | 8-bit AVR | Yes (Timer1) | Yes | No (Software I2S fails) | No |
| Arduino Mega 2560 | 8-bit AVR | Yes (Timer4/5) | Yes | No | No |
| Arduino Uno R4 Minima/WiFi | 32-bit ARM (RA4M1) | Yes | Yes | No (Requires external DAC) | Yes (12-bit) |
| Arduino Nano 33 IoT | 32-bit ARM (SAMD21) | Yes | Yes | Yes (I2S peripheral) | Yes (10-bit) |
| ESP32-DevKitC / ESP32-S3 | 32-bit Xtensa | Yes (LEDC) | Yes | Yes (Dedicated I2S) | Yes (8-bit, noisy) |
| Arduino Giga R1 WiFi | 32-bit ARM (H747) | Yes | Yes | Yes (Advanced I2S/SAI) | Yes (12-bit) |
Deep Dive: I2S Audio Modules (The 32-Bit Standard)
For 16-bit, 44.1kHz CD-quality audio, I2S is the undisputed standard. I2S separates the clock and data lines, eliminating the jitter that plagues analog potentiometer readings. However, I2S requires a dedicated hardware peripheral. You cannot reliably bit-bang I2S on an ATmega328P due to interrupt latency.
MAX98357A I2S Class-D Amplifier
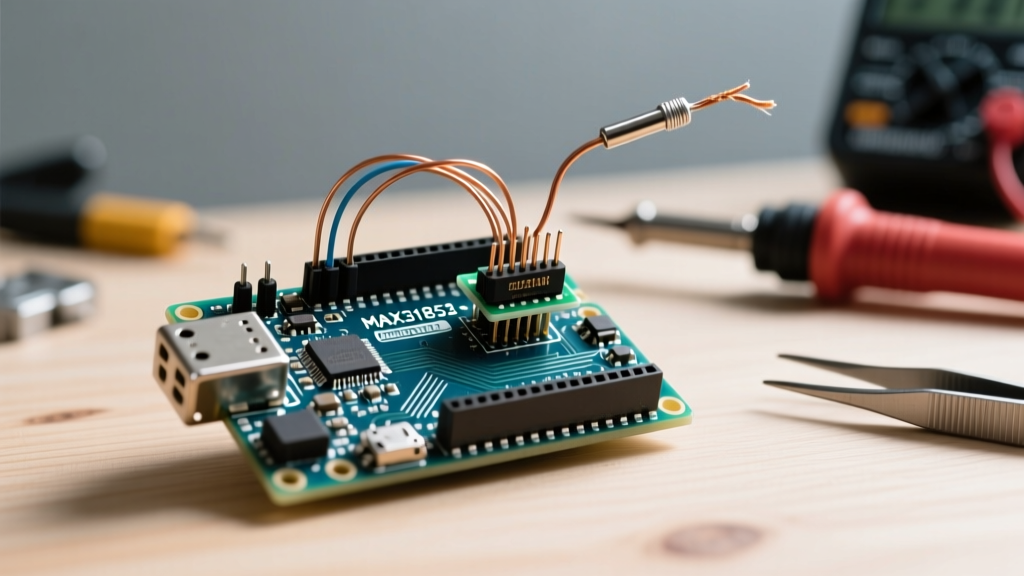
The MAX98357A is a highly integrated I2S amplifier that includes a built-in DAC and a 3.2W Class-D speaker driver. Priced between $4.50 and $6.00, it is the go-to module for ESP32 and SAMD21 projects.
- Wiring: Requires only 3 data pins (BCLK, LRC, DIN) plus VIN and GND.
- Compatibility: Flawless with ESP32 using the
ESP8266Audioor nativeI2Slibraries. Works natively with the Arduino Nano 33 IoT. - Failure Mode: A common edge case is the 'popping' sound during initialization. This occurs when the I2S clock lines float before the peripheral is configured. Always enable internal pull-down resistors on BCLK and LRC pins in your
setup()function before initializing the I2S driver.
For a comprehensive wiring and configuration breakdown, refer to the Adafruit MAX98357A I2S Class-D Mono Amp guide, which details the exact gain resistor configurations for different speaker impedances.
PCM5102A Stereo DAC
If you need line-level stereo output to drive external studio monitors or a high-end amplifier, the PCM5102A (typically $3.00 to $5.00) is the premier choice. According to the Texas Instruments PCM5102A product documentation, this chip features a 112dB SNR and integrated line drivers. Unlike the MAX98357A, it requires an external analog power supply (3.3V LDO) to minimize digital switching noise from the microcontroller.
SPI-Based MP3 Shields: The 8-Bit Savior
If your project is locked to an Arduino Uno R3 or Mega 2560, I2S is off the table. The solution is hardware decoding via the VS1053b VLSI chip. Shields and breakout boards based on the VS1053b ($14.00 to $18.00) decode MP3, AAC, and WMA formats internally. The microcontroller only needs to stream raw compressed bytes via the SPI bus, bypassing the 2KB SRAM limitation entirely.
The SPI Bus Contention Trap
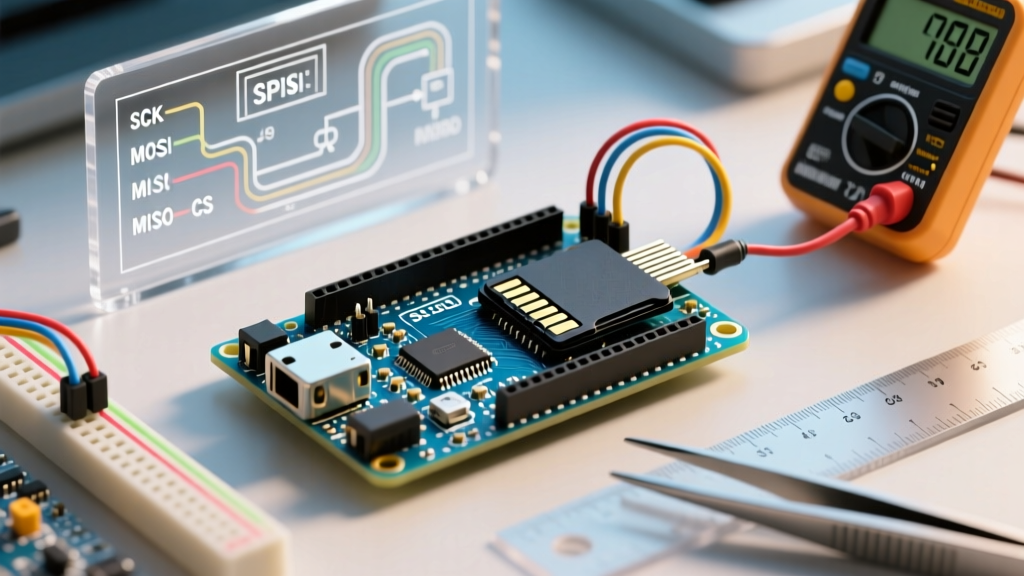
The most frequent point of failure in VS1053b implementations is SPI bus sharing. Audio files are typically stored on a microSD card, which also uses the SPI bus. If you attempt to read from the SD card and write to the VS1053b simultaneously without strict Chip Select (CS) management, the audio will stutter, or the SD card will corrupt.
Expert Rule of Thumb: Never use the default Arduino
SD.hlibrary for streaming audio while using a VS1053b. Instead, use theSdFatlibrary with explicit SPI transactions (SPI.beginTransaction()). Ensure the SD card CS pin is driven HIGH before asserting the VS1053b Data CS pin LOW. For a complete schematic and transaction logic, review the SparkFun MP3 Player Shield Hookup Guide.
Direct DAC and PWM: Low-Cost Alternatives
External SPI DACs (MCP4921)
For projects requiring analog waveforms or basic voice prompts on 8-bit boards, the MCP4921 12-bit DAC ($2.50) connects via SPI. It requires a stable voltage reference (VREF). Do not tie VREF directly to the Arduino's 5V rail if you are using USB power; USB voltage can fluctuate between 4.7V and 5.2V, introducing audible pitch drift. Use a dedicated 4.096V precision reference IC.
Timer1 PWM Audio
PWM audio modifies the duty cycle of a high-frequency square wave (typically 31.25kHz or 62.5kHz) and passes it through a low-pass RC filter (e.g., 1kΩ resistor and 10nF capacitor). While it costs almost nothing, the dynamic range is limited to 8-bit (256 steps). It is suitable only for basic 8-bit retro sound effects or low-bitrate ADPCM voice clips.
Power Delivery and Ground Loop Pitfalls
Audio circuits are merciless in exposing poor power design. When integrating any of the above modules, observe these strict power guidelines:
- Star Grounding: Do not daisy-chain ground connections from the microcontroller to the DAC and then to the amplifier. Run separate ground wires from a central point to prevent digital switching currents from modulating the analog ground reference, which manifests as a 60Hz/50Hz hum or high-frequency whine.
- Current Draw Spikes: Class-D amplifiers like the MAX98357A can draw sudden peaks exceeding 1A when driving 4Ω speakers at high volume. If powered directly from the Arduino's 5V pin, this will trigger the onboard polyfuse or cause the microcontroller to brownout and reset. Always power the amplifier's VIN directly from the main battery or power supply, bypassing the Arduino's linear regulator.
- ESP32 RF Interference: When using Wi-Fi or Bluetooth on an ESP32 alongside a PCM5102A DAC, the 2.4GHz RF transmission can induce noise in unshielded I2S jumper wires. Keep I2S traces under 10cm, or use a shielded ribbon cable with the shield tied to ground at the microcontroller end only.
Summary: Choosing Your Path
Selecting the right hardware for arduino audio playback hinges entirely on your microcontroller's architecture. If you are designing a new product in 2026, migrate to an ESP32-S3 or Arduino Nano 33 IoT to leverage hardware I2S and the MAX98357A for pristine, low-CPU-overhead audio. If you must maintain legacy ATmega328P hardware, the VS1053b SPI shield remains the most robust, albeit more expensive, method for reliable compressed audio playback.