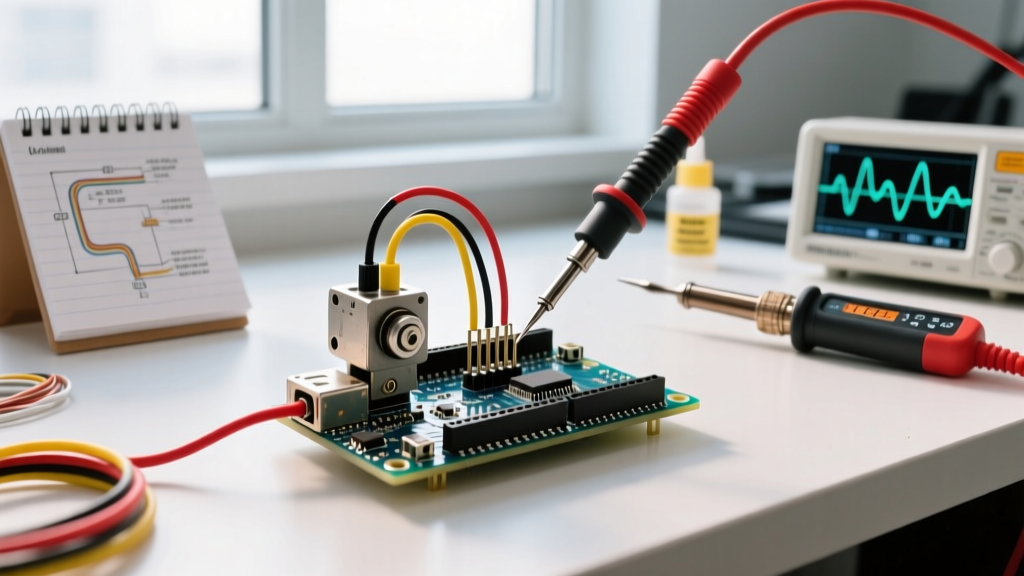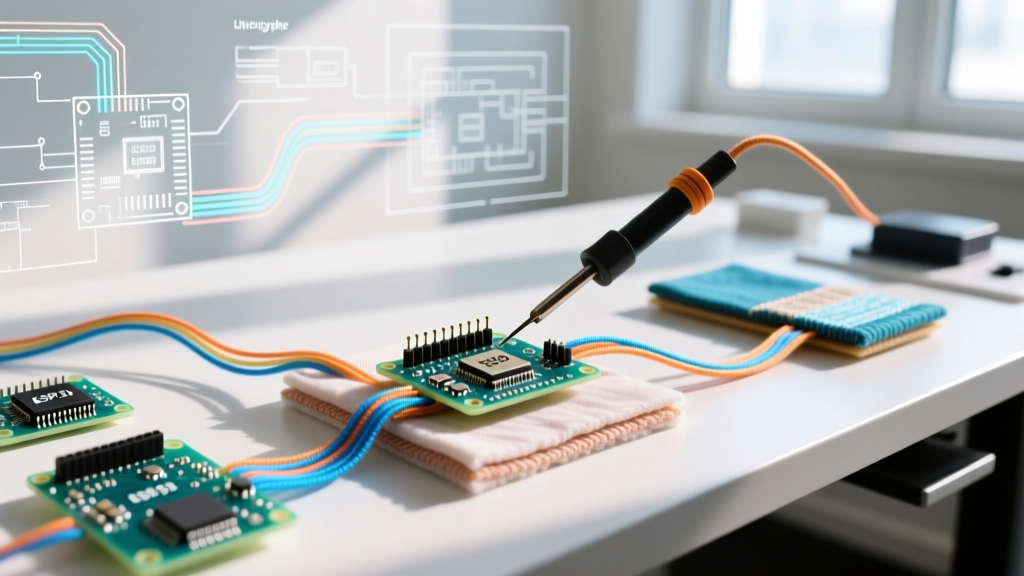

The Evolution of E-Textiles and the Arduino LilyPad
Since its inception by Leah Buechley at MIT, the Arduino LilyPad has remained the undisputed gold standard for sewable microcontrollers. As we move through 2026, the e-textile maker community has evolved from simple LED blink circuits to complex, sensor-driven smart garments featuring Bluetooth Low Energy (BLE), capacitive touch, and real-time biometric tracking. However, transitioning from traditional breadboard prototyping to needle and thread introduces unique failure modes: fraying conductive threads, voltage drops across fabric, and washing machine disasters.
This community resource roundup aggregates the most critical hardware specifications, battle-tested wiring techniques, and open-source repositories gathered from top maker forums, ensuring your next wearable project survives both the runway and the laundry room.
The Current Arduino LilyPad Ecosystem (2026 Hardware Breakdown)
While the original LilyPad ATmega328p is largely considered legacy hardware, SparkFun and the broader open-source community have kept the ecosystem vibrant. When sourcing boards for a new build in 2026, makers typically choose between three primary configurations based on project complexity and budget.
| Board Model | Microcontroller | Approx. Price (2026) | Best Use Case |
|---|---|---|---|
| LilyPad USB | ATmega32U4 (16MHz) | $26.00 - $30.00 | Custom sewn garments requiring native USB HID (keyboard/mouse emulation). |
| LilyPad ProtoSnap Plus | ATmega32U4 (16MHz) | $45.00 - $49.00 | Prototyping without sewing; features breakaway sensors (light, temp, accelerometer) and RGB LEDs. |
| LilyPad MP3 Player | ATmega32U4 + VS1053 | $65.00 - $72.00 | Audio-reactive wearables, cosplay props, and interactive musical jackets. |
Note: Always verify you are purchasing the ATmega32U4 variants. The older 328p versions require an external FTDI programmer, which adds unnecessary bulk and cost to modern wearable builds.
Conductive Thread & Wiring: Community Best Practices
The most common point of failure in Arduino LilyPad projects is not the code, but the physical wiring. The r/etextiles and SparkFun forums are littered with posts about erratic sensor readings caused by inappropriate thread selection. Here is the community consensus on conductive materials.
Thread Resistance and Voltage Drop
Unlike copper wire, conductive thread has significant resistance. If you run a single line of high-resistance thread over 50cm to power a strip of NeoPixels, the voltage will drop below the 4.5V threshold, causing flickering or color shifting.
- 234/34 Silver-Plated Nylon: The community favorite for signal lines. It is soft, easy to knot, and has a relatively low resistance of ~14 ohms/meter. However, it is prone to fraying, which can cause micro-shorts if adjacent traces touch.
- 30AWG Stainless Steel: Much stiffer and harder to sew, but boasts a lower resistance of ~15 ohms/meter and is highly resistant to fraying. Ideal for power (VCC) and ground (GND) rails.
- 60/2 Stainless Steel: High resistance (~150 ohms/meter). Strictly avoid using this for power lines. It is only suitable for short signal runs to high-impedance analog sensors.
Pro-Tip from the Adafruit Forums: When powering high-draw components like addressable LEDs, stitch your power and ground lines using a parallel backstitch or run two separate threads side-by-side. This effectively halves the resistance and prevents the dreaded 'brownout' resets on the LilyPad's onboard voltage regulator.
Top Community Hubs for E-Textile Troubleshooting
When your LilyPad sketch compiles but the garment behaves erratically, these are the most active and knowledgeable communities to consult:
- SparkFun Connect Forum (E-Textiles Section): SparkFun manufactures the official LilyPad line. Their forum is heavily moderated by engineers who provide schematic-level troubleshooting for ProtoSnap and USB variants.
- Adafruit Learning System & Discord: While Adafruit focuses on their Flora/Circuit Playground ecosystems, their comprehensive guides on conductive thread and wearable power management are universally applicable to LilyPad builds.
- r/etextiles and r/wearables (Reddit): Excellent for visual inspiration, 3D-printed battery enclosure STL files, and real-world durability testing of smart garments.
- Arduino Forum (Wearables Category): The best resource for software-specific issues, particularly regarding interrupt handling on sewable accelerometers and low-power sleep modes for battery preservation.
Power Management & Battery Safety in Wearables
Powering an Arduino LilyPad safely against the human body requires strict adherence to LiPo battery safety protocols. The community has standardized around the 3.7V Lithium Polymer (LiPo) battery paired with a JST-PH 2.0 connector.
Battery Sizing Guide
Calculating battery life requires knowing your circuit's average current draw. The LilyPad USB draws roughly 15mA at idle, but adding sensors and LEDs can push this past 150mA.
- 110mAh LiPo (approx. $6 - $8): Best for lightweight, low-power projects (e.g., a single LilyPad + 2 sewable LEDs). Yields ~4-6 hours of runtime.
- 400mAh LiPo (approx. $9 - $12): The sweet spot for most jackets and hoodies incorporating ProtoSnap sensors and small LED arrays. Yields ~15-20 hours.
- 1000mAh+ LiPo: Required for audio projects (LilyPad MP3) or heavy NeoPixel usage. Warning: These batteries are rigid and bulky. Always place them in a padded, 3D-printed TPU enclosure to prevent puncture against the body.
Essential Open-Source Libraries for Wearables
To maximize the ATmega32U4's capabilities, the community relies on several optimized libraries. Standard Arduino libraries often consume too much SRAM for complex wearable arrays.
- FastLED: The undisputed standard for addressable LEDs. Use the
FastLED.delay()function instead of standard delays to maintain responsive sensor polling. - Adafruit LIS3DH: For projects using the ProtoSnap Plus onboard accelerometer. This library includes built-in tap and double-tap interrupt detection, allowing the LilyPad to wake from sleep mode only when the wearer moves.
- LowPowerLab's Low-Power Library: Crucial for extending LiPo battery life. Allows you to put the LilyPad's microcontroller into deep sleep, drawing microamps until a sewn capacitive touch pad triggers a wake interrupt.
The Washing Machine Test: Community Survival Guides
The ultimate test of any e-textile project is survivability in the wash. The maker community has developed a rigorous protocol for waterproofing and cleaning Arduino LilyPad garments. Never skip the conformal coating step.
Step-by-Step Waterproofing Protocol
- Seal the Nodes: Once your circuit is tested and verified, coat every sewn knot and exposed metal pad with MG Chemicals 419D Silicone Conformal Coating or clear nail polish (for budget builds). Allow 24 hours to cure.
- Protect the Board: For the LilyPad USB itself, use a 3D-printed snap-on TPU shield, or coat the entire board (excluding the USB port and JST connector) in Plasti Dip.
- Washing Rules: Always remove the LiPo battery. Hand wash in cold water with a mild, non-bleach detergent. Never use a washing machine's agitator, and never put e-textiles in the dryer—the heat will melt the insulation on the conductive thread and ruin the battery connector.
Frequently Asked Questions
Can I use standard copper wire instead of conductive thread?
Yes, but only for internal linings or areas where the wire won't experience repeated bending. Standard 30AWG silicone-jacketed copper wire has near-zero resistance compared to thread, solving voltage drop issues. However, it lacks the flexibility of thread and can snap at the solder joints if the garment is stretched. Community members recommend using a 'zig-zag' stitch on a sewing machine to secure copper wire, allowing the fabric to stretch without stressing the wire.
Why is my LilyPad USB not showing up in the Arduino IDE?
The ATmega32U4 relies on native USB. If you upload a sketch that crashes or floods the USB serial buffer, the board can enter a state where the bootloader fails to initialize. The community fix is the 'double-tap reset': quickly press the reset button on the LilyPad twice. This forces the board back into the bootloader for 8 seconds, giving you a window to upload a known-good sketch (like the basic 'Blink' example).
How do I prevent short circuits when the garment folds on itself?
Frayed silver-plated thread is notorious for creating phantom shorts when fabric folds. To prevent this, run your VCC and GND traces on opposite sides of the fabric (one on the outside, one on the inside lining), or use a layer of fusible interfacing (iron-on stabilizer) to lock the threads in place and provide a physical dielectric barrier between crossing traces.