
Understanding the ATmega32U4 Architecture
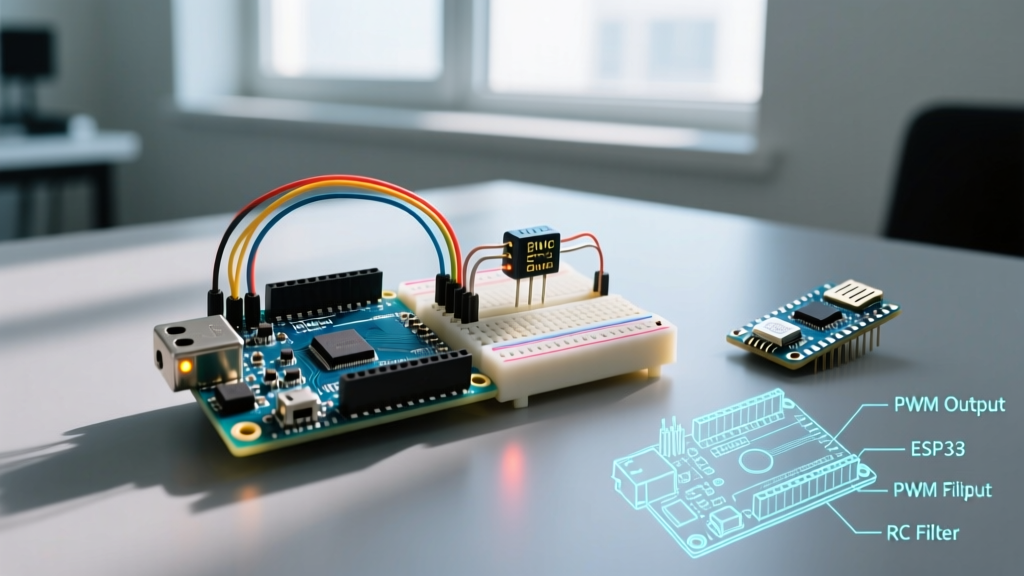
When transitioning from standard AVR boards to the Arduino Leonardo, makers often encounter unexpected configuration hurdles. Unlike the Arduino Uno, which relies on an ATmega328P microcontroller paired with a secondary USB-to-Serial bridge chip (like the ATmega16U2 or CH340), the Leonardo is built around the ATmega32U4. This chip features native USB communication capabilities, eliminating the need for a bridge and allowing the board to enumerate directly as a Human Interface Device (HID) or a CDC ACM serial port.
This architectural difference fundamentally changes how the board interacts with your operating system, how drivers are loaded, and most importantly, how the bootloader handles sketch uploads. In 2026, while modern IDEs handle much of the heavy lifting, understanding the underlying USB stack of the ATmega32U4 remains critical for avoiding bricked boards and vanishing COM ports.
Initial IDE Configuration and Board Selection
Setting up the Leonardo requires precise board selection in the Arduino IDE. Because the ATmega32U4 is shared across several form factors (including the Micro and third-party Pro Micro clones), selecting the wrong board definition can result in incorrect pin mappings and failed compilations.
- Install the Core: Open the Arduino IDE (2.x or newer). Navigate to Tools > Board > Boards Manager. Search for and install the Arduino AVR Boards package (ensure you are on version 1.8.6 or later for the latest USB stack patches).
- Select the Board: Go to Tools > Board > Arduino AVR Boards and select Arduino Leonardo.
- Verify the Port: Connect the board via a high-quality Micro-USB data cable. Under Tools > Port, you should see a COM port (Windows) or a
/dev/tty.usbmodemport (macOS/Linux). Note that the Leonardo often assigns two different COM port numbers: one for the bootloader and one for the user sketch.
Windows Driver Installation (CDC ACM Edge Cases)
On Windows 10 and 11, the native USB implementation typically triggers an automatic download of the usbser.sys CDC ACM driver via Windows Update. However, in enterprise environments with restricted network policies, or on older Windows builds, the Leonardo may appear in Device Manager as an "Unknown Device" or "Arduino Leonardo bootloader" with a yellow exclamation mark.
Expert Troubleshooting Tip: If Windows fails to enumerate the Leonardo, do not download third-party driver packs. Instead, navigate to your local Arduino IDE installation directory (typicallyC:\Program Files (x86)\Arduino\drivers) and manually update the driver via Device Manager using thearduino.inffile. For the bootloader specifically, you may need to select theArduino Leonardo bootloader.inffile. For detailed official steps, refer to the Arduino Driver Installation Guide.
The 1200bps Touch Reset: Solving Upload Failures
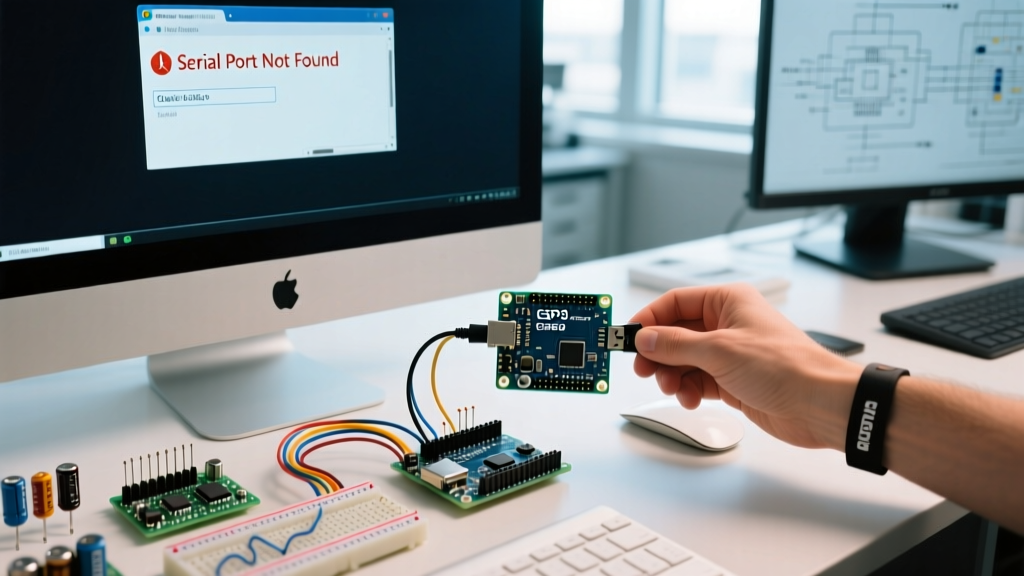
The most notorious issue Leonardo users face is the "vanishing COM port" error during compilation. This is not a hardware defect; it is a feature of the ATmega32U4's bootloader design.
Because the USB stack is handled by the user sketch rather than a dedicated bridge chip, a poorly written sketch (e.g., one that crashes immediately or floods the USB buffer) can prevent the COM port from enumerating. To bypass this, the Arduino IDE uses a 1200bps touch reset. When you click "Upload", the IDE opens the COM port at 1200 baud and immediately closes it. The Leonardo's firmware detects this specific baud rate as a signal to halt the user sketch, trigger a hardware watchdog reset, and launch the bootloader for 8 seconds.
Manual Reset Timing (When the IDE Fails)
If your sketch has completely hijacked the USB stack, the IDE cannot send the 1200bps signal because the port doesn't exist in the OS. You must perform a manual reset:
- Click the Upload button in the IDE.
- Watch the console output closely. Wait for the "Compiling..." phase to finish.
- The exact moment the console displays "Uploading...", press and release the physical RESET button on the Leonardo.
- The IDE will catch the 8-second bootloader window and push the new firmware.
Configuring Native HID (Keyboard & Mouse Emulation)
The Leonardo's native USB allows it to emulate standard USB peripherals using the built-in Keyboard.h and Mouse.h libraries. This makes it a favorite for macro pads, accessibility devices, and automated testing rigs. However, improper HID configuration can lead to a "USB lockout," where the board continuously sends keystrokes, crashing the host OS's input buffer and preventing reprogramming.
Safe HID Programming Framework
Never deploy a Leonardo HID sketch without a hardware kill switch or an activation delay. Below is a robust configuration pattern utilizing a pushbutton on Pin 2 to enable HID mode only when requested.
#include <Keyboard.h>

const int buttonPin = 2;
int previousButtonState = HIGH;

void setup() {
  pinMode(buttonPin, INPUT_PULLUP);
  // Do NOT call Keyboard.begin() here to prevent boot-loop lockouts
}

void loop() {
  int buttonState = digitalRead(buttonPin);
  if ((buttonState != previousButtonState) && (buttonState == LOW)) {
    Keyboard.begin();
    Keyboard.print("ElectricalFlux");
    Keyboard.releaseAll();
    Keyboard.end();
  }
  previousButtonState = buttonState;
  delay(50);
}
For comprehensive documentation on HID limitations and memory constraints, consult the official Arduino Leonardo hardware documentation.
Hardware Variants: Genuine vs. Pro Micro Clones
When sourcing ATmega32U4 boards for your 2026 projects, you will encounter several form factors. While they share the same silicon, their voltage regulation and physical footprints dictate their ideal use cases. The SparkFun Pro Micro Hookup Guide provides excellent cross-reference data for these variants.
| Board Model | Microcontroller | Form Factor | Operating Voltage | Approx. 2026 Price | Best Use Case |
|---|---|---|---|---|---|
| Genuine Arduino Leonardo (ABX00057) | ATmega32U4 | Standard (68.6 x 53.3 mm) | 5V (with 3.3V pin) | $24.50 | Prototyping, shields, education |
| SparkFun Pro Micro (DEV-12640) | ATmega32U4 | Compact (33 x 18 mm) | 5V / 16MHz | $19.95 | Custom macro pads, tight enclosures |
| Generic Clone Pro Micro | ATmega32U4 | Compact (33 x 18 mm) | 5V or 3.3V variants | $6.00 - $9.00 | Budget volume builds, disposable testers |
| Adafruit ItsyBitsy 32u4 | ATmega32U4 | Feather-adjacent (36 x 18 mm) | 5V / 16MHz | $11.95 | Breadboarding, portable HID tools |
Advanced Memory and Pinout Considerations
The ATmega32U4 features 32KB of ISP Flash memory (with 4KB reserved for the bootloader), 2.5KB of SRAM, and 1KB of EEPROM. When configuring complex HID macros or utilizing serial buffers, SRAM exhaustion is a common failure mode. Always use the F() macro when printing static strings via Serial.print(F("Text")); to keep string literals in Flash memory rather than loading them into SRAM at runtime.
Furthermore, note that the Leonardo's I2C pins (SDA and SCL) are located on pins 2 and 3, respectively, which differs from the Uno's A4 and A5 placement. While the Leonardo has dedicated SDA/SCL headers near the AREF pin for shield compatibility, direct wiring to the digital pins requires adjusting your pinout configuration accordingly.
Frequently Asked Questions
Can I use the Arduino Leonardo as a USB MIDI controller?
Yes. Because the ATmega32U4 handles USB natively, you can bypass standard serial communication and use libraries like MIDIUSB.h to enumerate the board directly as a Class-Compliant MIDI device to your DAW software without requiring third-party bridge drivers like Hairless MIDI.
Why does my Leonardo show up as a generic USB Hub in Linux?
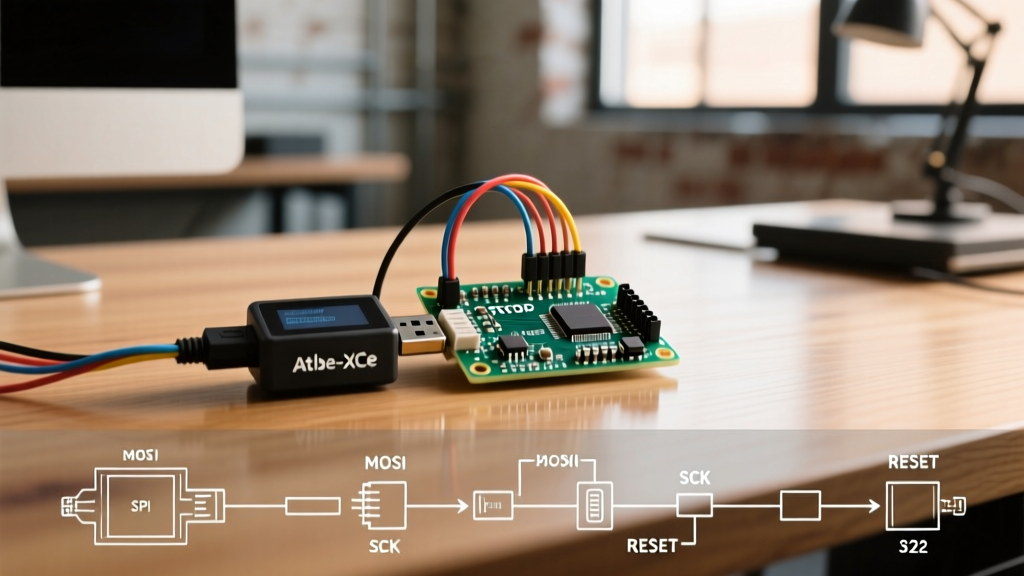
This usually indicates a corrupted bootloader or a damaged USB data line. Ensure you are using a high-quality cable rated for data transfer, not just a charge-only cable. If the cable is verified, you may need to burn the bootloader using an external ISP programmer (like a USBasp) via the ICSP header.
Is the 5V pin on the Leonardo regulated?
When powered via USB, the 5V pin outputs the USB bus voltage (typically 4.75V to 5.25V). When powered via the barrel jack or VIN pin, the onboard NCP1117-5.0 voltage regulator steps the input down to 5V. Be aware that this regulator has a strict thermal limit; drawing more than 500mA from the 5V pin while using a 9V+ VIN source will trigger thermal shutdown.